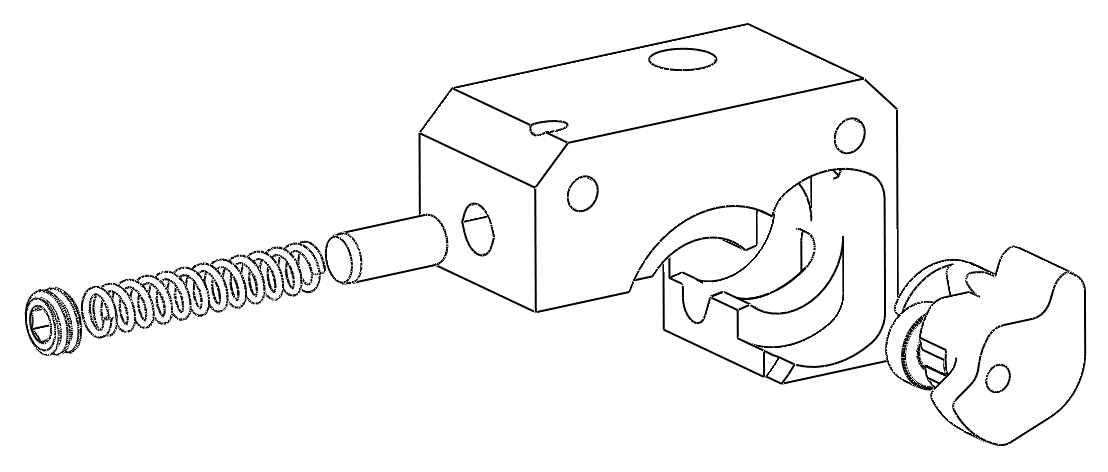
Universal 3in1 Extruder Upgrade - Replicator 1 / Replicator 2 / Replicator 2X

DHeadrick
Now it is available for all 3 replicators!!
The cost is the same but there are a couple of ways to order it. You can order just the hardware and print out the extruder parts to try it (Hardware modules are $15 per extruder). If you like it but want the durability and performance of the aluminum version, you can then upgrade and only buy those parts ($85 per extruder) and swap your hardware over. Or you can buy everything all at once and be done with it ($100 per extruder and the kit is pre-assembled and checked for fit on a NEMA-17 stepper for quality control).
An order link will be up shortly, but I wanted to give people the heads up.

MadReasonable
DHeadrick
DHeadrick
Orders can now be taken here:
orders-3in1-extruder.davidheadrick.com
The manual can be found here:
manual-3in1-extruder.davidheadrick.com
The downloadable files (including the manual) can be found here:
files-3in1-extruder.davidheadrick.com

Peter McDade
On Monday, August 12, 2013 1:11:25 PM UTC-4, DHeadrick wrote:
DHeadrick
http://www.thingiverse.com/thing:136423
DHeadrick


Jamesarm97
DHeadrick
Dark blue markers are Replicator 2X orders.
No Replicator 1 orders (yellow)
No Hardware only orders (red)
yet ;)

Guidozelf
Look forward have your upgrade installed alongside Bottleworks HBP and Alu arms!
Cheers, G.
DHeadrick
DHeadrick
DHeadrick

David Clunie
DHeadrick
Also, to save paper (and the planet), I will be making a 1 page simplified insert to include in each kit which will include a parts manifest (specific to the kit you ordered) and the link to the full manual.
Peter McDade
DHeadrick

Steve Johnstone
A very professional service Dave,
Cheers, Steve
PS - may be the first 2X user in the uk with this upgrade :)
DHeadrick
Way back there was an order for a Replicator 2 kit in the UK, but that customer never paid and hence no joy :)

Peter McDade
On Monday, August 12, 2013 1:11:25 PM UTC-4, DHeadrick wrote:
Guidozelf
Still waiting for my delivery......
DHeadrick
Thanks for your patience.
DHeadrick
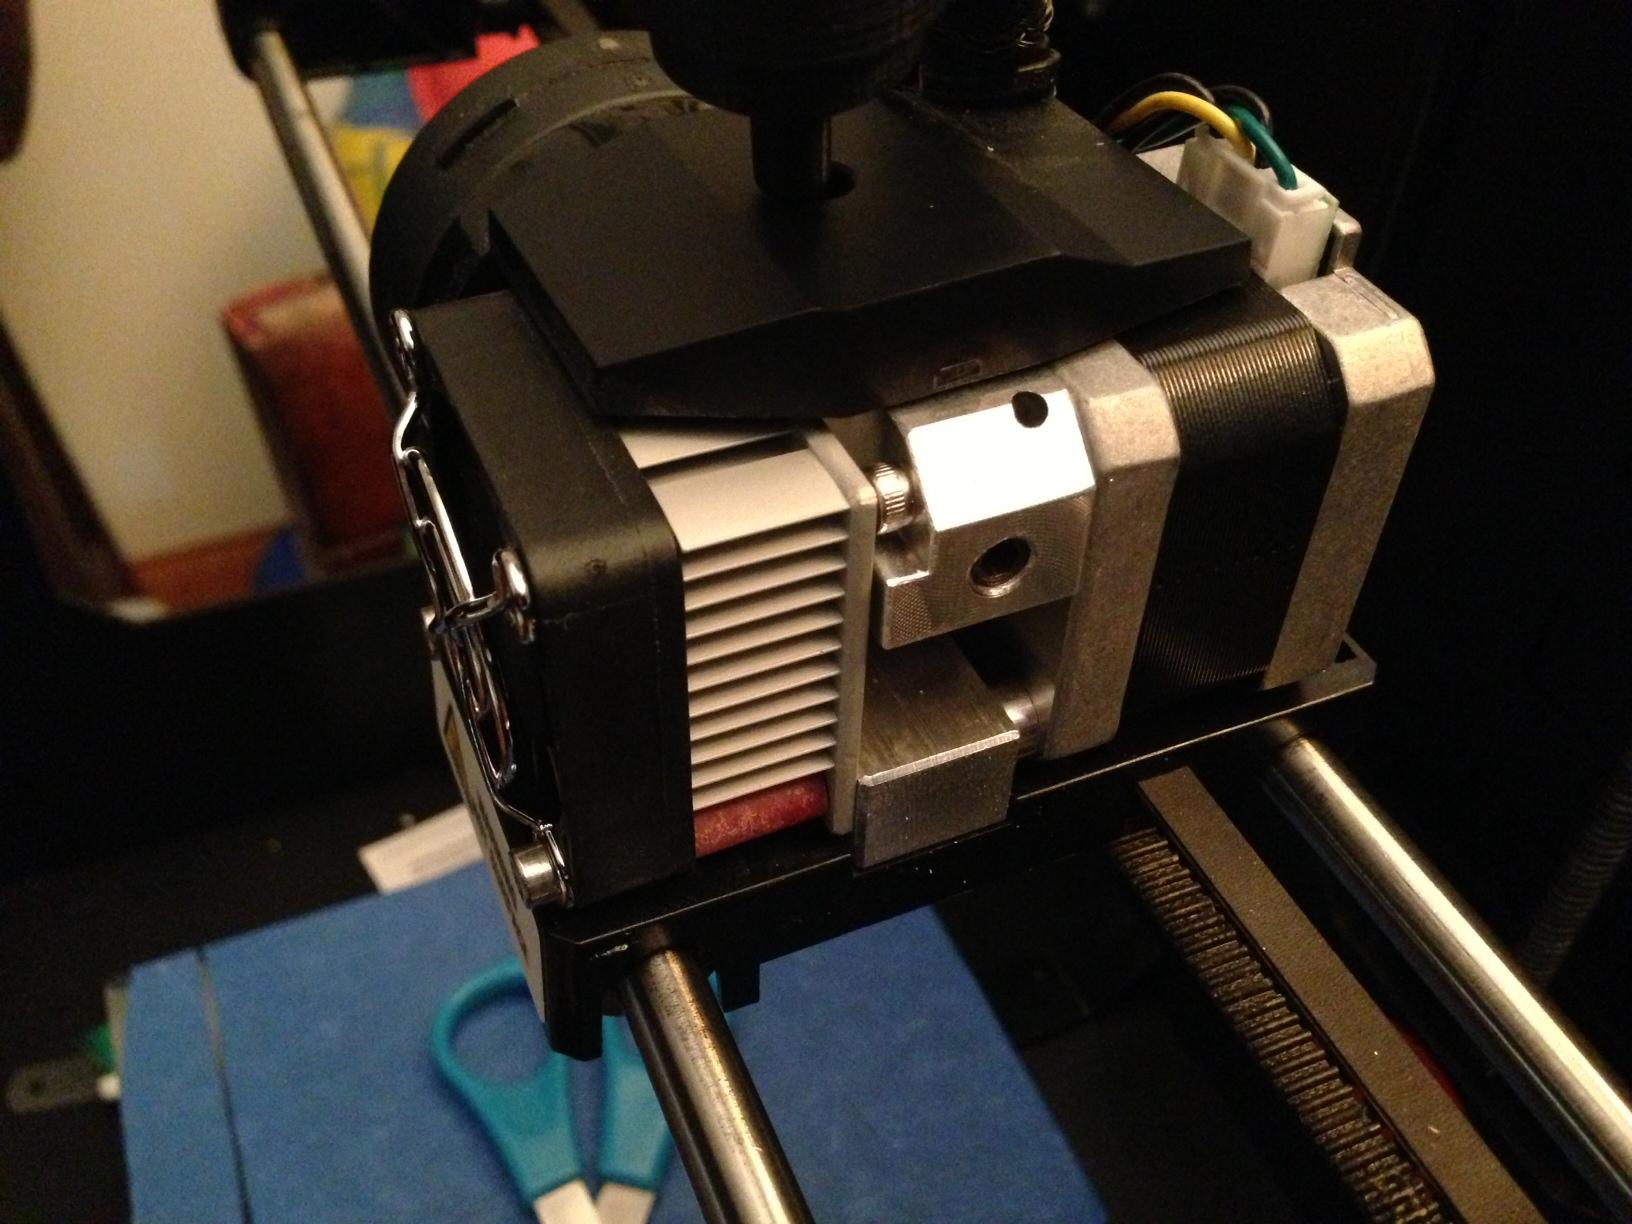
I test printed the torture test with good results. The only upgrades are the 3in1 Extruder and a glass build platform.

Scott Signore
Does anyone have any reviews on it so far?

Jetguy
On Thursday, September 5, 2013 12:29:18 PM UTC-4, Scott Signore wrote:
DHeadrick
http://www.tested.com/forums/makerbot/457395-extruder-upgrades-dima-a-dozen-or-one-in-a-million/
I sincerely hope they do.
Scott Signore
--
You received this message because you are subscribed to a topic in the Google Groups "MakerBot Operators" group.
To unsubscribe from this topic, visit https://groups.google.com/d/topic/makerbot/SuzXohTGeZs/unsubscribe.
To unsubscribe from this group and all its topics, send an email to makerbot+u...@googlegroups.com.
For more options, visit https://groups.google.com/groups/opt_out.
Scott Signore
Scott Signore
I can't seem to get a good flow of PLA filamant to extrude.
I have a replicator 2, and installed the 3 in 1 extruder.
I tried adjusting the set screw but still no luck.
So what happens is when I start a print, usually the raft is a nice thick layer, but now its a thin line that eventually just stops extruding. I attached a pic.
If any one has any ideas, I would really appreciate the input.
I would hate to have to just go back and reinstall the Makerbot spring lever extruder.
Jetguy
Scott Signore
I installed the extruder exactly how the directions said..
I am at a loss. It just seems like there is not enough tension being applied to the filament against the gear.
Jetguy
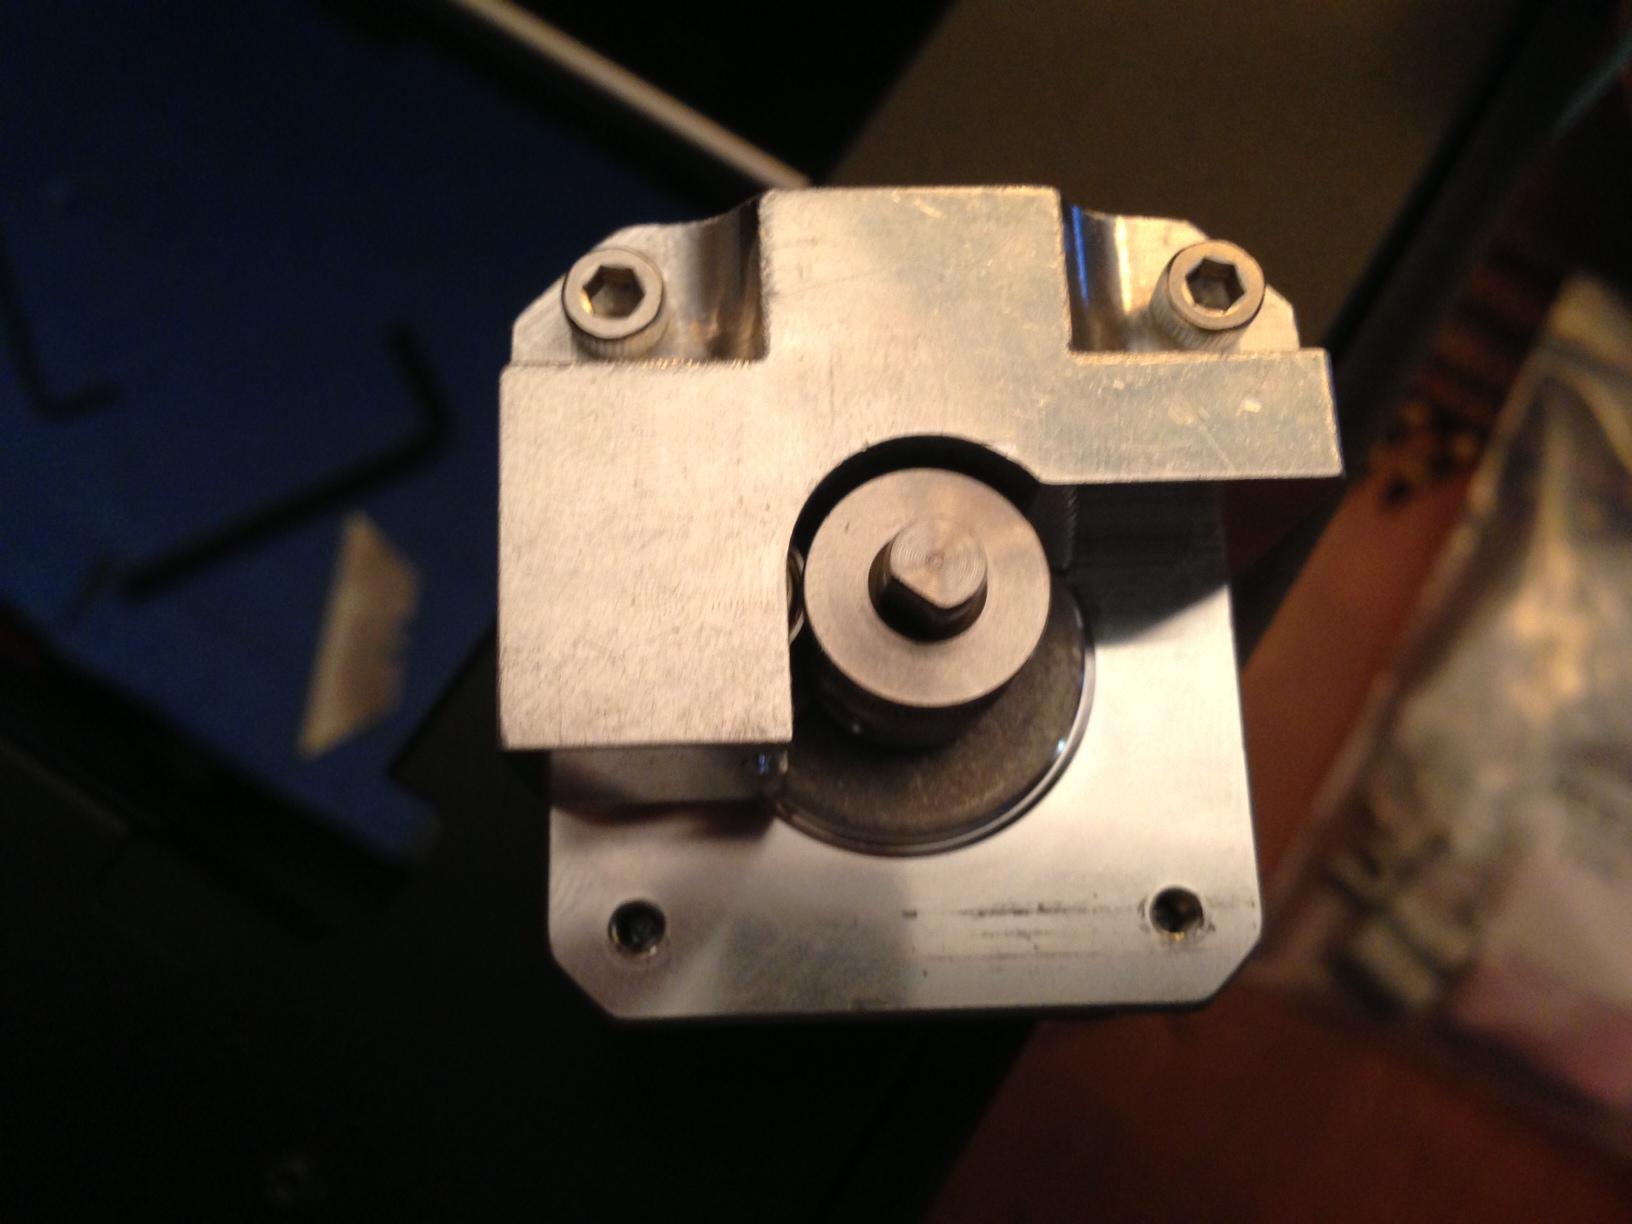
DHeadrick
From the outside, your assembly looks correct. I'm at a loss as to what
might be causing this. You mentioned in one of your emails that the
gear had slipped against the filement and that this caused plastic bits
to stick to the gripper wheel. Have you cleaned those off thoroughly?
If they are still there, they will reduce the amount of "bite" the teeth
can get on the filement.
When you release the bearing with a hex
key, does the mechanism operate freely? If not, you may need to
disassemble it at clean out whatever may be causing the mechanism to
stick. The mechanism should move very smoothly like in this video:
https://www.youtube.com/watch?v=9miwEBzYHlI
Also, you could verify that the spring is installed correctly... there is a rounded end and a beveled end on the dowel pin that the spring pushes on. The rounded end should be the one pushing on the bearing holder. The beveled end is the one that the spring will rest against.
Scott
Sent from my iPhone
DHeadrick
Scott
Sent from my iPhone
DHeadrick
Scott Signore
The manufacturer had a small delay but will let me know shortly if I can pick the parts up at the end of the day today. If not, They will be ready at lunch Thursday (he is closed on Wednesday because he teaches a course).
Steve Johnstone
Jetguy

DHeadrick
Steve Johnstone
Jetguy
DHeadrick
David Clunie
DHeadrick

Jetguy
DHeadrick
How is everything coming together for your NY trip?
DHeadrick
My order form states that each extruder module is $88 and each hardware module is $12.
My Paypal invoice charges people $85 per extruder module and $15 per hardware module.
I just corrected the Paypal invoice to match the order form ($88/$12). So far there has only been one person who ordered only a hardware module and was overcharged $3 (everyone else bought equal multiples of extruders/hardware so the error cancels out).
Jetguy
Print continuing after filament change:
Scott Signore
I will be in New York for the Makers Faire..
Let me know where you will be.
Scott
Steve Johnstone
On Tuesday, 10 September 2013 19:15:04 UTC+1, Jetguy wrote:
Jetguy
DHeadrick
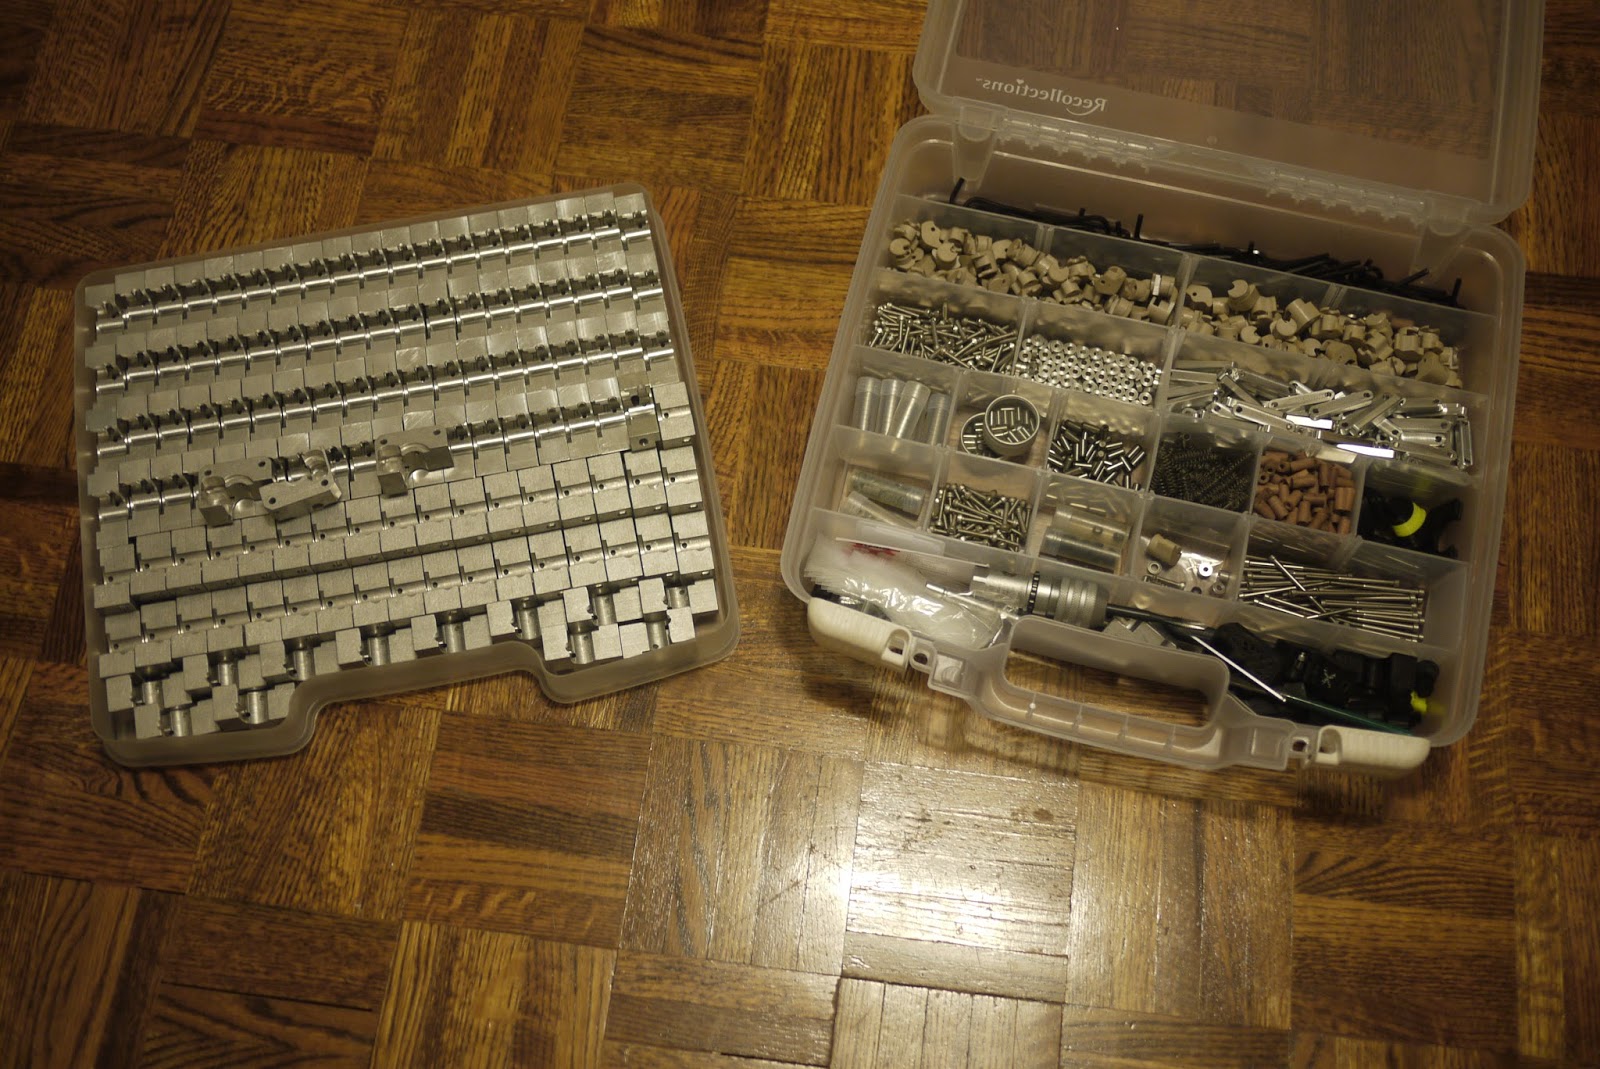
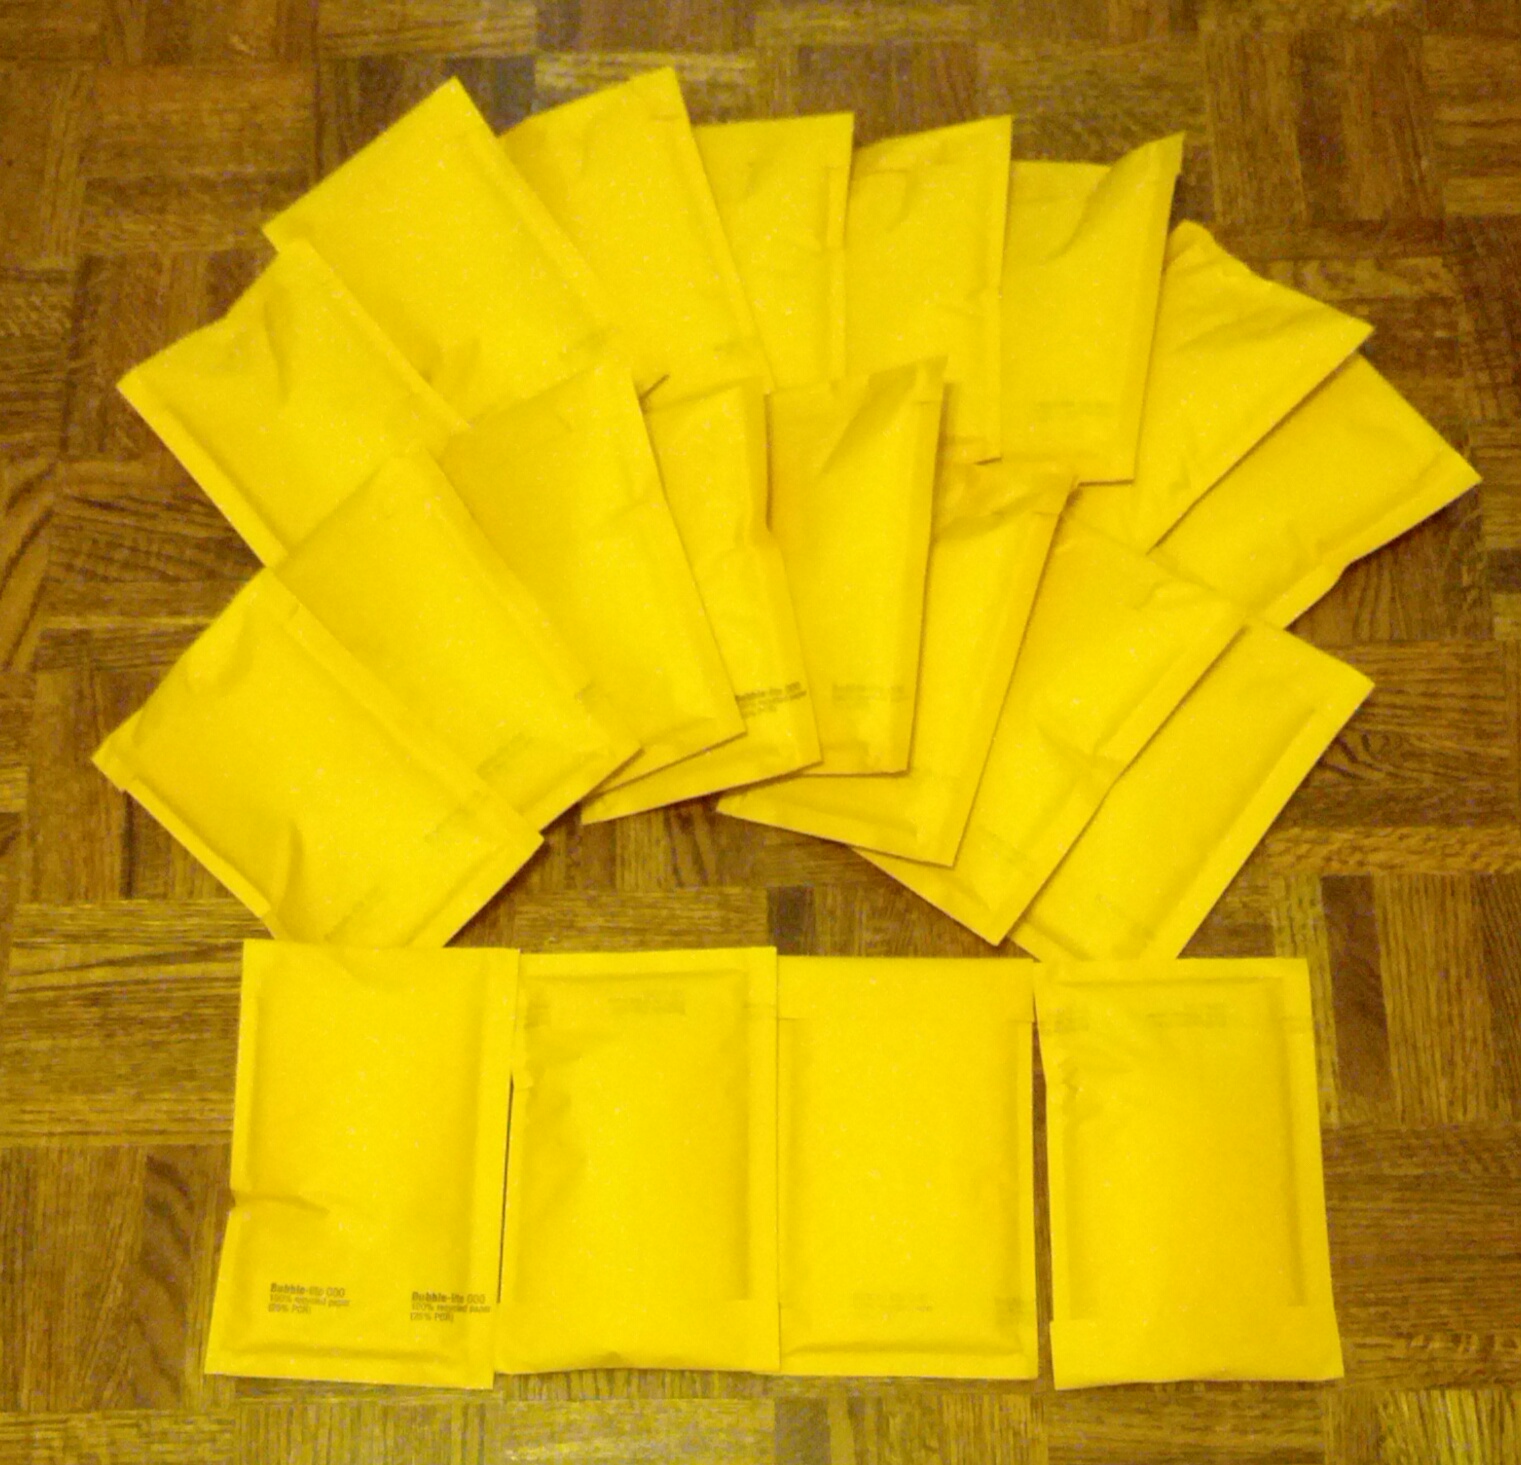
Just a few pics of the parts before the kits get shipped out...


Wingcommander whpthomas
DHeadrick
Steve Johnstone
Steve Johnstone

sa...@sldmodels.co.uk
leave the heat element on in the hopes it would melt it out, but it
doesn't appear to be working. is there another way to clear it before I
start hacking at it with something?
Sarah
Wingcommander whpthomas
Is there another way to clear it before I start hacking at it with something?
sa...@sldmodels.co.uk
Sarah
--
You received this message because you are subscribed to the Google Groups "MakerBot Operators" group.
To unsubscribe from this group and stop receiving emails from it, send an email to makerbot+u...@googlegroups.com.
Sarah Davis
Sent from my iPhone

Joseph Chiu
Stop!
Like cheese, heat will melt the plastic for a while, then more heat will eventually cook it until it becomes a hard and crusty mess.
Find a guitar string, and work carefully. (See, for example, what I did with an Up! Printer: http://toybuilderlabs.com/blog/2013/8/23/unclogging-the-up-extrudernozzle)
Sarah Davis
Sent from my iPhone
DHeadrick
DHeadrick

delleps
I'm looking forward to installing them on my 2X and having better print reliability. Thanks for keeping us posted.
Jim
On Monday, August 12, 2013 10:11:25 AM UTC-7, DHeadrick wrote:
The design is finalized and this will begin being offered very shortly. You may have been following the original design which has been out for a while now for the Replicator 2 only.
Now it is available for all 3 replicators!!
The cost is the same but there are a couple of ways to order it. You can order just the hardware and print out the extruder parts to try it (Hardware modules are $15 per extruder). If you like it but want the durability and performance of the aluminum version, you can then upgrade and only buy those parts ($85 per extruder) and swap your hardware over. Or you can buy everything all at once and be done with it ($100 per extruder and the kit is pre-assembled and checked for fit on a NEMA-17 stepper for quality control).
An order link will be up shortly, but I wanted to give people the heads up.
DHeadrick
DHeadrick
DHeadrick
I guess I really will have to think of a new project to tackle ;)
David Clunie
--
You received this message because you are subscribed to a topic in the Google Groups "MakerBot Operators" group.
To unsubscribe from this topic, visit https://groups.google.com/d/topic/makerbot/SuzXohTGeZs/unsubscribe.
To unsubscribe from this group and all its topics, send an email to makerbot+u...@googlegroups.com.
DHeadrick
I will need to investigate the x-axis cable because I've been lucky to not need one yet, but I purchased the kit from extrud3d.com as a precaution (haven't had time to assembly it yet).

AGG

DHeadrick
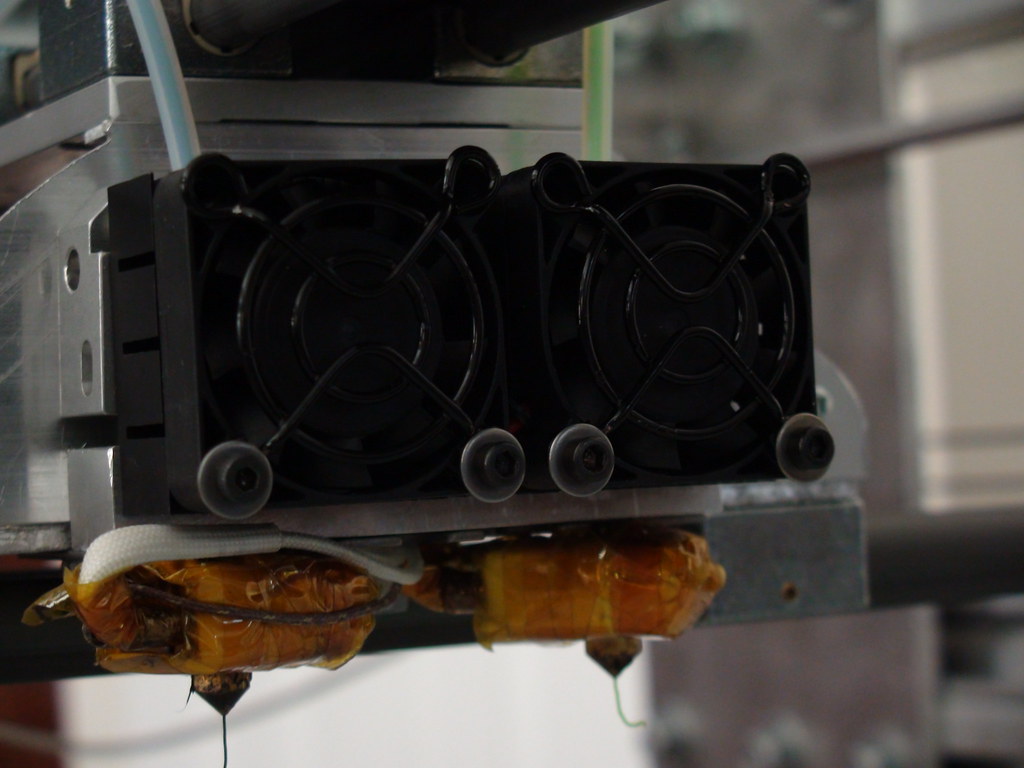
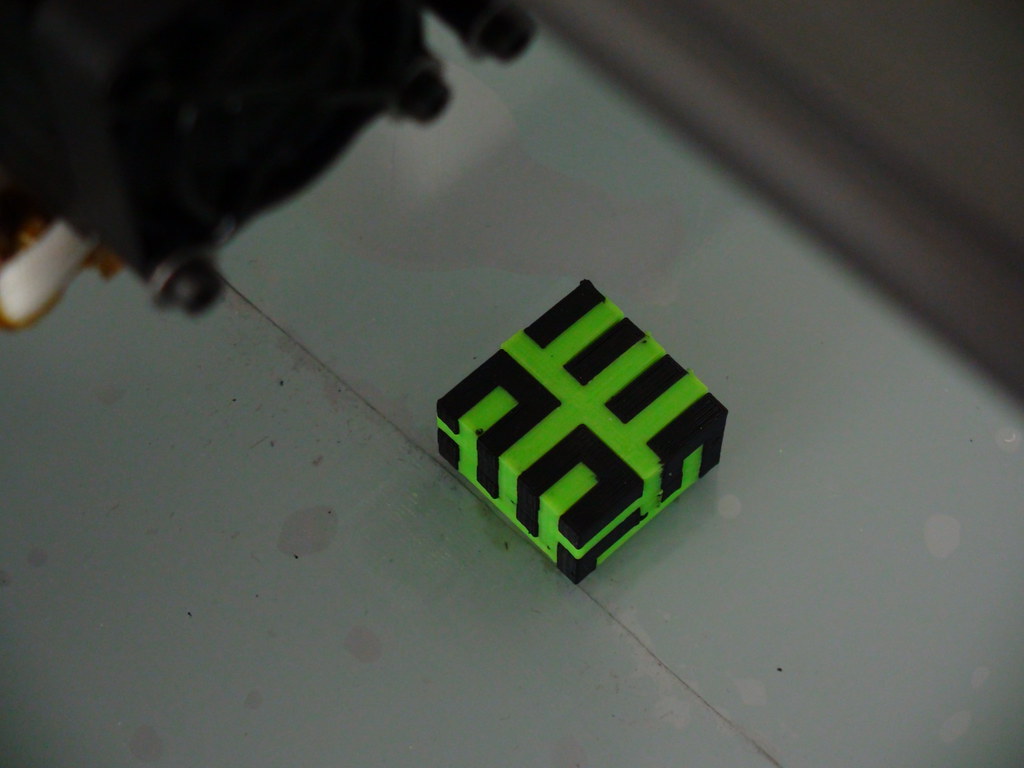
Keep the photos coming everyone!
DHeadrick
Jetguy
"A better extruder option is the 3in1 Universal Upgrade."
As seen at Maker Faire working wonderfully in front of hundreds of folks including the MakerBot staff who came by to check it out.
In fact, Melody ( the previous moderator) pointed out the 3 in 1 extruder upgrade to others. In other words, she knew exactly who made it. So that is good that those support folks at MakerBot are extremely aware of the upgrades and who made them.
BTW, the MakerBot folks are so cool to meet in person!!!!
I just wanted to say to Makerbot (if they monitor this thread), that I am open to the possibility of offering this upgrade in bulk directly so that it can ship pre-installed in your Replicator series of printers.
Steve Johnstone
Mine arrived on Friday, hoping to install it tomorrow. The quality of the machining looks fantastic!
It would be great is MakerBot took you up on your offer, even if the offered it as an optional upgrade.
My 2X has been printing really well since i got it back on the stock set up, although I'm now using Sailfish firmware and Simplify3D.
Steve

billyd60
Should I have it by now?
Bill D.
DHeadrick
delleps
Thanks,
DHeadrick
DHeadrick

(The bevelled edges on the plastic part face away from the motor).
delleps
Thanks!
DHeadrick
That image is pretty small. I was trying to keep the manual down to no more than 3 pages because it wouldn't fit in the shipping envelope. However, now that the kit includes a single page and the manual is downloadable, I will add enlarged versions of all the images at the end in an Appendix B.
BTW, when I get down to the last 10 kits, I will post a warning here so that I can get a feel for how many to make in the next batch.
delleps
Thanks for the quick response!
DHeadrick

billyd
delleps
Flawless.
Thanks, David! Well done!
DHeadrick

Scott Signore
Thanks again to everyone who has ordered! There are currently 56 in the wild (one custom kit - Jetguy).
--
DHeadrick
I should be receiving the kit you shipped back any day now (You mentioned that it was going to be mailed on Sep 11th). When I get it, I will check it over and then install it on my Replicator 2. I can ship you the one I take off if you want. Either way, I'll email you with my findings once I get it.
billyd
DHeadrick
billyd
DHeadrick
DHeadrick
manual-3in1-extruder.davidheadrick.com
I may have sent you the first manual which is specific to the Replicator 2 (but it should still work).