panoramic head recommendations?

ravineguy

Erik Krause
> The questions are: 1, Do I even need a pano head?
and background objects that should fit. Which they don't if parallax occurs.
> and 2, Can I get by with one of the less expensive heads, such as the
> $119 Sirui at B&H?
https://www.siruiusa.com/index/photographic/pb10.html?cid=4&id=28
However, you can even build your own for much less. Get some
inspirations from https://wiki.panotools.org/Heads#Self_made
--
Erik Krause
http://www.erik-krause.de

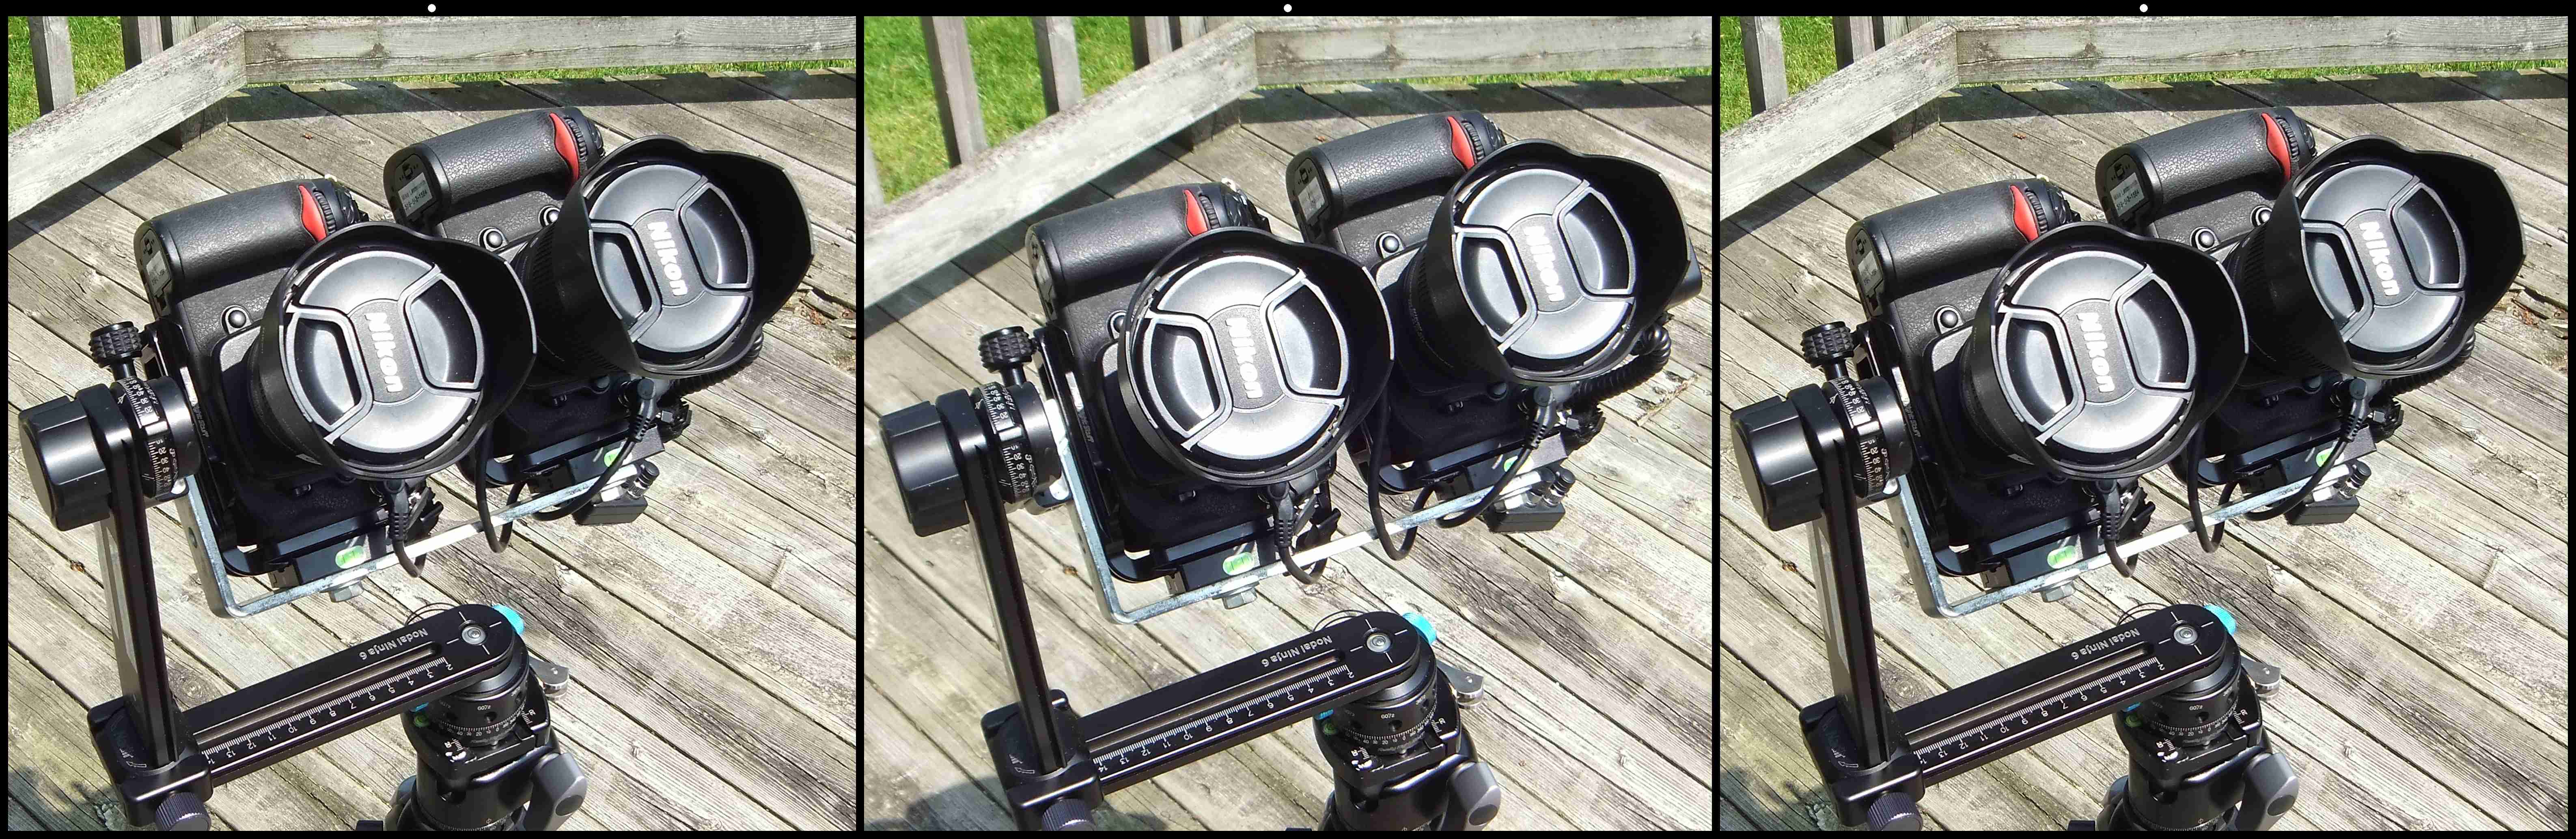
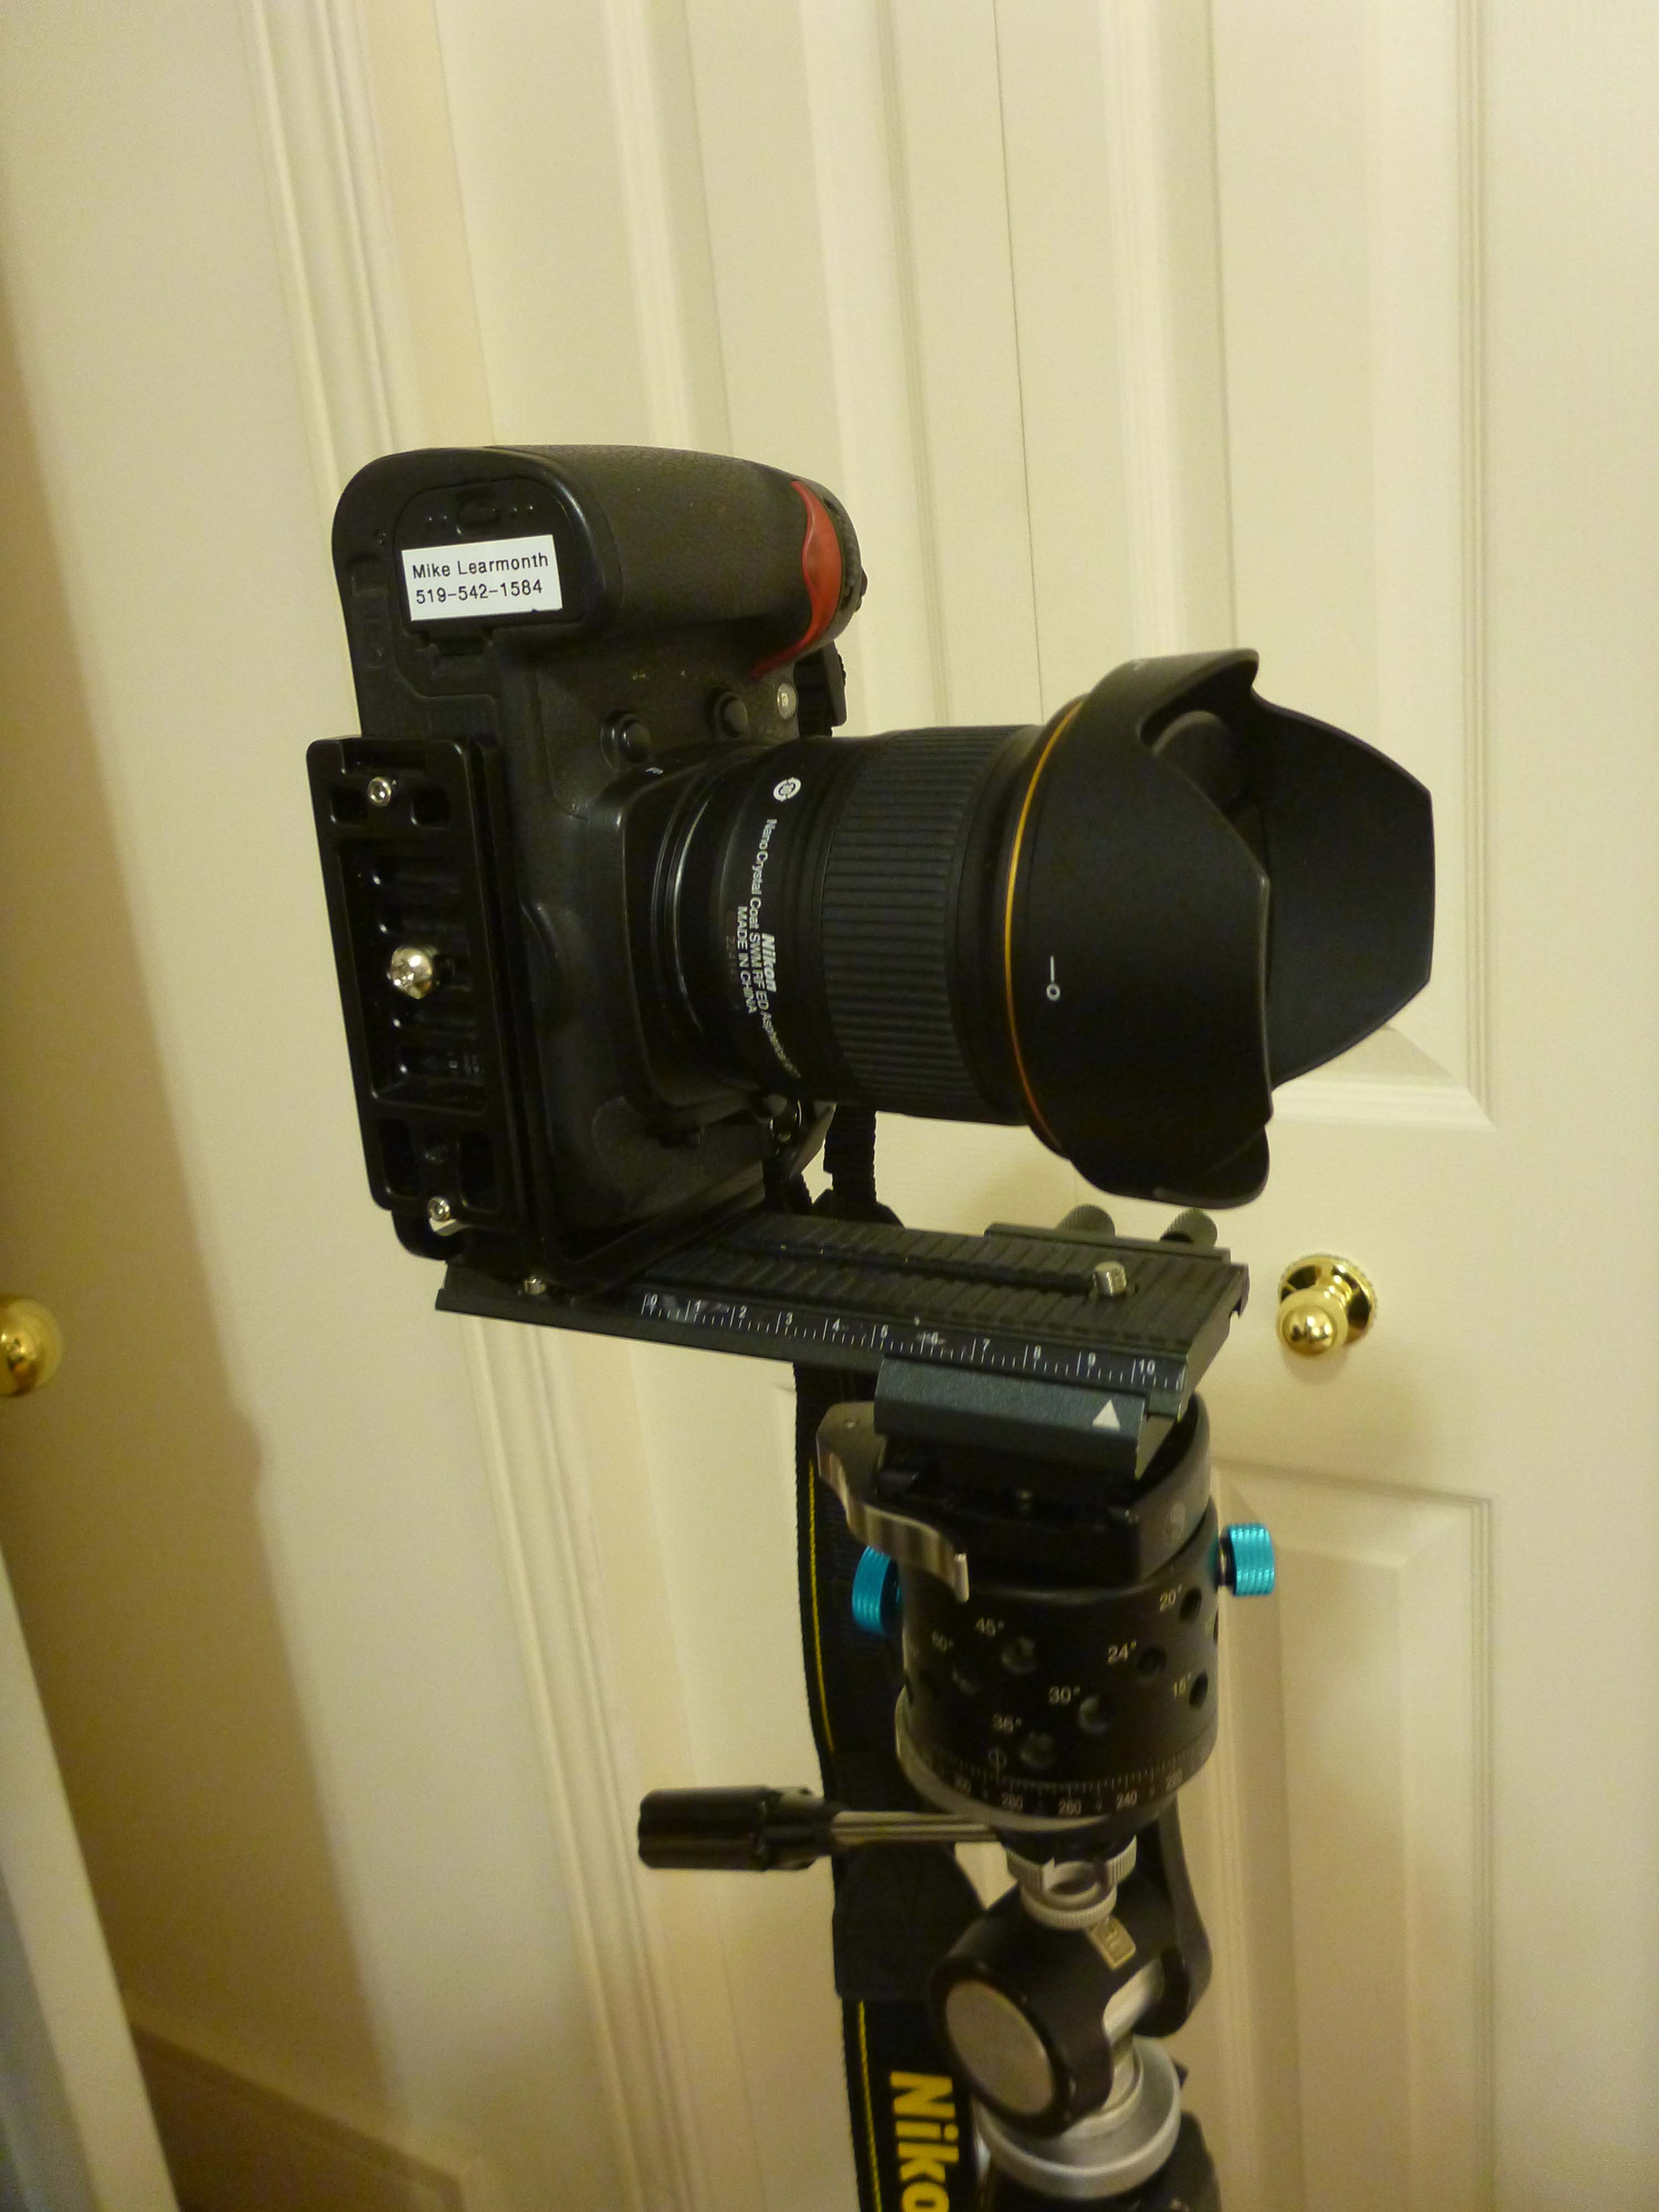
Michael Learmonth
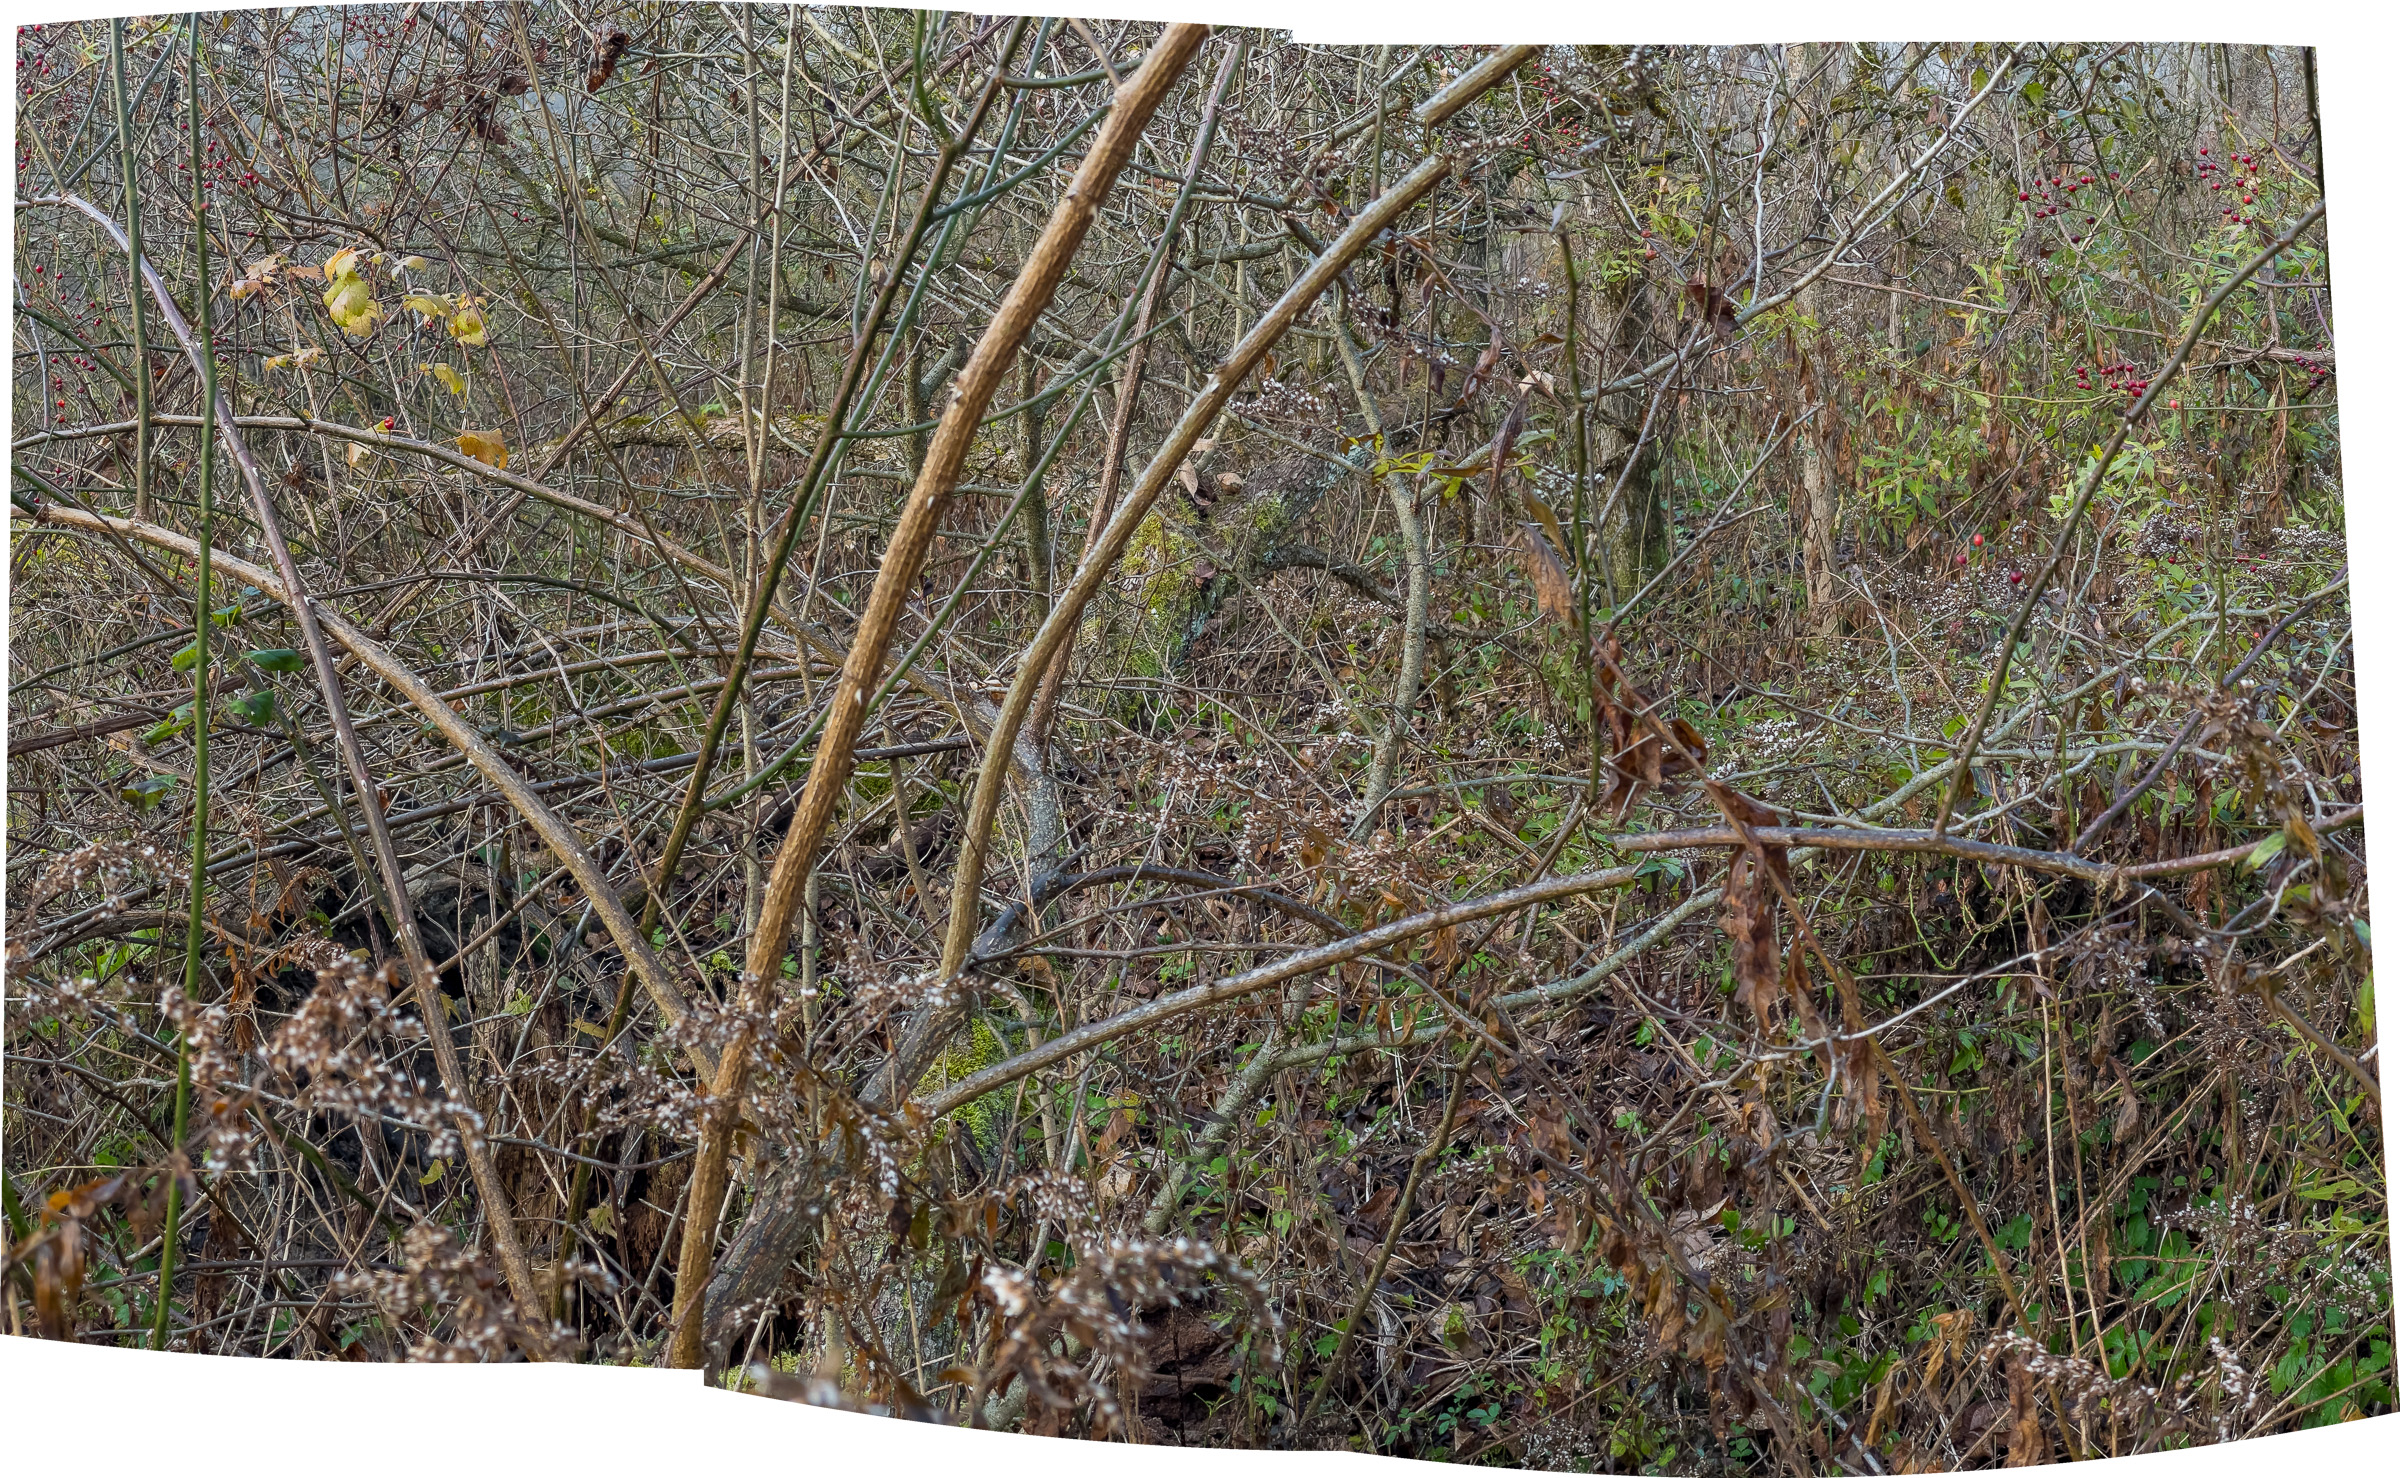
A good stitched panorama will not have discontinuities in objects that span the border between two adjacent photos, particularly noticeable where the objects spanning the border are at different distances from the camera.
To achieve that, the camera must be rotated about the “no parallax point” (NPP) for the particular camera and lens combination. Parallax is the apparent relative shift in position of objects in view, from the movement of the viewing location. For example, a pencil held in front of your face will look to be in a different position versus the background wall, when viewed with one eye versus the other, without moving your head.
Typically, the NPP is located along the center axis of the lens somewhere between the front and back of the lens (that is, somewhat in front of the camera body). The camera tripod socket is NOT located directly below the NPP. Thus, mounting a camera on a tripod by the body socket, and rotating the camera around that point will generate parallax in the objects in view, between adjacent photos.
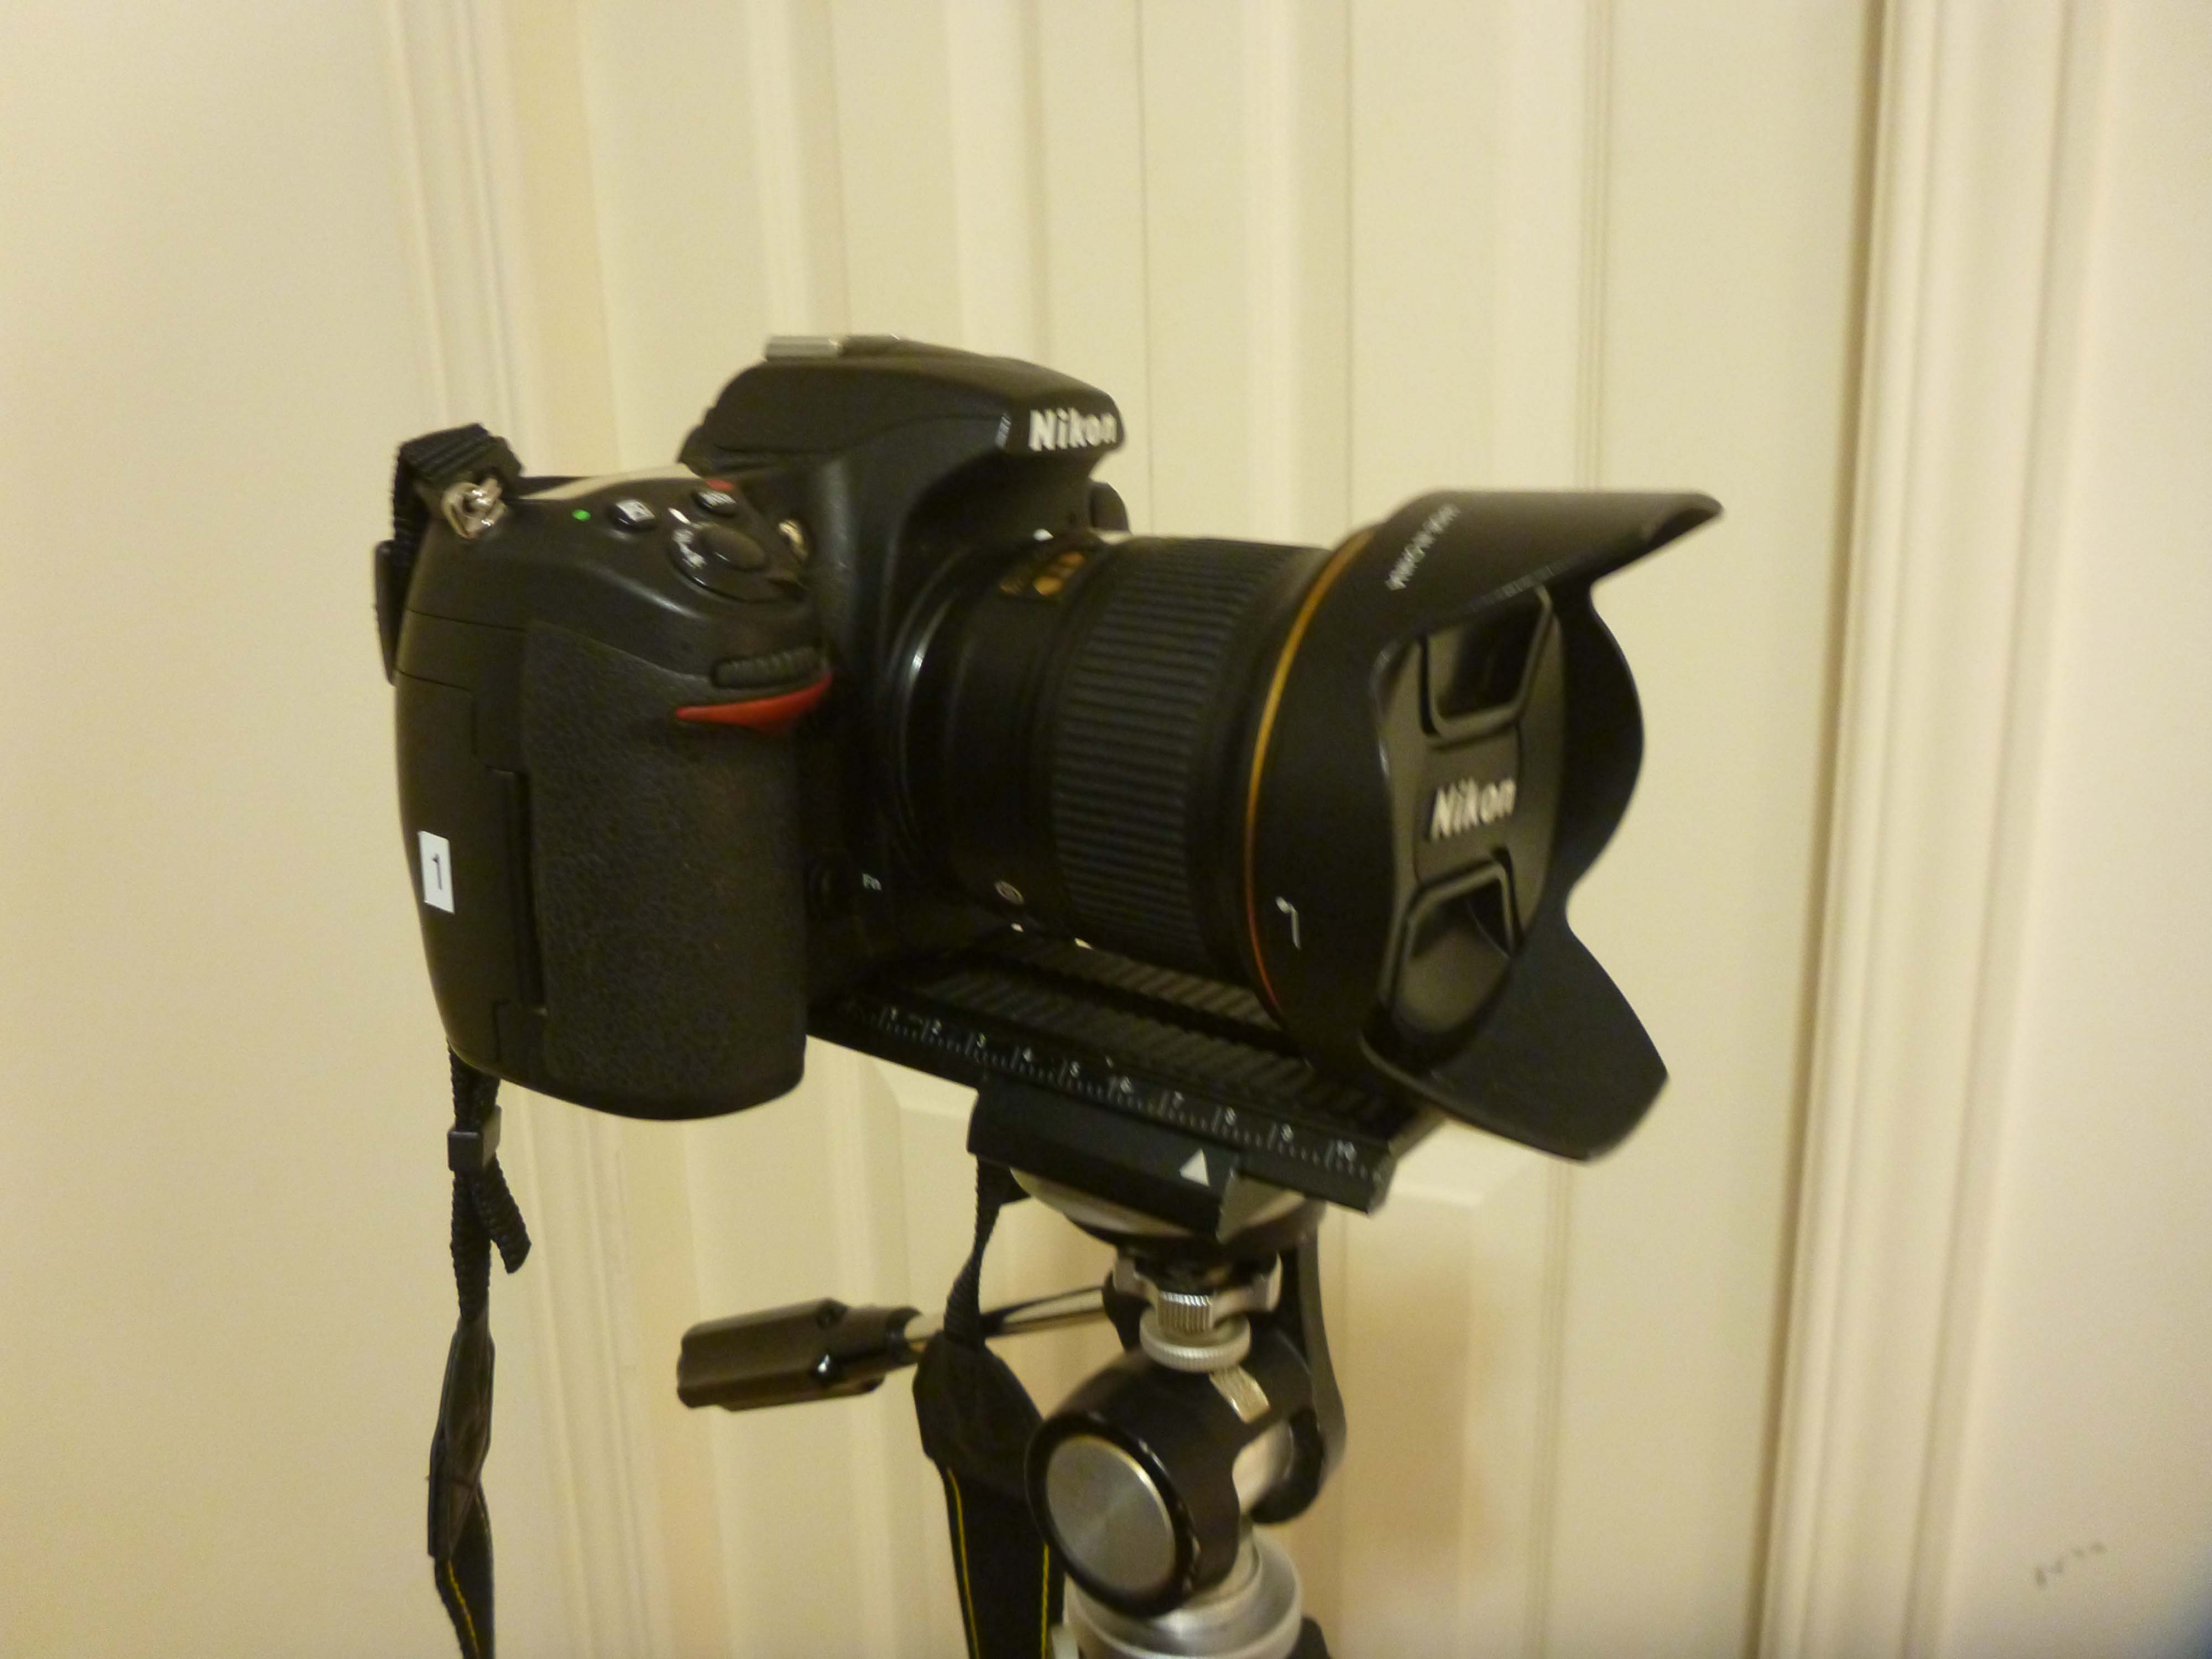
The proper equipment needed to eliminate parallax depends upon the character of the panorama that you wish to create. If you want to create a simple, single row panorama, with the camera mounted in the landscape mode then all you need is a tripod head that can rotate in a plane (without tilting up and down) plus a rail to enable you to mount the camera and lens with the NPP over the tripod head rotation axis. In the simplest format, you simply rotate the camera/lens/rail/tripod head between each photograph allowing the adjacent photos to have sufficient overlap (usually about 25%).
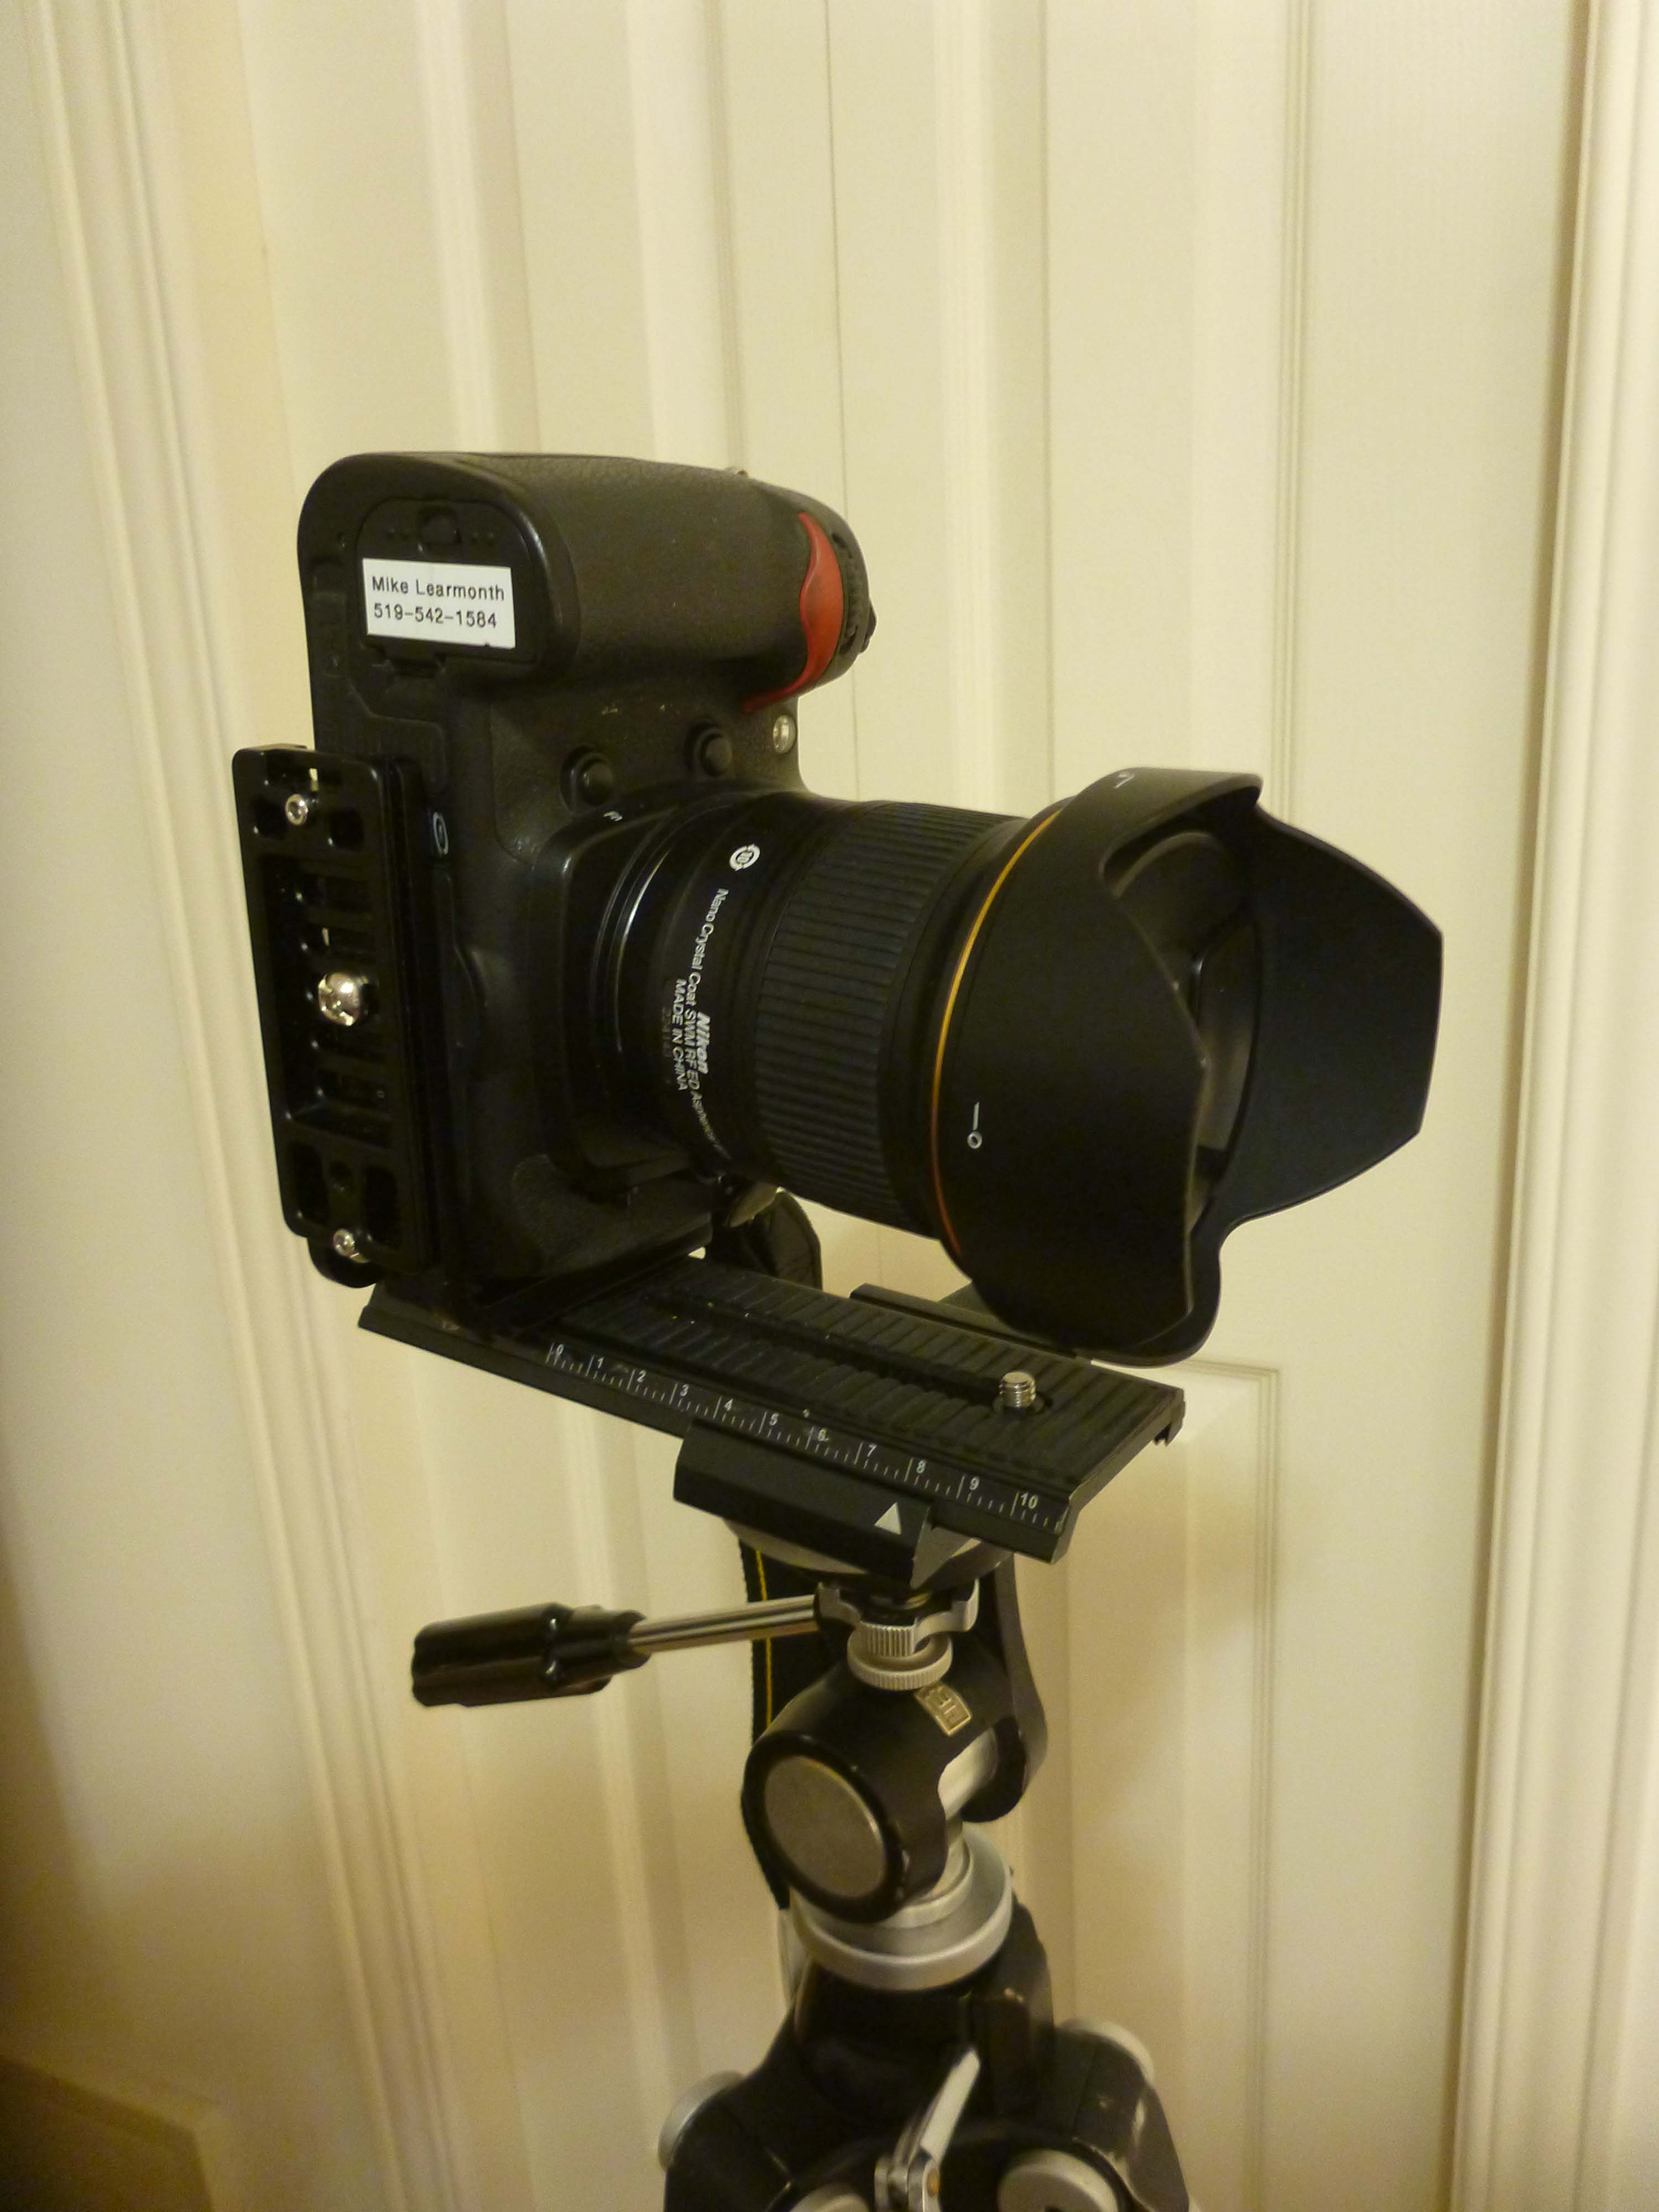
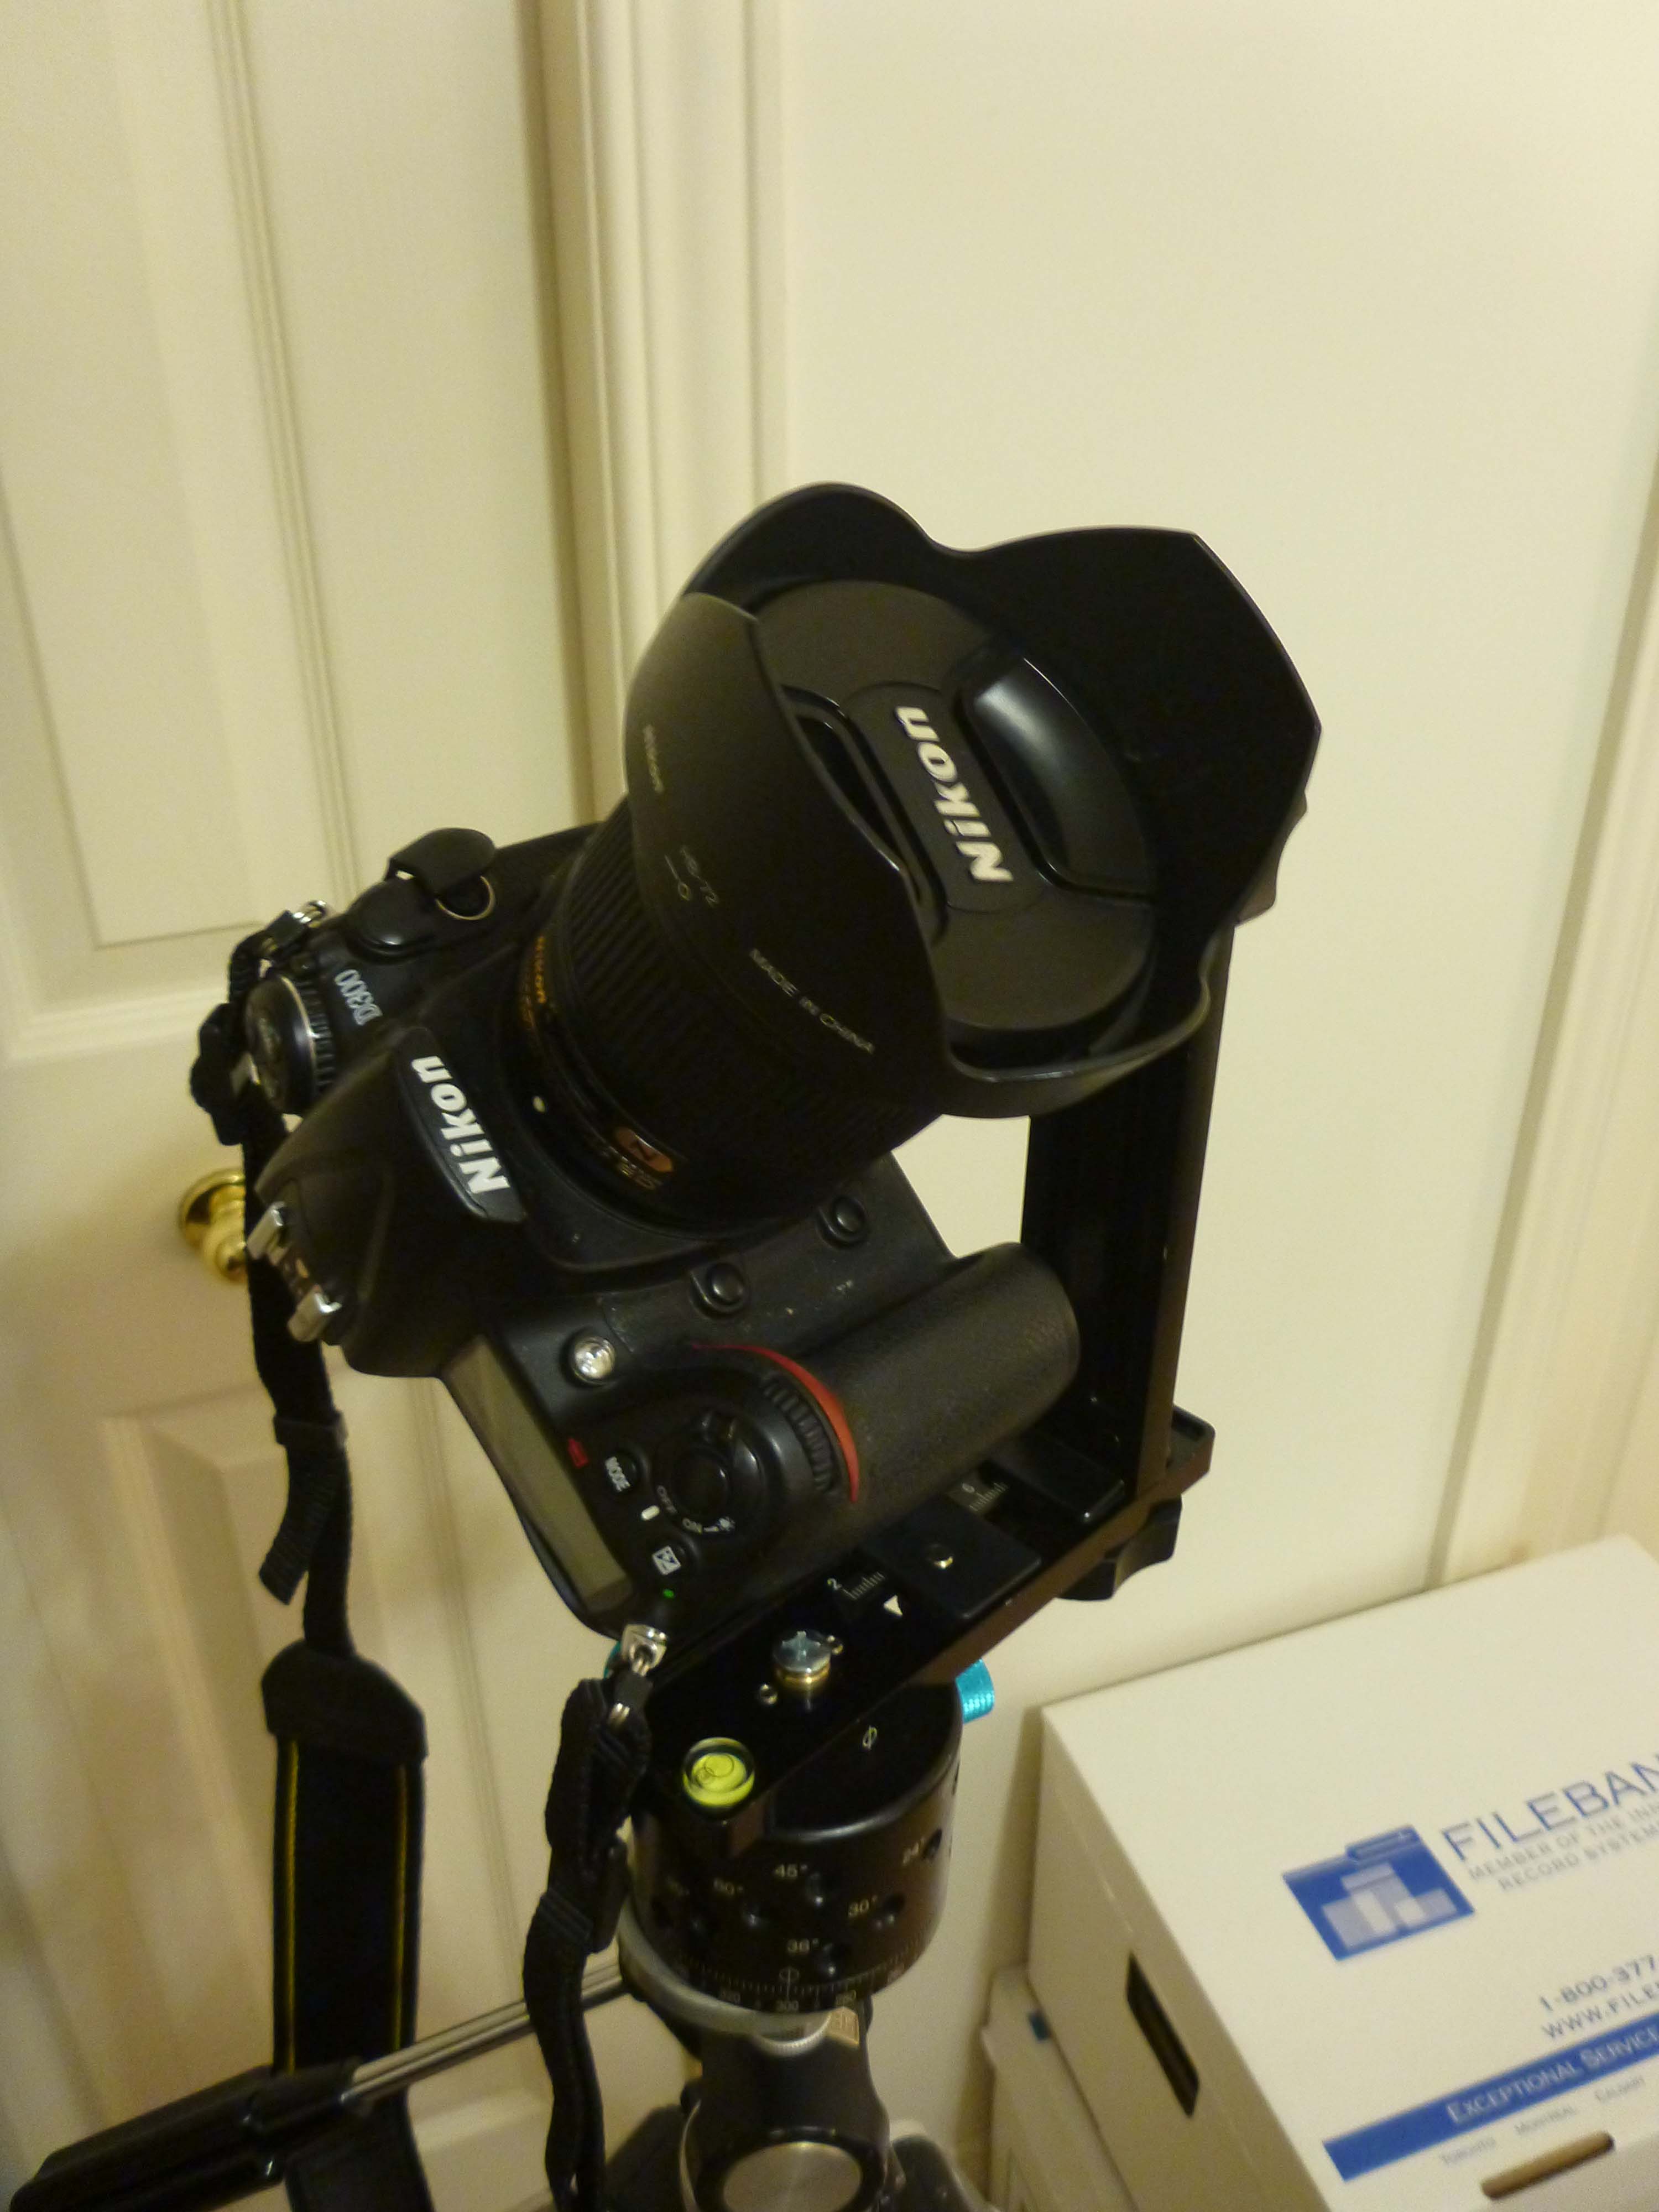
However, if you want to create a panorama spanning more than the vertical view in a single landscape-orientation photo, you need to modify the way the camera is mounted. The first step is to mount the camera in the portrait orientation, still with the NPP over the tripod head axis of rotation. Again, you will have to take adjacent photos with at least 25% overlap to get a good result. One way to achieve that is to mount an L-bracket on the camera body.
The next step up in ease is achieved by using a rotator between the tripod and the camera/lens/rail combination. A rotator will typically have the ability to be set with differing number of “stop” locations, to speed the photo shooting process and ensure equal and proper overlap between adjacent photos. Rotators come in a variety of makes and capabilities with larger weight carrying capacity and greater variety of stop selections resulting in higher costs.
https://www.fanotec.com/advanced-rotator-d10/137#top1
The next step up is where you want the resultant panorama to span more in the vertical than a single row of photos provides. To do this, you now generally need a full panorama head – a head that can allow you to move the camera around the NPP in both the horizontal and vertical direction. Complete panorama heads also come in a variety of makes and capabilities, again with larger weight carrying capacity and automation resulting in higher costs.
https://www.fanotec.com/nn3-mk3-rotator-mini/146#top1
Mike
Michael Learmonth
ravineguy
ravineguy

Steve Taylor
--
You received this message because you are subscribed to the Google Groups "PTGui Support" group.
To unsubscribe from this group and stop receiving emails from it, send an email to ptgui+un...@googlegroups.com.
To view this discussion on the web visit https://groups.google.com/d/msgid/ptgui/4cdba218-576a-4a3b-acab-0b28a1ffa5b3n%40googlegroups.com.
ravineguy

Michał Niedźwiecki
--
You received this message because you are subscribed to the Google Groups "PTGui Support" group.
To unsubscribe from this group and stop receiving emails from it, send an email to ptgui+un...@googlegroups.com.
To view this discussion on the web visit https://groups.google.com/d/msgid/ptgui/4cdba218-576a-4a3b-acab-0b28a1ffa5b3n%40googlegroups.com.
Michał Niedźwiecki

John Houghton
I started with MENGS® PH-720B. Is a good, cheap, lightweight and stable head for beginners. I used it with Sony A7III and Kit lens and Samyang 14mm. But, with Samyang 14mm, taking a photo of nadir is not possible (head is tho short).
ravineguy
Michael Learmonth
Michael Learmonth