X axis homing issues
226 views
Skip to first unread message

blair....@cloud3d.ltd
May 19, 2020, 9:17:24 AM5/19/20
to Pocket NC
This has happened to me once before and a simple clean of the rails was the answer. Today, no matter how well I clean the machine I cant get it to home the X axis.
Has this happened to anyone else. Solutions?
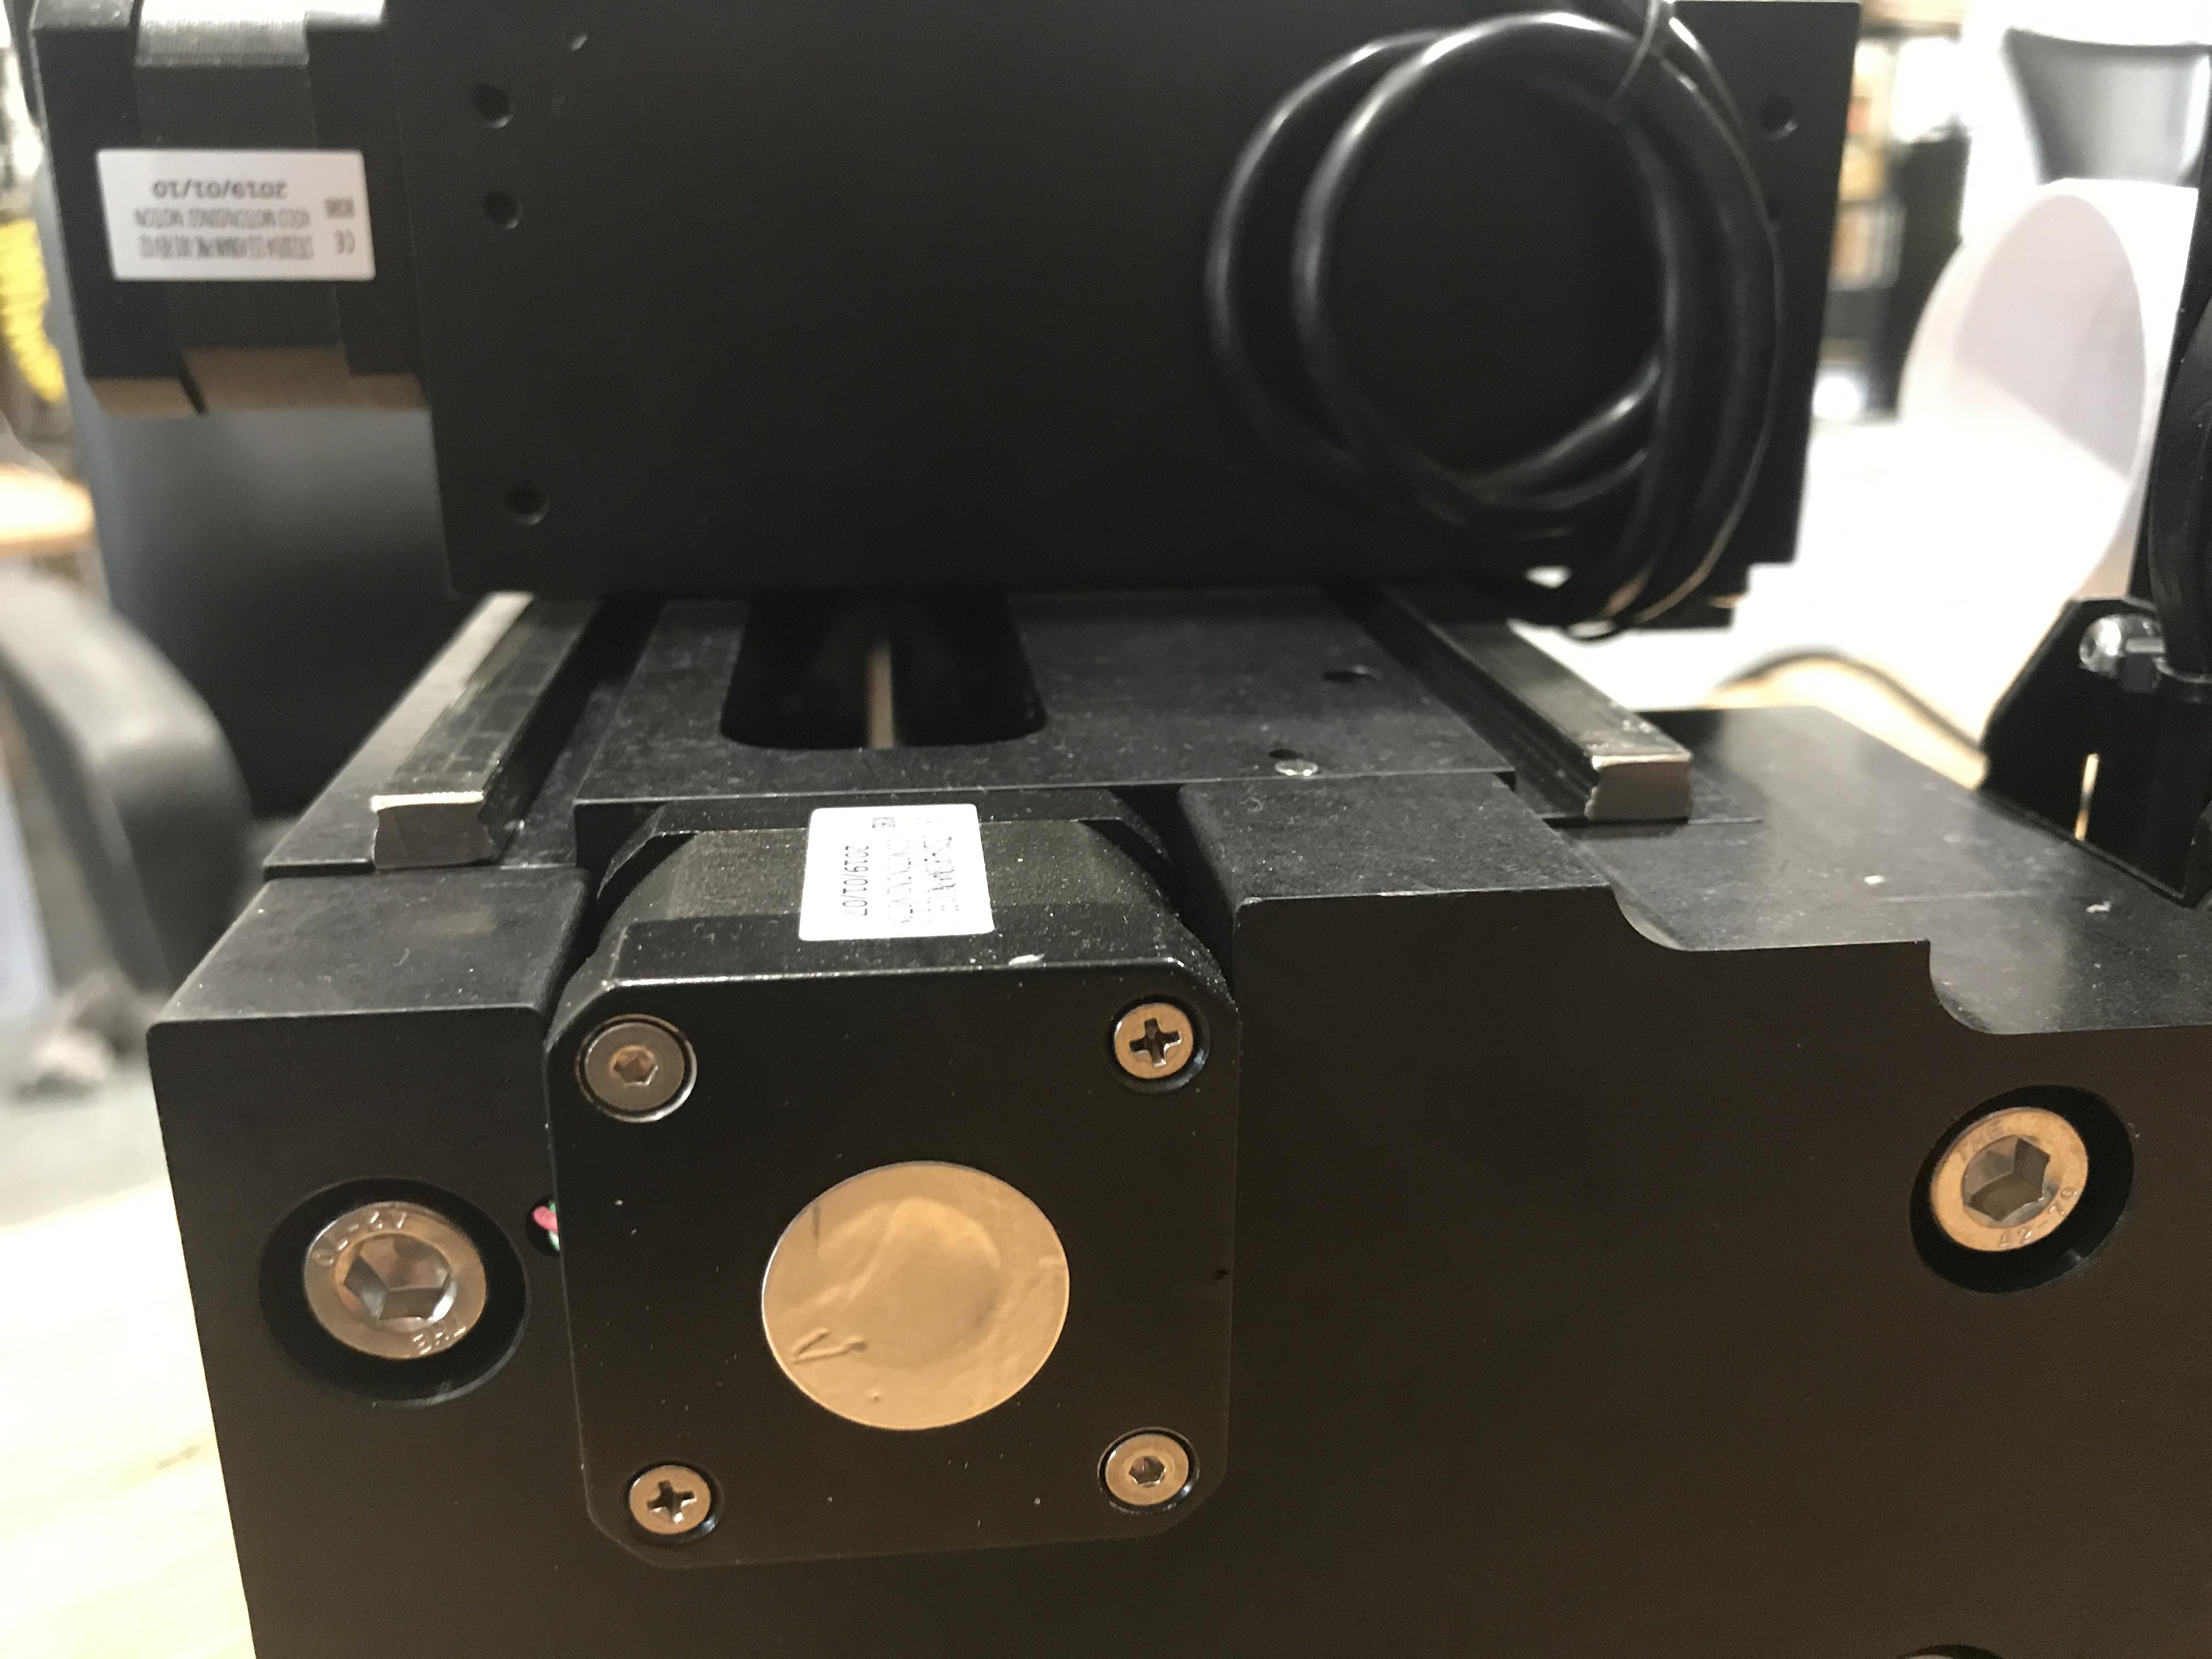
What connector is used by this sensor. where is the sensor?

Q Rothing
May 19, 2020, 10:17:28 AM5/19/20
to Pocket NC
Hi Blair,
What is the serial number of your machine? Depending on its age, your machine could have a feature that doesn't allow chips to be pushed out the backside of the channels that the X rails sit in. This results in the chips being packed underneath the X carriage, stopping the X axis from getting to its home switch.
To make sure that area is clear of chips, I usually jog the X axis all the way to its most negative position and then use something like a straightened paperclip to pick debris out from under the carriage. This is usually easiest if you work from the backside of the machine.
If you have questions on this or if you think the issue is being caused by something else, feel free to reach out to me at qrot...@pocketnc.com and we can do some troubleshooting.
Thanks!
Q Rothing
Applications Engineer, Pocket NC
blair....@cloud3d.ltd
May 19, 2020, 8:35:06 PM5/19/20
to Pocket NC
Hey Q.
Thanks for your help. Indeed my version does not have the slots at the back (thats what I get for being an early adopter). This has happened so many times but every time up until now its just requires a clean, a poke, a prod and some air to clean the tracks.
After reading your post I look a very thin bit of plastic and a torch and loosened some remmaining chips and then blasted the suckers out with the airline. Job done. Now cleaning my eyes out (joke).
Is there any mod you offer to upgrade my machine?
Q Rothing
May 20, 2020, 9:45:30 AM5/20/20
to Pocket NC
Hi Blair,
I am glad to hear that you were able to solve the problem. While it is very effective for cleaning, we typically warn against using compressed air anywhere on the machine since it can force chips into places they shouldn't be. Just an FYI for the future.
Unfortunately, we do not offer an update to the machine to solve that problem. We have changed the design so we could rebuild your machine with the new "L bracket" component but that would be fairly involved and somewhat cost prohibitive. You could modify your own machine by removing the material indicated in the attached pictures of the new design.
I hope this helps!
-Q
blair....@cloud3d.ltd
May 21, 2020, 7:00:57 PM5/21/20
to Pocket NC
Thanks for your help and suggestions on this. As an update.
The machine is now doing this more frequently. Sometimes after each cycle, this leads me to believe there is a rogue chip somewhere or I have not completely removed the blockage.
We have it in your enclosure so cleaning from the back is quite involved and requires a full clean down and removal from the enclosure. Not very cost effective.
What would the cost of an updated L bracket be? This would perhaps be cheaper than me replacing the machine as unfortunatly if this continues thats whats on the cards. I am also concerned that our other units will suffer the same fate.
Whats the procedure for removing the L bracket? Or, could this be done in situe?
Where is the sensor?
blair....@cloud3d.ltd
May 21, 2020, 9:12:20 PM5/21/20
to Pocket NC
UPDATE -
It happened again earlier and I spent over 1 hour cleaning and taking it in and out of the case. PITA and not what I needed in thge middle of a huge R&D project. I had to give up.
Then after a few beers I decided to go at it again. So armed with a roll of masking tape and some cloths to keep sparks out of the rest of the machine I fired up the angle grinder. I am like a surgeon with this thing.
However, just before my first incision I picked up an empty beer can and cut a long strip out of the side. 3mm wide.
I then used this from the front to go under the carriage of the linear bearing and low and behold, chips for days!
So, chips cleared and Im up and running again. result.
Now to step away from the gfrinder and have a well deserved rum. PocketNC, you have my address, send rum and a new L bracket. Cheers.
Q Rothing
May 26, 2020, 9:35:30 AM5/26/20
to Pocket NC
Hi Blair,
What a roller coaster of events! Thank you for updating us with your process and solution, I am sure it will help future users.
If you are seriously interested in a having a new L-bracket put on your machine I can certainly look into that for you. Just send me a direct email with your name, the serial number of your machine and your address and I can get you more information on what that would entail.
Thanks!
Q Rothing
Reply all
Reply to author
Forward
0 new messages