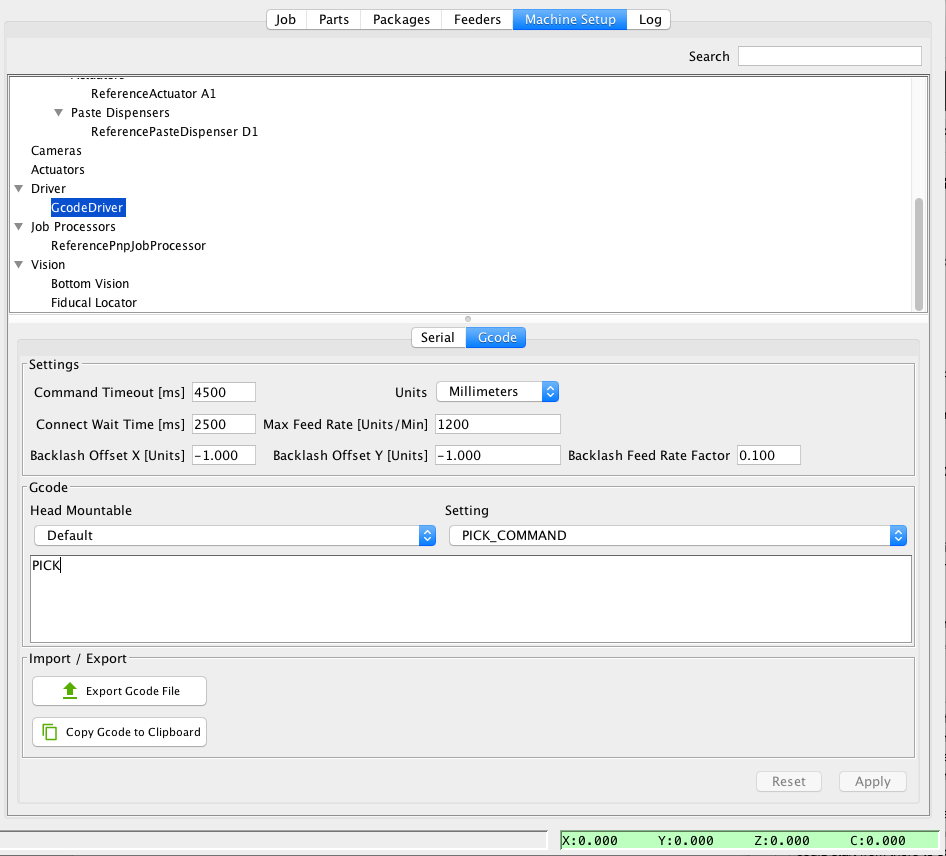
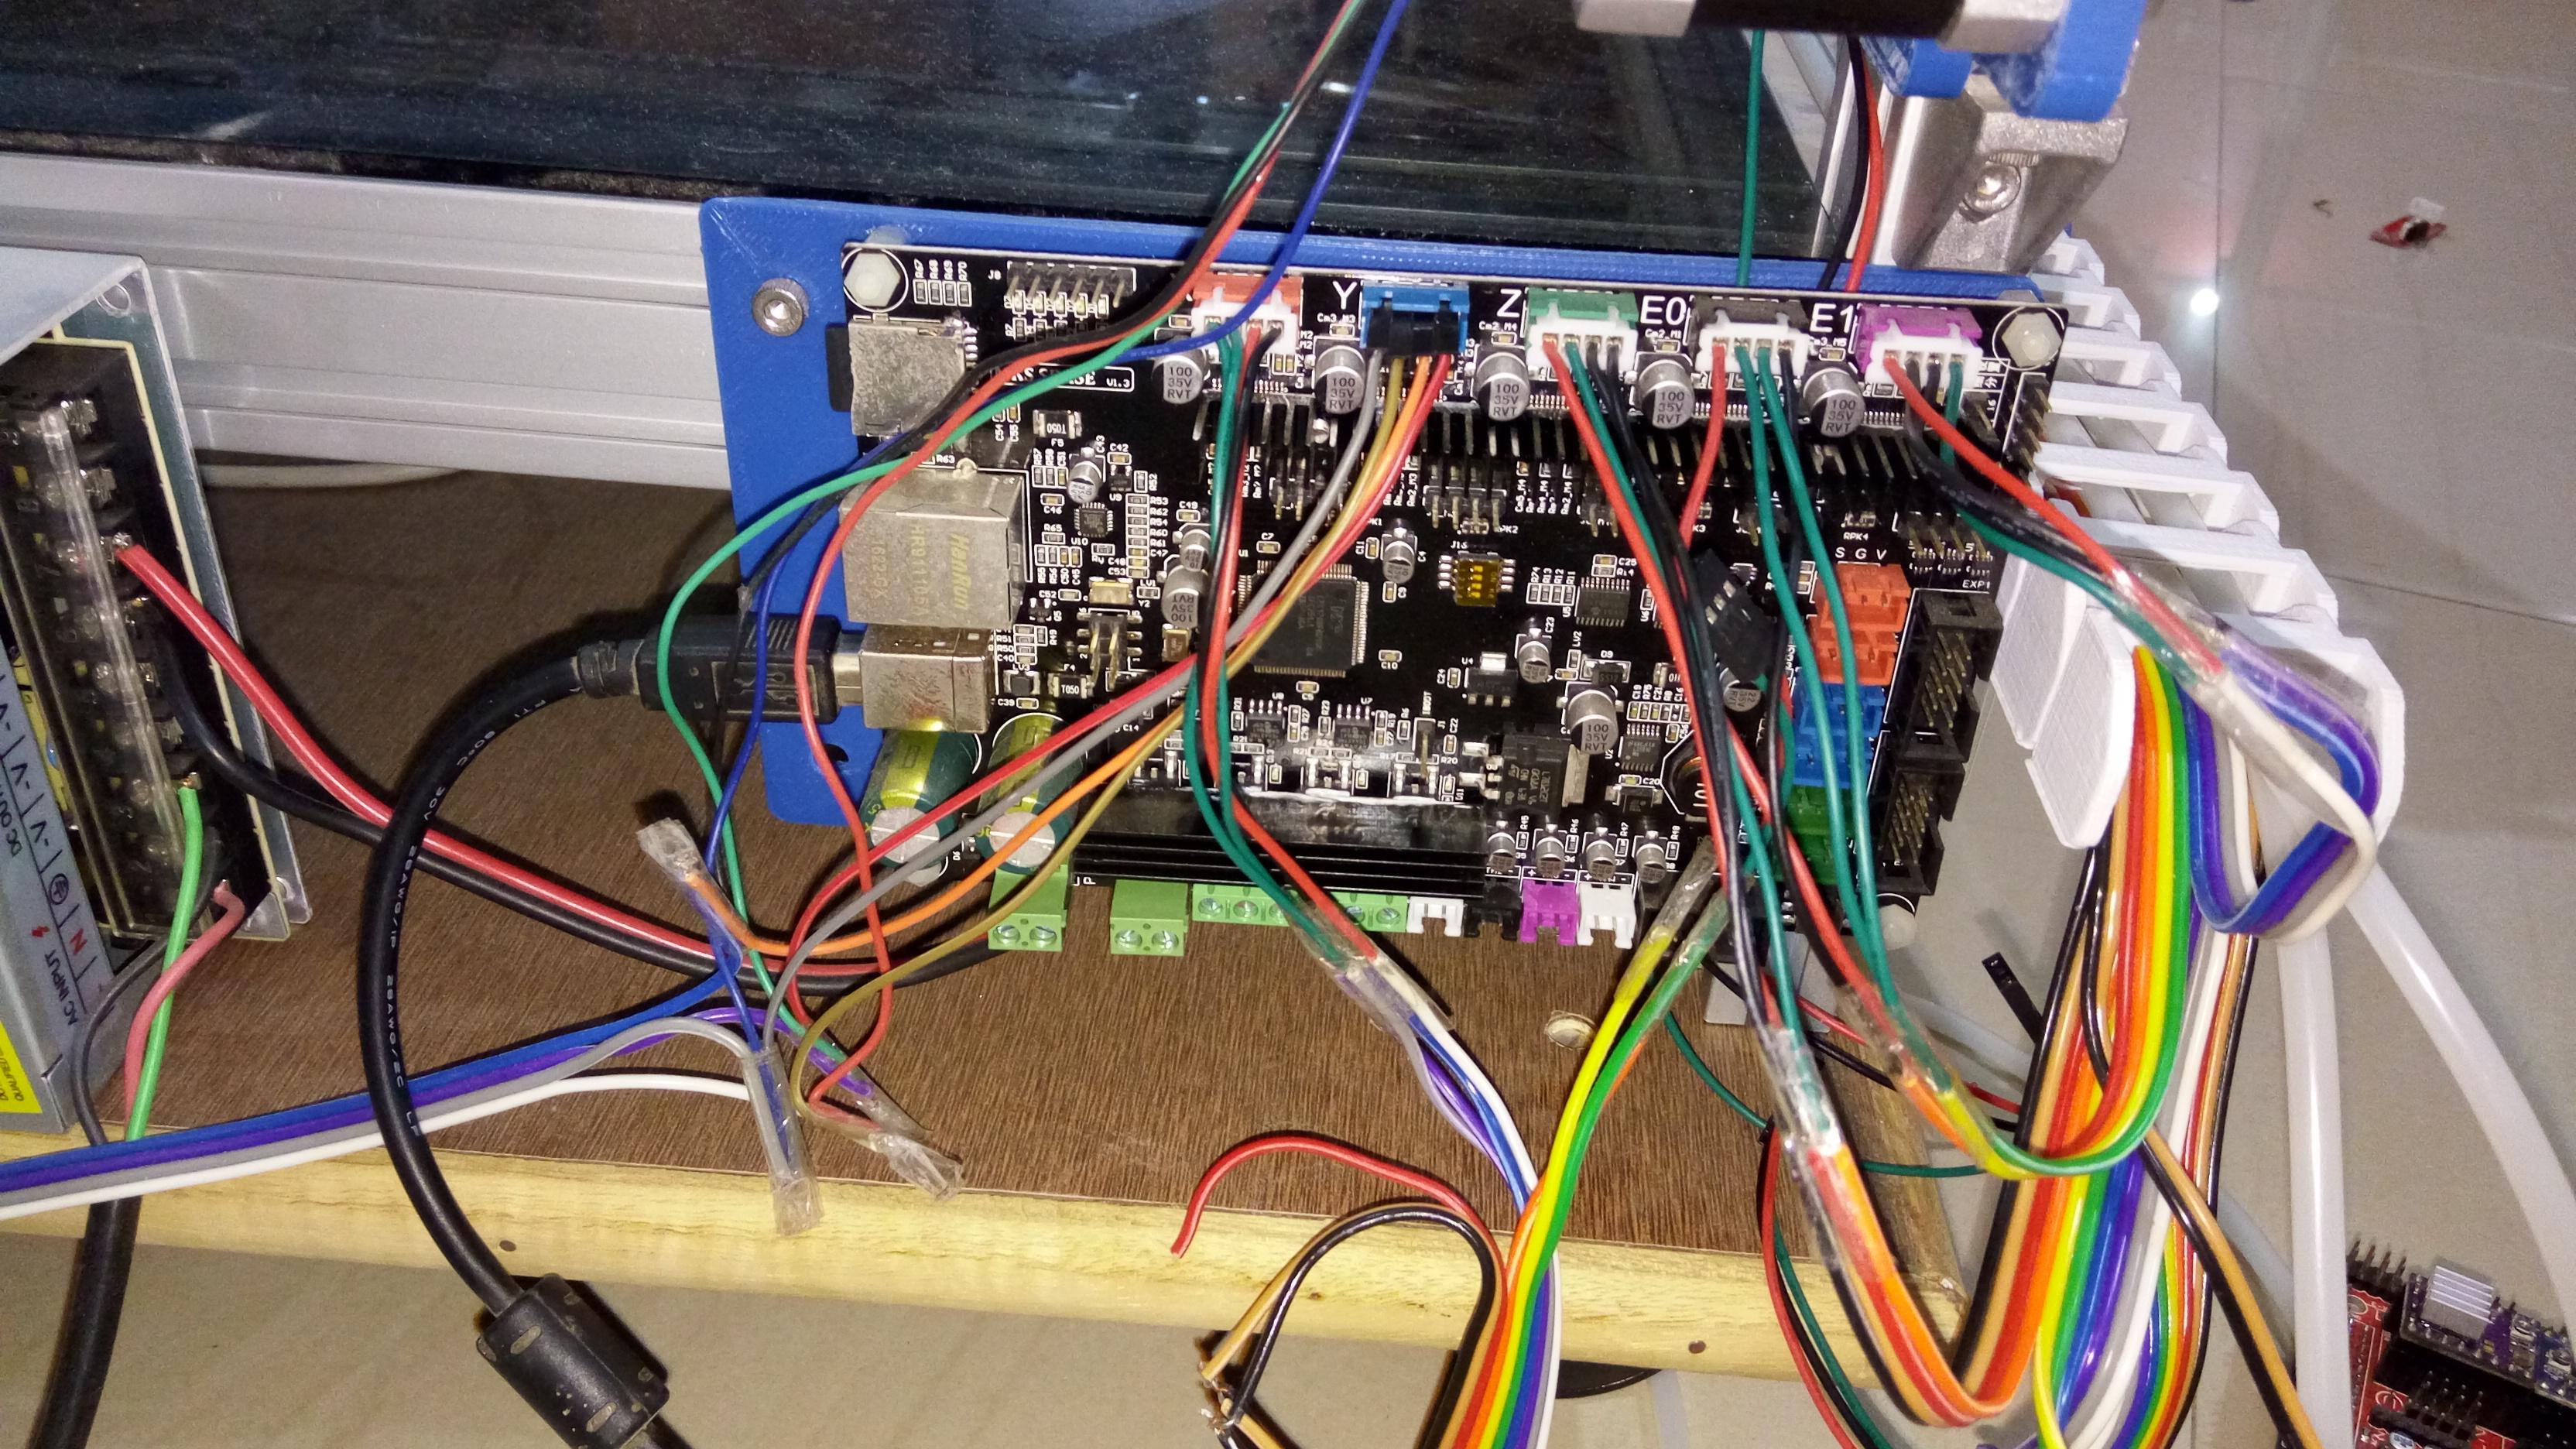
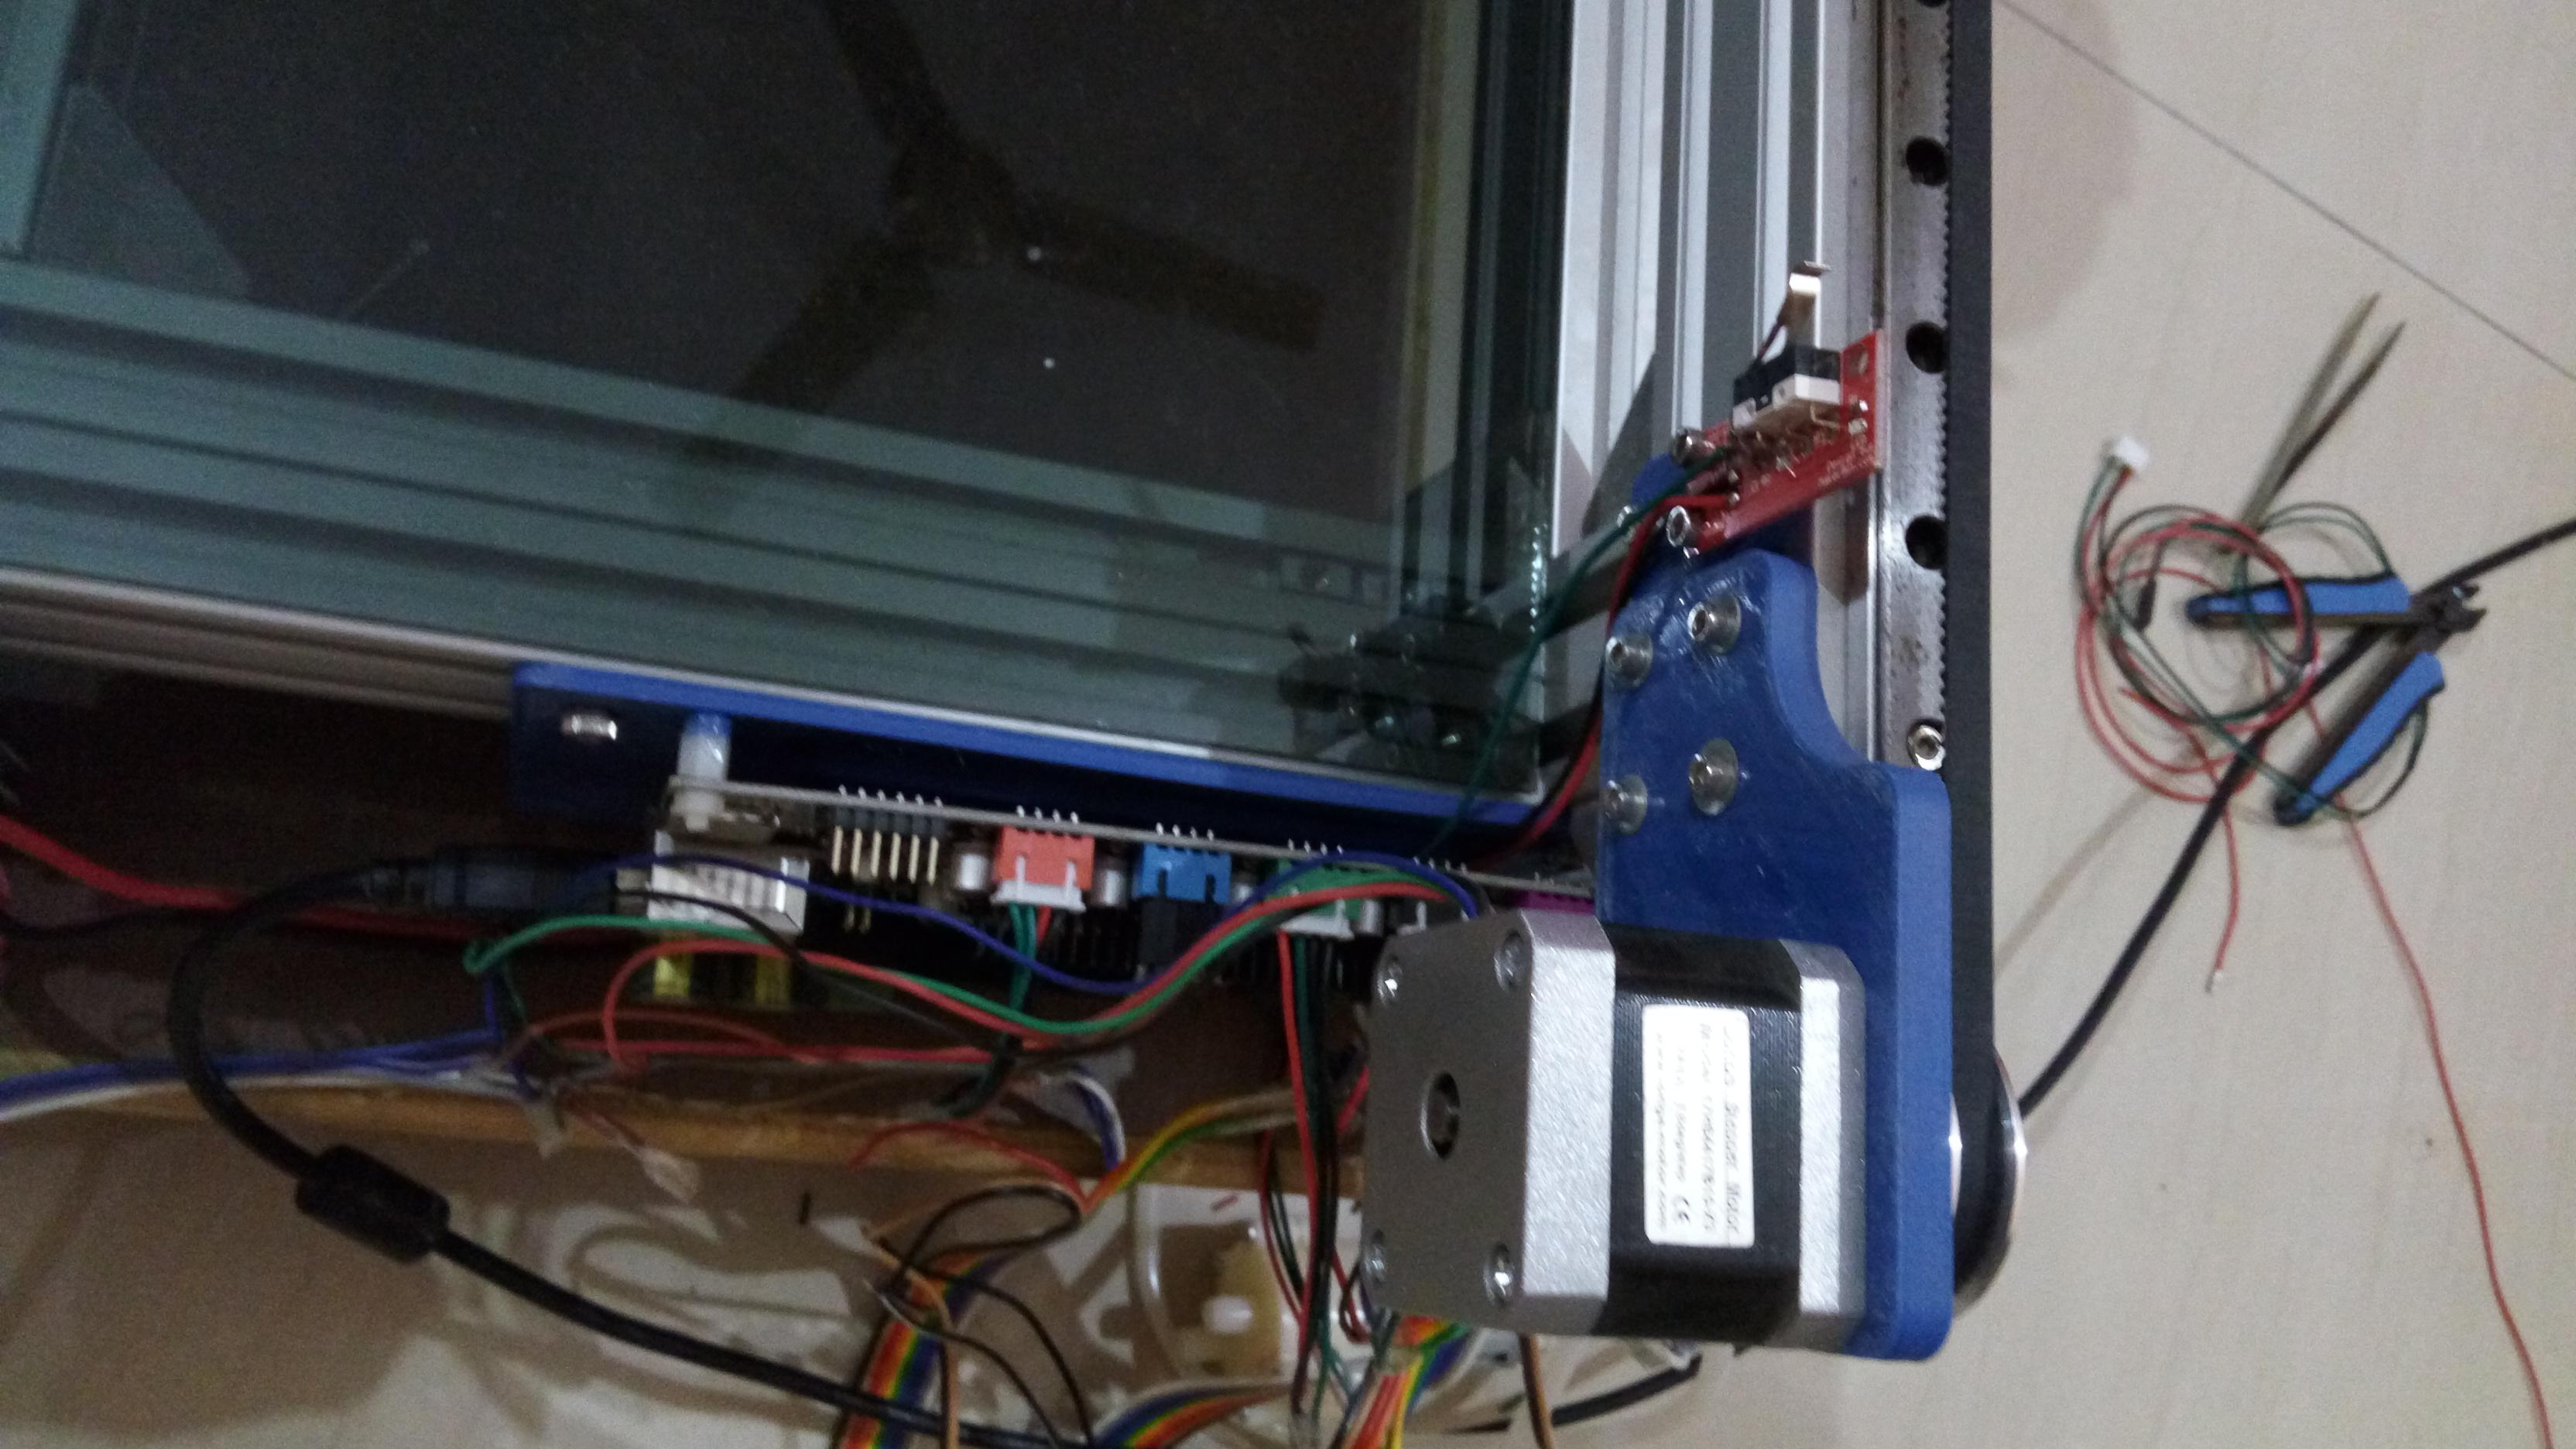
MKS sbase v1.3 setup

Francois Colmant
Francois Colmant

Jason von Nieda
--
You received this message because you are subscribed to the Google Groups "OpenPnP" group.
To unsubscribe from this group and stop receiving emails from it, send an email to openpnp+u...@googlegroups.com.
To post to this group, send email to ope...@googlegroups.com.
To view this discussion on the web visit https://groups.google.com/d/msgid/openpnp/41d73ba5-cc7c-46ef-9d43-f2db831c33e6%40googlegroups.com.
For more options, visit https://groups.google.com/d/optout.

Zeljko Zed
Francois Colmant

Daniel Dumitru
Francois Colmant

evilwulfie
I had to modify them to function with the mks base.
Mine after the modification work perfectly.
see thread on this list a few months ago.
--
You received this message because you are subscribed to the Google Groups "OpenPnP" group.
To unsubscribe from this group and stop receiving emails from it, send an email to openpnp+u...@googlegroups.com.
To post to this group, send email to ope...@googlegroups.com.
To view this discussion on the web visit https://groups.google.com/d/msgid/openpnp/375111c6-7a03-4bfa-8ffb-59787f1e0280%40googlegroups.com.
Jason von Nieda
Zeljko Zed

Dave Hunt
Francois Colmant
Francois Colmant
Thank you

Jason von Nieda
--
You received this message because you are subscribed to the Google Groups "OpenPnP" group.
To unsubscribe from this group and stop receiving emails from it, send an email to openpnp+u...@googlegroups.com.
To post to this group, send email to ope...@googlegroups.com.
To view this discussion on the web visit https://groups.google.com/d/msgid/openpnp/f487734a-4af2-4d6a-b8d2-ef4fbe267e49%40googlegroups.com.
Александр Зендриков
Jason von Nieda
Well. Although there may be errors)))).
--
You received this message because you are subscribed to the Google Groups "OpenPnP" group.
To unsubscribe from this group and stop receiving emails from it, send an email to openpnp+u...@googlegroups.com.
To post to this group, send email to ope...@googlegroups.com.
To view this discussion on the web visit https://groups.google.com/d/msgid/openpnp/300d6ed2-6eee-4a5b-86cd-53e05044b63d%40googlegroups.com.
Александр Зендриков
Александр Зендриков
Jason von Nieda
Here found error. The capture of the second nozzle is activated the solenoid from the first nozzle( the signal goes to the same port). Where it is possible to change?
--
You received this message because you are subscribed to the Google Groups "OpenPnP" group.
To unsubscribe from this group and stop receiving emails from it, send an email to openpnp+u...@googlegroups.com.
To post to this group, send email to ope...@googlegroups.com.
To view this discussion on the web visit https://groups.google.com/d/msgid/openpnp/dbdb42db-3d5d-4f93-8908-662c08ec23a0%40googlegroups.com.
Александр Зендриков
воскресенье, 4 декабря 2016 г., 22:52:14 UTC+3 пользователь Francois Colmant написал:
Hello to all,
Jason von Nieda
--
You received this message because you are subscribed to the Google Groups "OpenPnP" group.
To unsubscribe from this group and stop receiving emails from it, send an email to openpnp+u...@googlegroups.com.
To post to this group, send email to ope...@googlegroups.com.
To view this discussion on the web visit https://groups.google.com/d/msgid/openpnp/5c6cca4b-efb7-4075-ad85-103f536ea799%40googlegroups.com.
Александр Зендриков
Александр Зендриков

Jason von Nieda
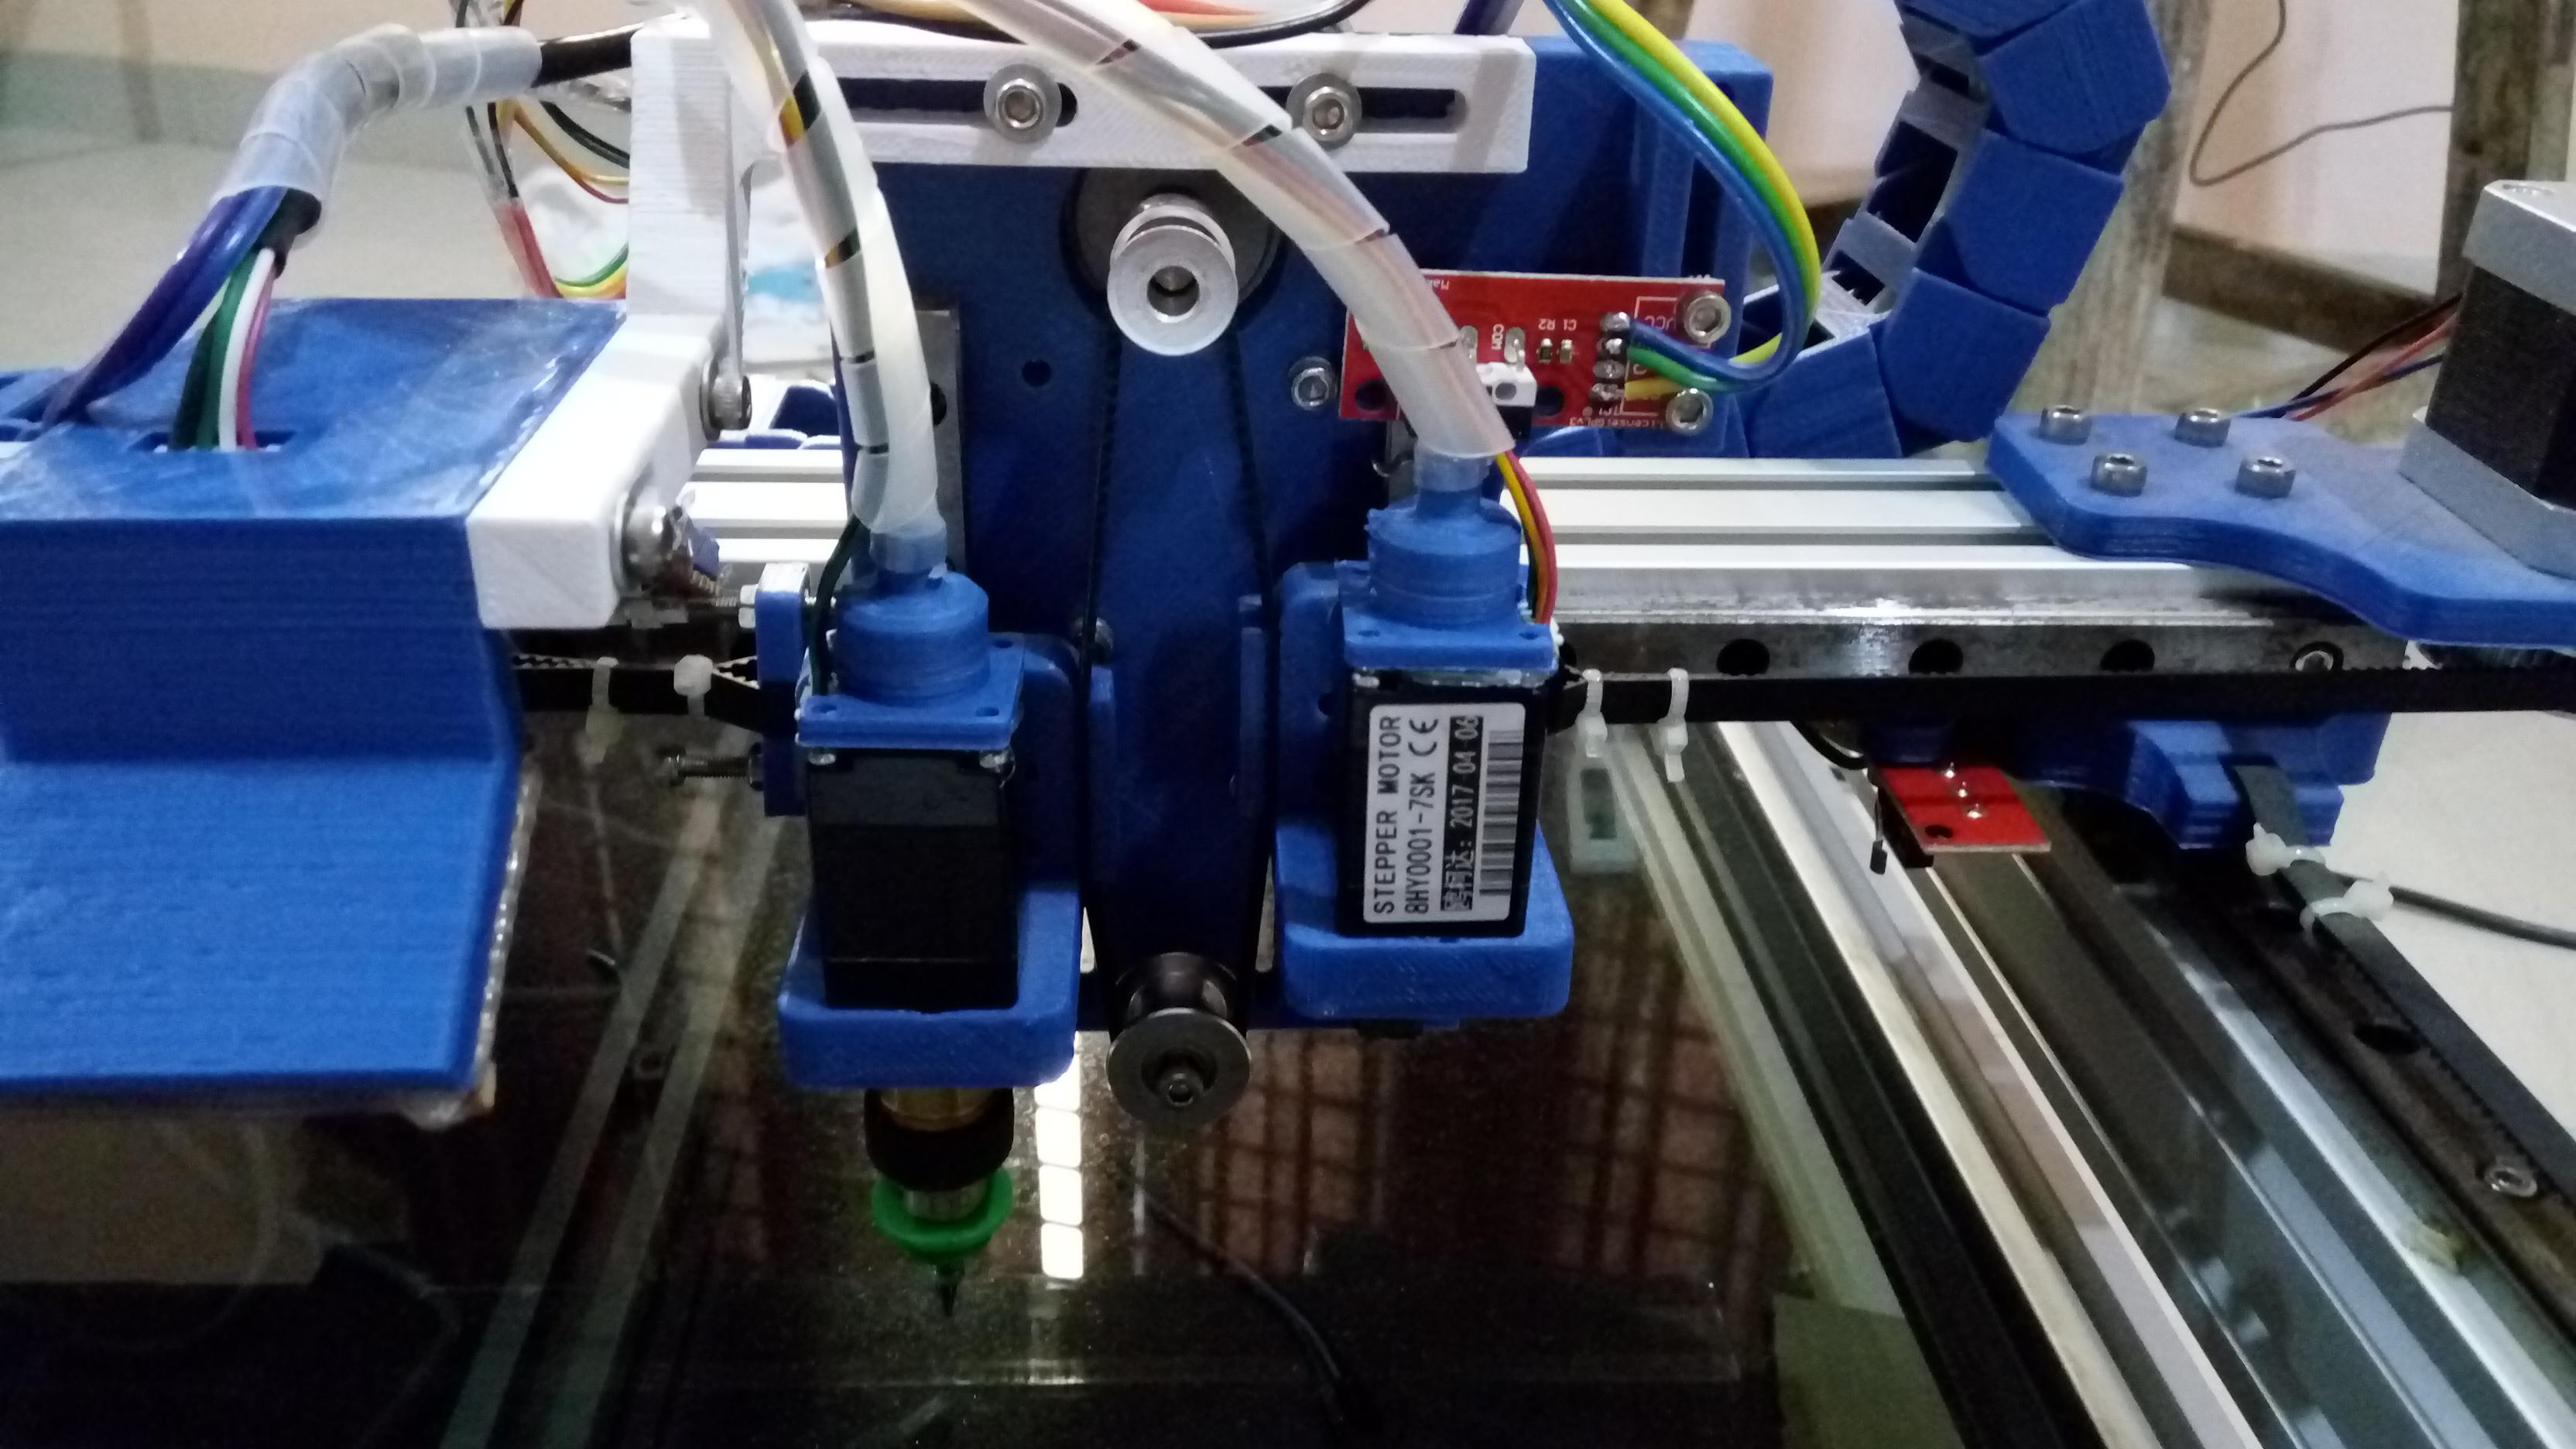
The team looks like this?
--
You received this message because you are subscribed to the Google Groups "OpenPnP" group.
To unsubscribe from this group and stop receiving emails from it, send an email to openpnp+u...@googlegroups.com.
To post to this group, send email to ope...@googlegroups.com.
To view this discussion on the web visit https://groups.google.com/d/msgid/openpnp/108366f5-2f51-495c-a1a9-4a2218dc957a%40googlegroups.com.
Jason von Nieda
Fixed , everything works. Here is the file made for the two solenoids. Thank you
--
You received this message because you are subscribed to the Google Groups "OpenPnP" group.
To unsubscribe from this group and stop receiving emails from it, send an email to openpnp+u...@googlegroups.com.
To post to this group, send email to ope...@googlegroups.com.
To view this discussion on the web visit https://groups.google.com/d/msgid/openpnp/e9c590a6-e411-47f0-b767-c6343b3180bb%40googlegroups.com.

Robo

Arie Lashansky
My setup is working using a config very
Similar to the one here.I had issues with the drv8825 missing steps on the C motors.The diode mod improved it. But I still have high pitch noise from the motor.I will try using a external dive
as the motor is heating up at 0.6amps current limit
I am waiting for the drag chain and still have no End stops and still no base board or metal plate
http//www.engineerination.com/2015/02/drv8825-missing-steps.html?m=1

Bernd Walter
On Sunday, June 11, 2017 at 7:32:06 AM UTC+2, Arie Lashansky wrote:
Hi RoboMy setup is working using a config very
Similar to the one here.I had issues with the drv8825 missing steps on the C motors.The diode mod improved it. But I still have high pitch noise from the motor.I will try using a external dive
as the motor is heating up at 0.6amps current limit
Not that long ago I had been suggesting using the DRV8825 modules because they can handle 24V and high currents quite efficiently.
But in the meantime I've faced the same issue in another setup, which completely changed my mind on those modules.
This is not exactly loosing steps, but a problem with low motor current in specific microstepping positions, which could lead to lost steps of course.
What adds to this problem are 3 factors.
Higher voltage, low maximum current and low inductance in the motor.
In the given case I've had been using a NEMA17 with 1,7A, which means it is low inductance, since it gets it's magnetic field with current and not lots of windings.
But I was using a lower configured current of just about 1A.
Once I've switched from 12V to 24V the problem was there.
Higher current was good, but in this case unwanted as I wanted to run the drivers without a fan.
My personal current decision for my own PnP machine will be to use LV8729 for X, Y and Z.
I havn't tested them fully yet, but so far they seem to be ok.
I've tested them with 24V at configured 1A, but not with the high current NEMA17 motors yet.
The downside of the LV8729 is that they can't handle more than 1,5A.
I have the yellow boards from MKS with the chip on the bottom side.
There are also some other LV8729 boards on Aliexpress.
Not sure if I will keep the 128x microstepping, since I'm using an AVR based board.
Your ARM based board should be fine with the higher step rate required for fast movements.
The rotation axes will be using TMC2100 modules.
They just use 16x microstepping to the outside, but interpolate to 256x for smooth movement.
The preconfigured setup, even for the chines boards can't do much torque, but run smooth.
I don't think that much torque is needed to rotate.
The TMC2100 are more expensive than the LV8729, but I already have them.
I don't know how the LV8729 behaves at low currents to avoid motor heat, but the TMC2100 should do well.
That said: I'm still not having a productive machine myself.
Robo

Trampas Stern
Trampas Stern
Trampas Stern

Christophe Buchelot
Hello, i don t know if somebody could help me ... Is it possible to add button to control the second rotation motor in Openpnp ?
Robo
I ll upload machine and xml file soon.

Tung Nguyen

Tung Nguyen
hi all


