Groups keyboard shortcuts have been updated
Dismiss
See shortcuts

Cricut spatula alternative?

1,095 views
Skip to first unread message

Bryon Miller

unread,
May 19, 2014, 11:21:37 AM5/19/14
to make...@googlegroups.com
Is there an alternative to the Cricut Spatula for removing parts from an acrylic build plate on the REP 2?  I like the Cricut and it works great for most parts, but the metal is so weak, I've already broken 2 of these spatulas trying to remove parts.  Now I use the broken pieces to try and pry the parts off the plate, it takes a lot of work to get that piece under the part sometimes and I'm sure one day the build plate will look like a crime scene because when these things break, there are sharp edges all over them.  It also appears that sellers must know that these are sought after by rep 2 owners and other 3d printers because the price of these spatulas has more than doubled.  I was buying these for about $5 or $6, now I can't find one for under $12.

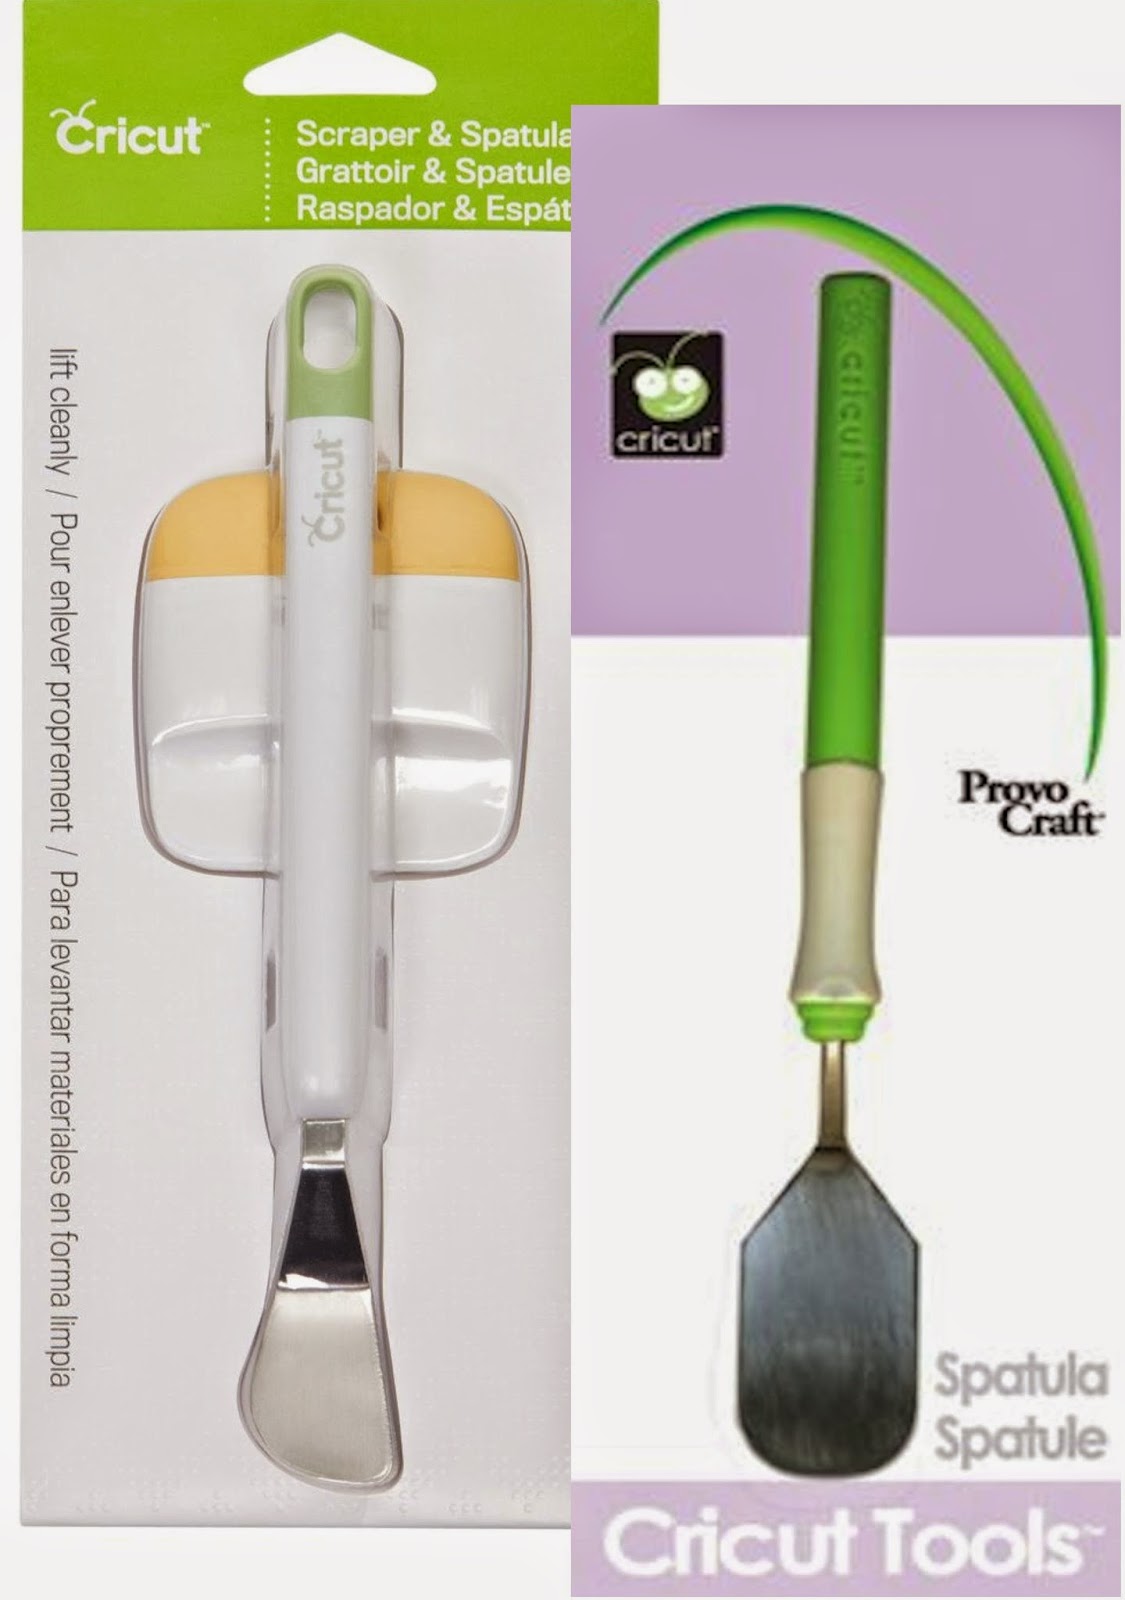
Is there a tool out there that is as thin as this spatula but has the strength of a putty knife?  What do you use if you're not using the cricut spatula to remove your prints?

Ryan Carlyle

unread,
May 19, 2014, 11:44:20 AM5/19/14
to make...@googlegroups.com
Well, you can go back to a glass build plate so you don't have to pry prints off with so much he-man strength... Or design removal slots into the base of your parts. Or put a little hairspray on the acrylic as a water-soluble release agent. Or get a PrintInZ plate or Lexan plate that you can flex.

I have a painter's multipurpose tool as a backup for my Cricut, but I've never broken the Cricut.

Ken Hecker

unread,
May 19, 2014, 12:29:48 PM5/19/14
to make...@googlegroups.com
Bryon, if you are talking about the strangely shaped Cricut, with the knife edge, it is the pits.  (see attached photos)  I first bought the small symmetrical Cricut, but kept loosing it, so bought this "knife"  Every time I'd try to pry something off the build plate, it would add another nick to the blade.  The "knife" blade is .0065" thick, where as the much better symmetrical spatula is .0155" thick.  I know what you mean about the prices, but that third offering shown on Amazon, for the thicker blade for  $513.38, is either a typo, it's made of solid platinum, or the guy figures if he sells just one, he's set for the year :)

If you're having problems getting prints to release from the build plate, at least with the 2X aluminum build plate, you can also turn a can of compressed air upside down, and hit the print with the liquid.  That works very well for me, but you might not want to use that with a glass platform.  I think you can trust the symmetrical Cricut spatula to hold up through the most vigorous prying.

Ken
CricutSpatula.jpg

PrettySmallThings

unread,
May 19, 2014, 2:02:23 PM5/19/14
to make...@googlegroups.com
Another paint scraper alternative - a stainless kitchen/dough cutter: http://www.amazon.com/gp/aw/d/B00AECMDEA?pc_redir=1400181649&robot_redir=1

But I typically use a circuit - just break out the bigger sturdier tools when a print is really stuck. You'll still need one with the dough cutter to get a corner started.

Techno20

unread,
May 19, 2014, 2:05:12 PM5/19/14
to make...@googlegroups.com
I use Emmetts blade scraper from Thingiverse. Works great every time.
 
I also have a  Cricket Spatula and sometimes have to use that on larger parts to get to the center after starting with Emmetts first. 

Gregory Sullivan

unread,
May 19, 2014, 2:36:07 PM5/19/14
to make...@googlegroups.com
I just use the big xacto blade thats 90 degrees to the handle axis. it is stiff enough to just pop the parts off

Waltermixxx

unread,
May 19, 2014, 2:53:37 PM5/19/14
to make...@googlegroups.com
I bought one of the Cricut spatulas and thought this is very handy for removing stuck items from the blue masking tape...

then I discovered Lee Valley had some cool items for removing parts from the build platform as well:

Attachments (2)
cake.jpg
7 KB   View   Download
frosting.jpg
5 KB   View   Download


On Monday, May 19, 2014 11:21:37 AM UTC-4, Bryon Miller wrote:

3DwannaB

unread,
May 19, 2014, 3:05:46 PM5/19/14
to make...@googlegroups.com
ToybuilderLabs.com was giving away an AWESOME spatula at San Mateo Maker Fair last weekend! Think Cricut but with a long blade.

On Monday, May 19, 2014 8:21:37 AM UTC-7, Bryon Miller wrote:

Steve77

unread,
May 19, 2014, 3:19:25 PM5/19/14
to make...@googlegroups.com


Byron:


I had problems with the Circuit spatula breaking, so I printed a holder for the blade that came off the Circuit. This works great
and I have not had any issues for a year. I put the blade against the part and tap the end of the holder to get the part off.
I have included a photo below.


On Monday, May 19, 2014 8:21:37 AM UTC-7, Bryon Miller wrote:

Jake

unread,
May 19, 2014, 3:20:11 PM5/19/14
to make...@googlegroups.com
Damn west coasters get all the good swag.

Bryon Miller

unread,
May 19, 2014, 3:26:07 PM5/19/14
to make...@googlegroups.com
Wow that's awesome, it would be perfect for the blade I have left.  Is there any chance you would be willing to share the STL?  I'd love to print it up, I'm not bleeding using the blade now, but thats because I'm going to develop king kong hands at the rate these calusus are forming.

khe...@roadrunner.com

unread,
May 19, 2014, 3:37:51 PM5/19/14
to make...@googlegroups.com
Steve77, can you put that up on Thingiverse as an .STL? Haven't broken my Cricut spatula yet, but you never know.

Ken

Steve77

unread,
May 19, 2014, 3:41:45 PM5/19/14
to make...@googlegroups.com


Byron:

I attached the x3g and STL files. It has been awhile, but I think you will need to rotate the STL file in the slicer to get the flat side down on the build plate.

I printed the parts, put the Circuit blade on the ramp of the holder, then glued the top over the blade with PVC cement and it was good to go.

Let me know if you have any problems.


Steve
SpatulaHandle.x3g
SpatulaHandle.stl

Bryon Miller

unread,
May 19, 2014, 3:50:12 PM5/19/14
to make...@googlegroups.com
Thank you so much Steve, I'm going to print this up right now in black.  This is awesome, a real world use for a 3d printer that actually solved an issue for me.  Thank you for designing and sharing this.

Steve77

unread,
May 19, 2014, 4:11:25 PM5/19/14
to make...@googlegroups.com

Byron:

You are welcome. I have learned a lot from people on this board, glad to offer something back. Let me know how it works.

Using a Circuit may sometimes scratch the build plate. You can get acrylic build plates made at Tap Plastics for around ten bucks, I keep a couple in stock and change to a new one every three months or so. They seem to warp over time.

Another great mod that is not talked about much is to get some small felt pads at office depot, similar in size to the ones that are under the build plate. Instead of three I put down about 8 and also change them out every three months or so. Doing that made a
significant difference in leveling. Well, Guess I am starting to get off topic...


Steve

Joseph Chiu

unread,
May 19, 2014, 4:43:12 PM5/19/14
to make...@googlegroups.com

We will have them up on our site soon...  We probably will give some away first, then have the rest up for sale...

--
You received this message because you are subscribed to the Google Groups "MakerBot Operators" group.
To unsubscribe from this group and stop receiving emails from it, send an email to makerbot+u...@googlegroups.com.
For more options, visit https://groups.google.com/d/optout.
20140519_133837.jpg

Steve77

unread,
May 19, 2014, 5:19:58 PM5/19/14
to make...@googlegroups.com, joe...@joechiu.com


Joseph:

That looks like a great tool. 

I would probably cut the end off flat so I could tap on it with a small mallet 
when parts are really stuck on tight. That saves wear and tear on the hands.

Scottbee

unread,
May 19, 2014, 5:27:56 PM5/19/14
to make...@googlegroups.com
How thick is it Joseph? Does it double as a leveling feeler gauge?? ;)

Gian Pablo

unread,
May 19, 2014, 5:39:47 PM5/19/14
to make...@googlegroups.com
It does indeed double as a feeler gauge. It is a bit thicker than you would need for optimum levelling, but you can use it to level, and then just turn each adjustment screw by a quarter turn or so to get the right clearance.

Joseph Chiu

unread,
May 19, 2014, 5:46:17 PM5/19/14
to make...@googlegroups.com

It works great as a feeler gauge to gap the nozzle consistently all around!  It is actually great for that, though it is slightly to thick to use as-iss. I usually loosen all four screws the same 1/8-turn after getting the bed trammed.  Our I apply blue tape on after seeing the gapping without the tape.
The nice thing with this tool is that it makes it easy to tram the hot bed when it is hot -- much more pleasant than when using a piece of paper to do the same!  (If you do use paper, a Post It (tm) turned upside down is easier to use - the adhesive makes it easier to hang on to the paper. )

On May 19, 2014 2:28 PM, "Scottbee" <scott.e...@gmail.com> wrote:
How thick is it Joseph? Does it double as a leveling feeler gauge??  ;)

Joseph Chiu

unread,
May 19, 2014, 5:58:42 PM5/19/14
to Steve77, make...@googlegroups.com

This "spatula" is not quite as good for attacking a very stuck on print head on.  I would use the Cricut to start prying the print off the bed, and then follow through with this device.

tlocane

unread,
May 19, 2014, 6:00:07 PM5/19/14
to make...@googlegroups.com
I'm using a painter's palette knife, probably similar to the Cricut. It's from Dick Blick Art Supplies and can be purchased online or in one of their brick n mortar stores. Here it is.
My 5th Gen would sometimes print items so stuck to the blue tape on glass bed that this knife was the only way to pry it off. It's very strong yet thin and flexible enough to get under a stuck on piece.


On Monday, May 19, 2014 11:21:37 AM UTC-4, Bryon Miller wrote:

Gary Crowell

unread,
May 19, 2014, 6:18:56 PM5/19/14
to make...@googlegroups.com
I use a nice sharp, straight 1/2" wood chisel.  Used upside-down, the sharp edge catches the bottom of the print, and provides a perfect fulcrum to pry the print upwards.  Haven't used my Cricut spatula in about a year.  It'll never break; used just for this it will never get dull.  Though I've only used it with a kapton surface, I don't know why it wouldn't work with others.  You must resist the temptation to rock it side-to-side - that will gouge the surface.  I've been tempted to try grinding off the corners, but since I've learned to go straight into the print, and just press down to pry, I haven't had any gouging problems.


--
You received this message because you are subscribed to the Google Groups "MakerBot Operators" group.
To unsubscribe from this group and stop receiving emails from it, send an email to makerbot+u...@googlegroups.com.
For more options, visit https://groups.google.com/d/optout.


--
----------------------------------------------
Gary A. Crowell Sr., P.E., CID+

Heath Erskine

unread,
May 19, 2014, 7:03:06 PM5/19/14
to make...@googlegroups.com
I like to use this long narrow carving knife.  I can reach the entire print from the front window.

And it's free!  Grab it from the butcher block knife holder on the kitchen counter.  Just don't tell the wife.
knife.JPG

jtuei

unread,
May 19, 2014, 7:15:53 PM5/19/14
to make...@googlegroups.com
I have this OXO Cut and Server Turner spatula.

 This is really good. The front edge has been bevelled to a pretty fine edge, the metal itself is pretty rigid and will allow you to use some force.

I was able to just slide the spatula under the print and if I kept sliding the front edge (essentially an inclined plane) helps to lever it up from the build plate.


On Monday, May 19, 2014 8:21:37 AM UTC-7, Bryon Miller wrote:

Dale-D

unread,
Aug 3, 2014, 11:26:36 AM8/3/14
to make...@googlegroups.com
I use my wife's icing spatula. It is stainless and .6mm thick


Ken Hecker

unread,
Aug 3, 2014, 12:36:45 PM8/3/14
to make...@googlegroups.com

If you want to use anything from the kitchen, it is a better idea to go out and buy your own.  Wives do NOT like husbands messing with their tools.  The photo looks like a classic art palette knife.  Here's mine (yeah, the back side always looks like that - you should see the bottom of my Rep 2X right now :)   )  I use the symmetrical Cricut spatula for removing from my build plate.

Waltermixxx

unread,
Aug 3, 2014, 2:57:26 PM8/3/14
to make...@googlegroups.com
I bought one of the Cricut spatulas and thought this is very handy for removing stuck items from the blue masking tape...

But then I discovered Lee Valley had some cool items for removing parts from the build platform as well:

much better than the little cricut. :)


Cheers :)


Waltermixxx

unread,
Aug 3, 2014, 2:58:17 PM8/3/14
to make...@googlegroups.com
My God I'm getting old, and repeating myself... :)

DonaldJ

unread,
Aug 3, 2014, 7:03:26 PM8/3/14
to make...@googlegroups.com
Back in the days when I was printing on blue painter's tape, I'd like to use a big honking knife to remove parts.  The duller the better to avoid cutting into the tape.

You could work the curved section under the part and with a twist of the wrist the part was released; lots of leverage.  The size is good for reaching into enclosed printers.
 
tool.jpg

ScottJD

unread,
Aug 3, 2014, 8:40:57 PM8/3/14
to make...@googlegroups.com
I've used the cricut for some time now but I plan on trying this one soon also from toybuilder.
The cricut works good for me, but it also like the fact that the toybuilder one is consistent in thickness and can be used for leveling your bed.

http://www.toybuilderlabs.com/collections/featured/products/toybuilder-labs-palette-knife

Bonekollector

unread,
Aug 4, 2014, 12:22:37 AM8/4/14
to make...@googlegroups.com
I used to use the circuit spatula & broke 2, so I switched to this:

http://m.homedepot.com/p/Husky-14-in-1-Painter-s-Tool-DSX-G14/202038673

Works amazingly well & the irregular shape comes in handy at times. I should ad I only use it on glass.

Joe Soap

unread,
Aug 4, 2014, 5:11:38 AM8/4/14
to make...@googlegroups.com
Awhile back I measured the cricut spatula with a micrometer - I recall
it was about 0.35mm - which is quite thick compared to the layer height.

I compared these which I bought on ebay:

http://www.ebay.co.uk/itm/390857661997

They measure about half the depth. That does make them quite flimsy, and
you can put a bend in the spatula if you apply too much pressure.
However I do find that if I start with the cricut and switch to these it
works well.
---
This email is free from viruses and malware because avast! Antivirus protection is active.
http://www.avast.com

Ken Hecker

unread,
Aug 4, 2014, 7:23:42 PM8/4/14
to make...@googlegroups.com, joe.s...@gmail.com

I've noticed throughout this discussion, the term "cricut spatula" is used, without noting WHICH Cricut spatula.  As shown in the photo, there is a spatula with a symmetrically-shaped end (right), and one that is un-symmetrical (left).  I measure the symmetrical one as having a thickness of from .4mm down to .34mm at the edge,  and the un-symmetrical one as tapering down to .08mm at the business end.  I believe both are made to pick up the cut shapes left behind when using the Cricut machine and cartridges.  The un-symmetrical's metal is so weak, and the edge so thin that any use, like trying to wedge the edge under a solid part, will cause damage to the spatula.  Since Cricut doesn't seem to ever mention a part number for the weak one, when I suggest a Cricut spatula, I mean the thicker symmetrical one on the right.

Scott

unread,
Aug 4, 2014, 10:17:53 PM8/4/14
to make...@googlegroups.com
My comments were specific to the one on the right. But mine is a little more aggressive in the tapering since I sanded down some of it towards the front to get under the parts better. And as it inserts it lifts the part breaking it free from the board or glass, or whatever.

Stan Velijev

unread,
Aug 5, 2014, 7:11:23 AM8/5/14
to make...@googlegroups.com
I use a wood chisel that I've sanded to remove any rough edges, then dulled the tip so it doesn't dig into my acrylic bed.
I don't actually use it for prying, I slide it into the print at force and the shock to the base of the print makes the prints pop off without any damage to the build plate. It sort of bifurcates the print from the bed.

Sometimes it'll need a few hits from different angles, but when the print comes off the bottom is perfect. Once in a while I'll need to use the cricut, but in that case the plastic is usually stuck on so hard that chunks of PLA will get ripped off and stuck to the print bed. If you're in this scenario, your first layer temp is too high and you need to drop that down for easier removal. Enabling the fan for the first layer can also help with removal, I've found it has a similar effect to dropping the first layer temp by about 10 degrees.

Printing on an acrylic bed is a bit of a fine balance between too stuck and poor adhesion. There's a 10-15 degree sweet spot where you can remove PLA prints easily without any peeling mid-print.

Rob Griesbeck

unread,
Aug 6, 2014, 6:53:18 PM8/6/14
to make...@googlegroups.com
I like the ones at toybuilderlabs, but I really loved the angled ones that they used to have... Get more!
Reply all
Reply to author
Forward
0 new messages