Introducing The Last Build Plate You'll Ever Want

Bottleworks
The build surface is a removable 3mm thick borosilicate glass secured to the heater plate by Neodymium Iron Boron (NdFeB) magnets recessed into the heater plate. To remove, simply pull the build surface by the handles and remove from the machine. Using glass as a build surface provides a clean, true, build surface.
Having a removable build surface allows for easier removal of your finished prints and surface preparation (tape application, or other experimental adhesives).
The heater plate is heated by a 130W heater controlled by the Replicator's Mightyboard. This will be available for the Replicator 1, 2, and 2X machines. Replicator 2 owners will have to upgrade their power supply to a higher amperage version. Replicator 1 and 2X users can use their existing power supplies.
Thoughts? Who's interested?

SMT Guy Austin, Texas

Divine Shadow
WoW , Thats one hell of an upgrade, definitely on my wish list!

Pascal POECK

Jake

david b

Eighty

Infinityplusplus

Jonathan Wild
Jake
Bottleworks
There is a lot that goes into this. The glass is custom made, the heaters are custom made, the underside stainless steel cover plate is custom made...Everything but the bolts are custom made. Replacement glass build surfaces will be available as extras/replacements. Yes, the left nozzle should clear on a 2X, dual Rep1. As for replacement power supplies, I am trying to work that out. For the "hacker" type of person, you can get a power supply for less then $30. For someone who wants a correct OEM style P/S, it will cost more, but I'm working on that.
On Saturday, May 18, 2013 9:18:21 AM UTC-4, Bottleworks wrote:
Bottleworks

Darrell jan

Jetguy
Step 2 is to remove the other weak points from the system such as the
power supply connector and the power switch.
Step3 is buy and use this
http://www.lightobject.com/DC-24V-15A-Switching-Power-Supply-Good-for-CNC-Stepping-Motor-Drive-P447.aspx
Step 4 is to use a mod like this:
http://www.flickr.com/photos/90025904@N04/8682683153/
sorry for the bad pic, jut note the hole where the power plug used to
be and the heavy #12 wire size used.
http://www.flickr.com/photos/90025904@N04/8683797948/
I'm saying this because the stock supply is KNOWN to be too small for
the job, even the bigger 220 watt version.
The bed is 130 Watts, the 2 heaters in a dual are 40 Watts each.
That's 210 Watts and we have yet to run the motors, LEDs, fans, or
electronics.
This is why Makerbot made a change in the firmware that still lives on
to this day http://www.makerbot.com/blog/2012/03/14/update-o-rama-replicatorg-0034-replicator-firmware-5-2/
Two (cough, cough BS) faster warmup steps. No, it's to keep from
blowing up the PSU.
Further, the default start.gcode you all print with every single time
reduces the X-Y stepper current to zero after you have homed and went
to the warmup position for the same reason. Ever wonder why those
really big platform filling prints go off the edge sometime? Yes, that
is the single dumbest assumption to home and then disable current on
the steppers and "pray" nothing moves or bumps the prints heads during
the warmup.
http://groups.google.com/group/jetty-firmware/browse_thread/thread/f536369ab5e70952/a4ff2dd8cace222b?lnk=gst&q=start#a4ff2dd8cace222b
It should be noted why I say replace the connector and the switch.
Both are rated at 10A. The stock power supply is 9.2A. You NEVER
should run any connector or switch anywhere near the rated value. They
are mechanical and will fail over time. By using a now rated 15A max
supply, the connector and the switch are the next weak link. If you
are going to do the mod, you might as well fix EVERYTHING down to the
connectors and the gcode itself.

Mike Hellers
--
You received this message because you are subscribed to the Google Groups "MakerBot Operators" group.
To unsubscribe from this group and stop receiving emails from it, send an email to makerbot+u...@googlegroups.com.
For more options, visit https://groups.google.com/groups/opt_out.
Jetguy
amazing work. So far, his upgrades have help many folks achieve what
the bot should have been all along.
My point was that if you are already spending $125 for the Z arms and
then this bed. It's a shame to to properly fix the other parts of the
machine.
The stock PSU is way more expensive and found in this thread
http://groups.google.com/group/makerbot/browse_thread/thread/1da4278bee49d5e6/a37cc4279ce72823?lnk=gst&q=power+supply+schematic#a37cc4279ce72823
Poster simongeist:
Thanks for your responses. I think I will actually wait for the
exchange to
come, although it might take a while until it arrives here in
germany.
The same PS can be obtained at mouser
<http://de.mouser.com/ProductDetail/Mean-Well/GS220A24-R7B/?
qs=dr9G5SL...>btw
but it still comes 100 € (130$).
thanks anyway,
- Moritz
BTW here is the US link http://www.mouser.com/ProductDetail/Mean-Well/GS220A24-R7B/?qs=dr9G5SLQEJyNXgfef3LpMg==
So the mod I am suggesting is cheaper than stock too
Jetguy
http://www.jameco.com/webapp/wcs/stores/servlet/Product_10001_10001_2099286_-1
$91 VS $134
On May 18, 10:09 am, Jetguy <barrych...@hotmail.com> wrote:
> Sorry, my post was not meant to take anything away from Bottleworks
> amazing work. So far, his upgrades have help many folks achieve what
> the bot should have been all along.
> My point was that if you are already spending $125 for the Z arms and
> then this bed. It's a shame to to properly fix the other parts of the
> machine.
> Poster simongeist:
>
> Thanks for your responses. I think I will actually wait for the
> exchange to
> come, although it might take a while until it arrives here in
> germany.
> The same PS can be obtained at mouser
> <http://de.mouser.com/ProductDetail/Mean-Well/GS220A24-R7B/?
> qs=dr9G5SL...>btw
> but it still comes 100 € (130$).
> thanks anyway,
>
> - Moritz
>

David Celento

GBR1
Make life a lot easier for us folks outside the US otherwise we are paying for heaps of shipping for different items..
Great work..
GBR1
Bradley Pearce
Sent from my iPhone
--
You received this message because you are subscribed to a topic in the Google Groups "MakerBot Operators" group.
To unsubscribe from this topic, visit https://groups.google.com/d/topic/makerbot/WOav8XwHLP4/unsubscribe?hl=en-US.
To unsubscribe from this group and all its topics, send an email to makerbot+u...@googlegroups.com.

Dan Newman
been using on my Rep 2. It works quite well: I can successfully print ABS on my
Rep 2! I have even been using it for PLA, but at a much lower temp (~50C; blue
painter's tape). That's something Rep 1 and Thing-o-Matic owners who print in
PLA are known to do on occassion.
The Aluminum plate is nicely machined with insulation on the underside to keep
excess heat away from the Rep 2's stock ABS arms. The insulation works quite well,
although I've not put a temp sensor underneath to check -- just my fingers. (And
since the design is evolving, any quantitative numbers would not be representative
of the finished product anyway.)
Installation was very simple and didn't require any special tools -- just the hex
wrench shipped with the bot so that the electronics bay can be accessed. The Rep 2
motherboard already has the necessary connectors for the heated build surface's
wiring and the hookup there is simple as well. With the prototype I'm using, I
did not need to move my Z endstop nor add a shim to the Z axis assembly: tramming
the build surface worked fine without making changes.
And yes, I still have ABS arms on my Rep 2 but I will upgrade them soon.
Sailfish supports use of the HBP with the Rep 2. I don't see any reason why it
shouldn't work as well with MBI's firmware, although I have not tested that myself.
So far I've not had any problems using the upgrade and it is nicely designed and
executed. For the time being, I'm using my Rep 1's power supply.
Dan

Dave Lockwood

BTHOON
Dan Newman
However, I've been planning to install a standard non-switched, fused,
non-filtered IEC-style A/C power entry receptacle as well (I have a box
of Schurter modules somewhere). That way, there's no dangling cord.
And non-switched, since I'd prefer that the family not get into the habit
of turning the bot off by turning off power to the PSU, leaving the
bot running for ~1 second on power below spec, possibly causing brown-out
related issues. I'll stick with a properly rated, easily accessible
switch on the side like Jetguy did. (And my Rep 1 also has the 5V linear
reg bypassed like Jetguy's and a switching DC/DC regulator used. Not
sure what Jetguy used for his.)
BTW, for 120VAC the contacts should be rated 5A or better since the PSU is
supplying 15A @ 24V (360W). While you might think that means 3A @ 120 VAC,
you need more since the PSU is not 100% efficient and you don't want to be
on the edge anyway. Me, I'll likely use a Schurter 6200.2100 which sells
for about $3 USD. (Shipping is more, but I have 'em around already.)
Nice thing about what Jetguy did is it avoids carrying the power brick around
as a separate item. You can of course, just velcro the MBI supplied brick to the
underside of the bot -- being mindful of cooling issues -- and get the same net
effect as regards transport issues.
Dan

RocketGuy
Sudden revelation here- if the build platform is glass thermally pasted to the heater permanently(with or without a SS thermal spreader), heat times are reduced *significantly*. So why not make the heating element removable along with the glass? Magnets to mount it, sprung heavy contacts for the heater and thermistor? It would cost slightly more, but I'd be willing to pay it to save 5 minutes in each preheat, that adds up over time.
And then we could also have the second stage pre-heating outside the printer before the swap, even partially would save a huge amount of time.
I'm still in though, adding these refinements would truly make it the last stage needed, but starting from the bigger stage you propose would still save me time, I'd end up being in 2X I guess.
Darrell jan

Daniel Reetz

Zach

RoboSysop

Steven Castoe
Take my money.
Introducing the last build plate you will ever need. This is a 6 inch X 11 inch (152mm X 179mm) heated build plate.
The build surface is a removable 3mm thick borosilicate glass secured to the heater plate by Neodymium Iron Boron (NdFeB) magnets recessed into the heater plate. To remove, simply pull the build surface by the handles and remove from the machine. Using glass as a build surface provides a clean, true, build surface.
Having a removable build surface allows for easier removal of your finished prints and surface preparation (tape application, or other experimental adhesives).
The heater plate is heated by a 130W heater controlled by the Replicator's Mightyboard. This will be available for the Replicator 1, 2, and 2X machines. Replicator 2 owners will have to upgrade their power supply to a higher amperage version. Replicator 1 and 2X users can use their existing power supplies.
Thoughts? Who's interested?
--
You received this message because you are subscribed to the Google Groups "MakerBot Operators" group.
To unsubscribe from this group and stop receiving emails from it, send an email to makerbot+u...@googlegroups.com.

Eric

Stan Velijev

Eric Weber

Fastrack
I'm in depending on price.
Ben

Nolightforyou
Dan Newman
On 19 May 2013 , at 8:58 AM, Nolightforyou wrote:
> I'd be interested in just getting the build surface if that was
> possible.... something that uses my existing BP on the Rep 2, but has a
> surface you can pop off and twist for easy-release. Any possibility of
> something like that?
rectangular piece of glass of similar dimensions to your acrylic
build plate. In the US, that costs about 10 USD.
Dan
Anne McMills
--
You received this message because you are subscribed to a topic in the Google Groups "MakerBot Operators" group.
To unsubscribe from this topic, visit https://groups.google.com/d/topic/makerbot/WOav8XwHLP4/unsubscribe?hl=en-US.
To unsubscribe from this group and all its topics, send an email to makerbot+u...@googlegroups.com.
Dan Newman
On 19 May 2013 , at 9:02 AM, Anne McMills wrote:
> but it sounds like this new upgrade has a twistable surface that allows for
> easy release (unless I misread it).
for placement over a build plate. This thread is about Bottlework's upgade
which uses a removable glass plate. Definitely not "twistable".
Dan
Bottleworks
1. A power supply with a rating of 9.2A @ 24V (or higher amperage) Is fully sufficient. That means from an OEM standpoint, the Replicator 1 and 2X power supplies. This platform draws the same amount of current as a Replicator 2X platform. My platform is also heated by a silicone heater. It was engineered specifically to meet those criteria so there isn't a power supply or MightyBoard concern. Using a higher amperage power supply allows you to perform additional modifications, but those don't have a direct relevance to this platform.
2. I will have replacement build surface assemblies available. That will allow you to have build plates that are ready for use that can be quickly swapped out.
3. This is 3 mm thick borosilicate glass - it doesn't flex or warp. That's the point of it. It provides a true, flat surface, that doesn't warp overtime.
4. You can use blue tape, Kapton tape, or -experimental adhesives-. I personally don't use hair spray, as I find Kapton tape satisfactory, but this is the exact same type of glass that people successfully use hairspray with.
5. You do not have to use the aluminum arms (however they have their own benefits which are separate from this platform). You can use the stock plastic arms. The platform has a very good insulation on the underside that blocks a significant amount of heat from radiating downwards. You can have the platform at 110°C and comfortably hold your hand up against the insulation. It's an amazing insulator.
Dan Newman
> 5. You do not have to use the aluminum arms (however they have their own
> benefits which are separate from this platform). You can use the stock
> plastic arms. The platform has a very good insulation on the underside
> that blocks a significant amount of heat from radiating downwards. You can
> have the platform at 110°C and comfortably hold your hand up against the
> insulation. It's an amazing insulator.
No problems yet. And, it's a better situation than the Rep 1. The HBP
on the Rep 1 has the same wattage, 130W. BUT the HBP on the Rep 1 has no
insulation underneath it. So, on the stock Rep 1 there's more heat making
its way to the ABS arms. So, on the one hand using it with the stock ABS
arms is comparable to the Rep 1 (and likely Rep 2X) situation in as much as
it's the same wattage. On the otherhand, it's a better situation than on the
Rep 1 since insulation is installed.
Dan
Bottleworks
Bottleworks
Eric
Dan Newman
On 19 May 2013 , at 11:26 AM, Eric wrote:
> Dan: did the rep 1 arms warp over time? (this sounds like one of those self
> answering questions, but still curious).
some people (e.g., Mark Cohen -- MakerGuy). At some point, MBI stated that
they changed them to a different ABS formulation which could withstand a bit
more heat. However, there's also the possibility of memory effects: if the
thermoplastic didn't cool uniformly in the injection mold, then there will be
internal stresses which will, over time relieve themselves. Warming accelerates
that process.
But will the warping, if you experience it, be enough to significantly impact
your prints? That's a YMMV situation. When I replaced the arms on my Rep 1
with Aluminum arms, I could see that they had warped some by placing them
alongside each other and seeing how out-of-true they were. However, it was
not enough to harm my prints (that I could tell). I replaced the arms because
of how bad the vibration was with that bot design. Other people definitely
had printing problems with their build surface demonstrably going out of
"level" during the course of a print.
> I'm also curious how much warping
> the rep2 arms will experience with this upgrade.
of insulation to help mitigate the issues they were seeing. Since this
plate comes with insulation, that should help considerable -- maybe even
eliminate it. To early to tell. And, if you have ABS arms with a lot
of internal stress in the plastic, then you are more at risk: an increased
chance of there being an issue. It doesn't mean the issue WILL happen.
Dan

Guidozelf

Ticko

Gerald Orban
Darrell jan

TobyCWoods
Why does the hbp need to be controlled and powered via the bots mobo? Why can't it have it's own PS set up with a fixed temp and decoupled for the bots PS and controller?
Dan Newman
On 19 May 2013 , at 3:05 PM, TobyCWoods wrote:
> Owning a rep2 and no experience with a hbp or abs leaves me with a question which I have asked before... Given a rep2...
> Why does the hbp need to be controlled and powered via the bots mobo? Why can't it have it's own PS set up with a fixed temp and decoupled for the bots PS and controller?
print is done? Or what if you want the gcode to drop the print temp after
20 layers?
Dan

Damian Gto

Carl
I can't wait to get the kit once it is available! :-)
Bradley Pearce
equates to more cost. There is a balance of everything....It comes
down to what advantages do you gain for each extra dollar spent. If
an idea is fantastic and everyone wants one, but if no one can afford
it, it's a wasted idea. Everything could be made out of titanium,
but no one could afford it. So, it a balance. Adding an external
controller plus enclosure will probably add a good $30-40 in cost.
Low volume items cost a lot more then making 1k+ of a widget. It's
not worth it considering the current system works perfectly fine.
Stan Velijev
Bradley Pearce
something else. That's standard.
1. The heat promotes a better hold.
2. It provides a better surface for Kapton tape to bond to. -The tape
tends to NOT pull away from the surface.
3. It also provides a flat surface that won't warp.
4. It's a surface that can easily be removed for surface prep and
post print removal.
The acrylic build plates on the Replicator 2 are not fully flat.
There are also reports that they permanently warp after printing a
larger object. The build plates on Replicator 2X also have been
reported to be warped from MBI. Over repeated heat cycles, I suspect
more users will be reporting excessive warp. And finally, the
Replicator 1 is warp happy. I've had mine replaced by MBI and it
warped within 10 heat cycles.
As for your arm order, you ordered with a ship date of June 1st. They
are shipping before that and in the order in which they were placed.
If you did not understand that or simply can't wait any longer, I'll
be happy to cancel your order and refund you.
Eighty
His website does state this:
This is for preordering. The expected ship date is June 1, 2013. (This delay is mainly for waiting on bearings from China).
It was in a pretty small font, though, so I can understand if you didn't see it.

_kyle

James Begera
Stan Velijev

James Harbal
Bradley Pearce
Sent from my iPhone
--

Harrison
Ticko
Bradley Pearce
The leveling system for all Replicator 2 & 2X machines are 3 point.
If this platform were to be installed in a Replicator 1, you would
have to convert to 3 point leveling.
On 5/23/13, Ticko <tedba...@gmail.com> wrote:
> What about 3 point leveling the buildplate? Still 4?
>
Bottleworks
On Friday, May 24, 2013 9:28:53 AM UTC-4, Jordon Biondi wrote:
I am very interested. So approximately one month till I can buy?

Adam Nerva
Guidozelf

Thomas Kulvik
Ticko

Zak Kus
On Saturday, May 18, 2013 1:01:12 AM UTC-7, Bottleworks wrote:
Bottleworks
Bradley Pearce
made part being shipped from China.
The first group of milled aluminum parts should be about 2 weeks.
The glass is a little up in the air...I expect the vender to be more
or less on track with the others. Then there are the little
bits/parts... Then assembly. So, a month is a safe timeline. What
if something crops up? Planning for unknowns can be impossible.
On 6/1/13, Lawrence Kwok <lawren...@gmail.com> wrote:
> Depending on cost, could be interested in up to 3-4, with extra plates if
> possible. Still a month out, or longer?
>
> On Saturday, May 18, 2013 4:01:12 AM UTC-4, Bottleworks wrote:
>>
>> Introducing the last build plate you will ever need. This is a 6 inch X
>> 11 inch (152mm X 179mm) heated build plate.
>>
>> The build surface is a removable 3mm thick borosilicate glass secured to
>> the heater plate by Neodymium Iron Boron (NdFeB) magnets recessed into the
>>
>> heater plate. To remove, simply pull the build surface by the handles and
>>
>> remove from the machine. Using glass as a build surface provides a clean,
>>
>> true, build surface.
>>
>> Having a removable build surface allows for easier removal of your
>> finished prints and surface preparation (tape application, or other
>> experimental adhesives).
>>
>> The heater plate is heated by a 130W heater controlled by the Replicator's
>>
>> Mightyboard. This will be available for the Replicator 1, 2, and 2X
>> machines. Replicator 2 owners will have to upgrade their power supply to
>> a
>> higher amperage version. Replicator 1 and 2X users can use their existing
>>
>> power supplies.
>>
>>
>> Thoughts? Who's interested?
>>
>

MBuser
BTHOON
If I need to do a mod to convert to 3 point leveling prior to installing this assembly, please tell me which mod to do and ill do it sooner rather than waiting.
Thanks!

Tijl Dullers
Op zaterdag 18 mei 2013 10:01:12 UTC+2 schreef Bottleworks het volgende:
Bradley Pearce
Sent from my iPhone
--

Michael Menefee
BTHOON
Thanks!
Bradley Pearce
provide a template so you drill the hole in the right place.

Jake Dambergs
Thanks!
Jetguy
Jetguy
Jake Dambergs
--
You received this message because you are subscribed to a topic in the Google Groups "MakerBot Operators" group.
To unsubscribe from this topic, visit https://groups.google.com/d/topic/makerbot/WOav8XwHLP4/unsubscribe.
Jetguy
_kyle
On Friday, June 14, 2013 1:06:55 PM UTC-7, Bottleworks wrote:
Slowly Assembling...
Bradley Pearce
Sent from my iPhone
--
You received this message because you are subscribed to a topic in the Google Groups "MakerBot Operators" group.
To unsubscribe from this topic, visit https://groups.google.com/d/topic/makerbot/WOav8XwHLP4/unsubscribe.
Bottleworks
You can visit it at:
http://www.bctechnologicalsolutions.com/hbp/index.html
Carl
MBuser
Ticko
Just ordered!
Michael Menefee
David Celento
Tried to order for Rep2, but the link may be kerfluey? The price was less and it appeared to be the arms so I'm posting here first.
Coulda been a mobile issue... or me being half asleep after working all night!
~Dave
Jetguy
BTHOON
Gave me a bit of pause there lol
Bradley Pearce
I will add some info on power supplies. I can provide a generic 10
amp power supply which you have to correctly wire up. You need to
know what you're doing with that one. I can also provide the power
plug to plug into the Mightyboard. This solution is much cheaper, but
you need to know what your doing.
The other solution is the stock power supply from a Rep1/2X. A Mean
Well Brand P/N GS220A24-R78. This is a drop in replacement, but the
disadvantage is that it costs a lot more.
I highly encourage you to buy a power supply off eBay or someone else.
I can provide them and I will be selling them my cost. Keep in mind,
that with my costs factored, in they will cost more then if you just
go on eBay and buy direct from a Chinese reseller. I have to cover
the PayPal fees and the shipping to me.
--
The 179mm vs 279mm typo has been fixed. Thanks for catching that.
--
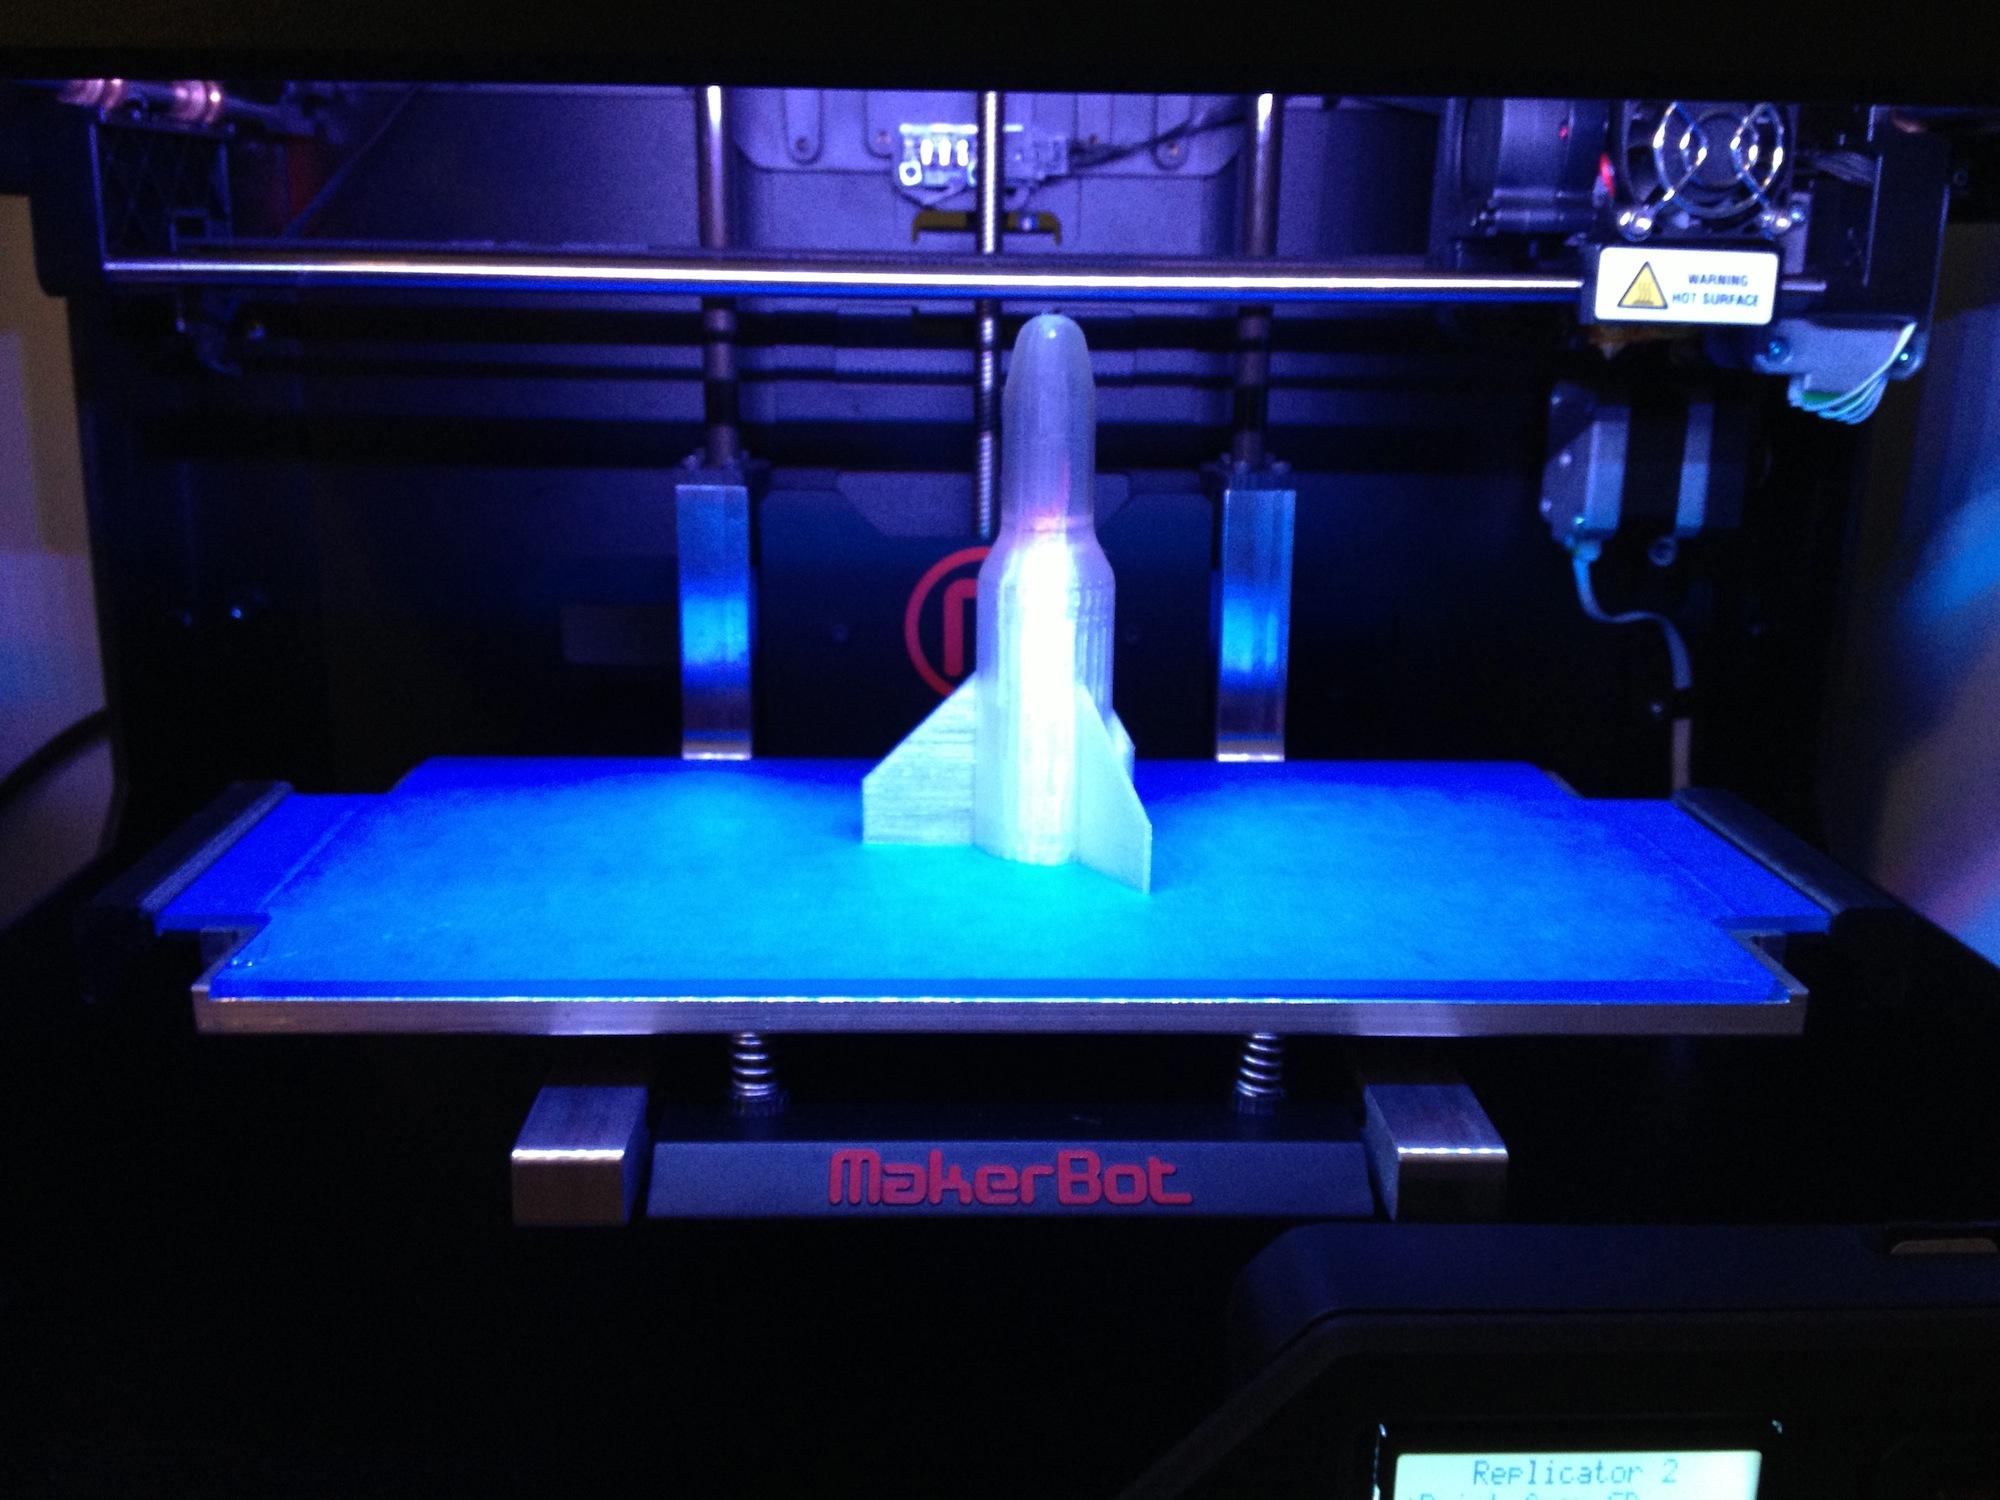
The glass is clear. When I first took those photos, I put the blue
tape on the glass so you could see the glass better. The photos are
junk, IMO. I'm going to take some better photos and post them. The
only difference in what you see today, vs what will ship is the left
handle. The left handle will be longer then the right handle due to
dual extruder machines. If you use the right extruder, and are
printing on the left edge of the build surface, the left nozzle will
sometimes be off to the left. So, the additional clearance is needed.
--
The 4-6 weeks is some default I must have entered in the PayPal
system. I should be shipping by the end of the month or sooner. I'll
correct the PayPal note.
--
Yes, as Jetguy said, you don't to. Myself, I haven't taken the time
to do so yet. It's just an edit in the machine definition in RepG. I
or someone else can post some info on how to update that.
On that note, I believe Replicator 2 users will have to be using
Sailfish to make use of the HBP. Maybe someone with MBI firmware can
confirm that for me.
--
CalTech folks - Yikes, those are some smart folks! I was hoping to
have the price point lower, but the cost of the components is quite
high. Higher than I initially thought it would be. Same with the
replacement Glass build surface.