Recommened settings for printing InMoov parts (PLA and ABS)
3,043 views
Skip to first unread message

Robert Doerr
Sep 26, 2015, 4:37:55 PM9/26/15
to InMoov
Hello,
For many, many years I have worked with the early classic personal (wheeled) robots and now am excited to build one of these InMoov robots to add to the collection and experiment with. So far I think this is one of the coolest and best designed 3D projects around. The way the parts are broken up so they can be printed in a smaller build envelope is quite an accomplishment! I hope I can contribute a bit as I go along.
At the moment I am starting with the head and will work down to the torso and add the arms last. So far I have started printing the head shell pieces in PLA with good results. I've noticed that when trimming some of the colored parts it can leave white marks on the plastic. I have a hot air station for doing surface mount work and that helps make those marks disappear to clean up the parts afterwards.
The biggest and most pressing questions have to do with the printing of the parts. It seems that for the body shell pieces that PLA is fine but that certain parts should really be done in ABS. I'm assuming the gears should probably be ABS since the first couple that I tried in PLA seem a bit too large and I think the ABS would be easier to clean up.
- Which parts should be printed in ABS over PLA? If possible why.
- When printing the parts what is the recommended # of shells and what is the recommended infill on the parts?
This should help me get rolling on the rest of the parts and I hope that I will soon be able to get the head assembled.
Thank You,
Robert
http://www.robotworkshop.com/robotweb/

gael langevin
Sep 26, 2015, 7:17:27 PM9/26/15
to Robert Doerr, InMoov
Hello Robert and welcome,
It is a great collection of robots that you have on your website!http://www.thingiverse.com/thing:40040
http://www.thingiverse.com/thing:30654
Make some tests to make sure your printer is well calibrated, because switching from one material to the other might give you scaling issues.
--
You received this message because you are subscribed to the Google Groups "InMoov" group.
To unsubscribe from this group and stop receiving emails from it, send an email to inmoov+un...@googlegroups.com.
To post to this group, send email to inm...@googlegroups.com.
Visit this group at http://groups.google.com/group/inmoov.
For more options, visit https://groups.google.com/d/optout.

Bob H
Sep 27, 2015, 11:35:22 AM9/27/15
to InMoov
I have printed the entire InMoov with PLA. I would recommend printing the parts with 2 shells and the infill according to the strength need in the part. For example, the gears I printed with a 90 to 100% infill at .1mm layer height. Most other parts I printed at .2mm with less infill.
Robert Doerr
Sep 27, 2015, 1:46:43 PM9/27/15
to InMoov
Hello Bob,
Thanks for the reply. I am using a PowerSpec Pro 3D printer which is supposed to be similar to the FlashForge printer. It is a dual extruder that can do both PLA and ABS. So far I am using the ReplicatorG software with Skienforge as the slicer. I suppose it would help to know what slicer program people have had good results with and also the settings. What printer are you using and what settings are you using in your slicer when you generate the parts? I've been using the default settings except for temperature, shells, and infill.
One thing I have noticed is that the different colors of PLA filament tend to favor different temperatures. I've been experimenting and may also try a different slicer or parameters as well. I suppose it takes a while to dial them in but I have been getting some pretty nice parts so far. The main printing issues so far have been with overhangs and also some curling of the PLA when printing thinner areas. Still trying to work through those issues on some of the parts.
Just a few more internal parts to print for the head and I should be able to get that assembled.
Robert
Bob H
Sep 28, 2015, 10:32:07 PM9/28/15
to InMoov
Hi Robert,
I have a Makerbot Replicator 2, I use all the default settings expect for the shell, infill and temp. I seldom play with the temperature and print PLA at 230 degrees. I don't have any problems printing I make sure the print platform is clean and thing stick to it very well. Looking forward to seeing your project as it progresses.
Robert Doerr
Sep 30, 2015, 12:17:23 PM9/30/15
to InMoov
So far there haven't been too many issues with the print sticking to the bed. I think that heated bed helps quite a bit with that. Had a couple spectacular fails with extruded plastic everywhere but those were earlier and getting fewer as I get more familiar with the machine.
At the moment the largest issue I run into when using PLA to print the parts is where it tends to curl up on overhangs as it prints. I'm not sure if raising the temperature to 230 like you use would help, lowering the temp, or adding an extra fan on the extruder head to cool the plastic as it comes out the extruder. All things I suppose that need some more experimentation to sort out.
It may be worth trying a different brand of filament to see how that reacts. So far I've been using the Inland 1Kg spools that I picked up at MicroCenter. Those are currently $14.99 a spool.
Robert
Bob H
Oct 2, 2015, 2:45:20 PM10/2/15
to InMoov
Try using these Helper Disks http://www.thingiverse.com/thing:346319. Add them to your print and place them where needed to stop thin edges from curling. I use RepRapper PLA filament - love it, no issues.
Robert Doerr
Oct 3, 2015, 1:00:28 PM10/3/15
to InMoov
At the moment my printer is down... Had some of the wires break going to the X axis motor. Guess I have really been giving the printer a workout. I ordered a couple replacements and may try making a new one while I wait.
Robert Doerr
Oct 23, 2015, 11:29:25 AM10/23/15
to InMoov
I was able to fix my printer by replacing the X-Axis stepper harness. From what I have read it is a common problem on a lot of 3D printers. Added the optional fan on the print head for extra cooling which helps with PLA printing.
Also discovered that I was saving files in the older .s3g format. After switching to the .x3g format the printer runs a lot smoother and is less violent when moving the print head around. Who knew that a simple change of picking a different file format would make such a huge improvement! Also found that by wiping the blue painters tape with 90% or greater rubbing alcohol before printing made a huge difference in the way the prints stick to the blue painters tape. Now my PLA prints are even better.
Just picked up a glass plate for the bed and printed out the clips/spacer so I can do the ABS parts. The only parts left to print for the head are the gears for the neck and jaw. I originally printed those in PLA but they are too bug and I think with the shrinkage on ABS the ABS version would take a lot less effort to fit.
For the assembly of the parts so far I did go with a proper drill.tap of each hole and the machine screws work great! Since I am only taping plastic the tap should last a long time.
Robert
Robert Doerr
Nov 11, 2015, 2:40:05 PM11/11/15
to InMoov
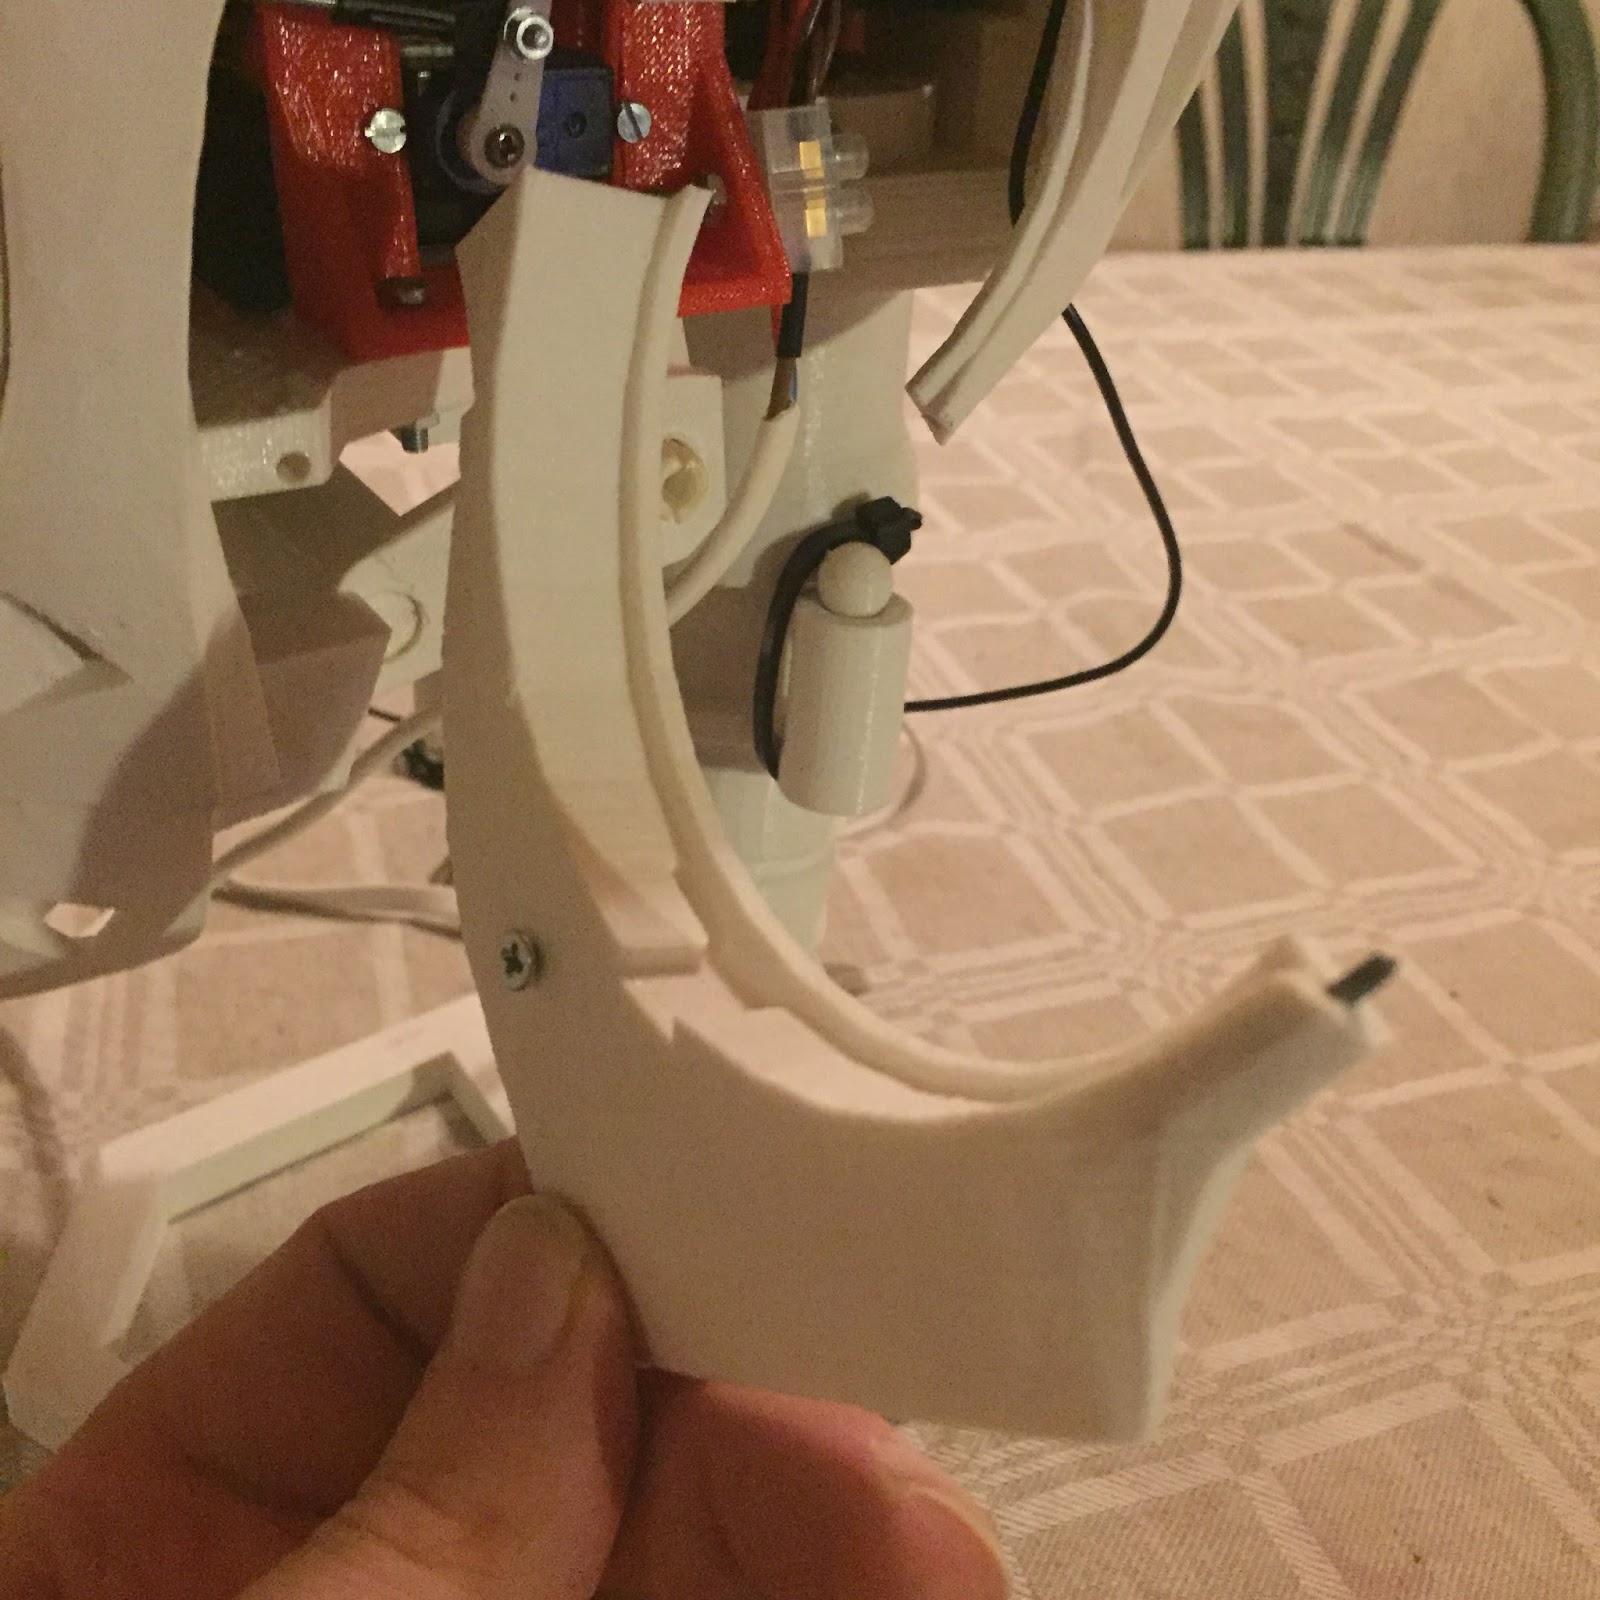
So far the head assembly is coming out well. I was having some trouble getting the gear to fit for the jaw so I still need to do some calibration on the printer. Looking at getting the Simplify3D package to generate the parts instead to see if that helps. Attached a pictures of the progress so far. I also have the neck and a stand printed. Once the head is finished I'll move onto the torso and then the arms. Doing this all in gold PLA with gray accent pieces. The eye pieces are gray and glow in the dark.
Instead of gluing on the side panel by the ears I may try to drill a hole right through each side piece into the support behind it and then tap it for a screw. Hope to make some good progress over the upcoming holidays.
Robert
Instead of gluing on the side panel by the ears I may try to drill a hole right through each side piece into the support behind it and then tap it for a screw. Hope to make some good progress over the upcoming holidays.
Robert
gael langevin
Nov 11, 2015, 4:07:31 PM11/11/15
to Robert Doerr, InMoov
Very nice progress Robert!
I like the color combination as well.--

Mats Önnerby
Nov 12, 2015, 5:52:18 PM11/12/15
to InMoov
I did it the way you describe. I also drilled a hole in the thin parts under the ear, and put a nail tru. I add pictures to explain.


Steve Wagg
Nov 12, 2015, 6:42:24 PM11/12/15
to InMoov
I've been printing all parts in ABS so far. I have both PLA and ABS in white but decided to go for ABS for a couple of reasons. It's a bit more forgiving for screwing together and can be glued and sanded easy compared to PLA. The only part so far I've had a problem printing is the forearm top, the bit that is pulled by the bicep. This part kept cracking in the same place but in the end I just glued it back together and it now seems fine. All my parts are 0.3mm layers with 30% infill and thick shell. I'm using an XYZ DaVinci 1.1 plus machine with a mk8 modded extruder.


I'm still busy printing :-)
gael langevin
Nov 15, 2015, 7:07:03 PM11/15/15
to Steve Wagg, InMoov
@Steve.very nice prints!
@Mats, yeah I definitely should add a screw printed system, I remember gluing those parts was a bit messy.--

Bruce Nally
Dec 3, 2017, 6:10:36 PM12/3/17
to InMoov
Hi Robert I am about half way building my inmoov robot and this is the first time I have talked about my robot on the internet. I have completed the head, chest and left arm and half way on the other and the controllers ez-robot ver 4 and io tiny also ez-robot is in the head I am working on the programming now the left fingers all function and the head. but why I am replying in your post is I started with PLA and tried to do ABS but wasted more parts printed due to warping and cracking and not sticking, I heard about PETG and that was a god send, it prints like PLA but is stronger then ABS and I have not ruined a part since. I use a brand by MG chemicals I have tried cheap Chinese PETG and I think it was PLA and did not have the properties of real PEDG which is extremely tough, to fit inmoov parts together if they are tight just put the parts in boiling water and then you can tap them together with a hammer it is that tough. and will not delaminate you glue the parts together using weldon 3 it is just like acetone used on ABS the joints are very strong. for the build I use 80 deg temp on the bed 230 degrees in the extruder on a glass table using hairspray.this has never failed. My speed is in percentage so I print at 80% for flat pieces if they are high about 70% the infill is 30% for gears 100% the plastic has no fumes printing and is food safe and can go into the dishwasher.
Thank You
Bruce
Reply all
Reply to author
Forward
0 new messages