PEI sheet installation
68 views
Skip to first unread message

Joel Short
Nov 30, 2022, 5:47:51 PM11/30/22
to BuildTak
I recently purchased some PEI sheets and for the most part I really like it. I put the sheet on an old Prusa smooth sheet after removing the old PEI coating. Bed adhesion is good and prints come off the PEI very well.
When I first installed the PEI I followed the instructions and carefully smoothed out any bubbles etc as I laid the sheet on the plate. The sheet was perfectly smooth and everything appeared normal.
However after the first print I noticed that the PEI lifted up a tiny amount while removing the print. I have since printed many other prints and it is still working well, however if I run my fingers over the build plate I can feel very shallow rises and valleys where previous prints lifted the PEI upon removal. This is very subtle and I am 100% content to use it this way, but I'd like to know if there is any way to install the PEI sheet so that it remains perfectly flat and uniform upon use. I was thinking perhaps I should heat the PEI sheet on the build plate to a rather high bed temp to further seal the glue to the PEI sheet.
Any suggestions?
Joel Short
Nov 30, 2022, 7:00:34 PM11/30/22
to BuildTak
Here's a photo of what I mean...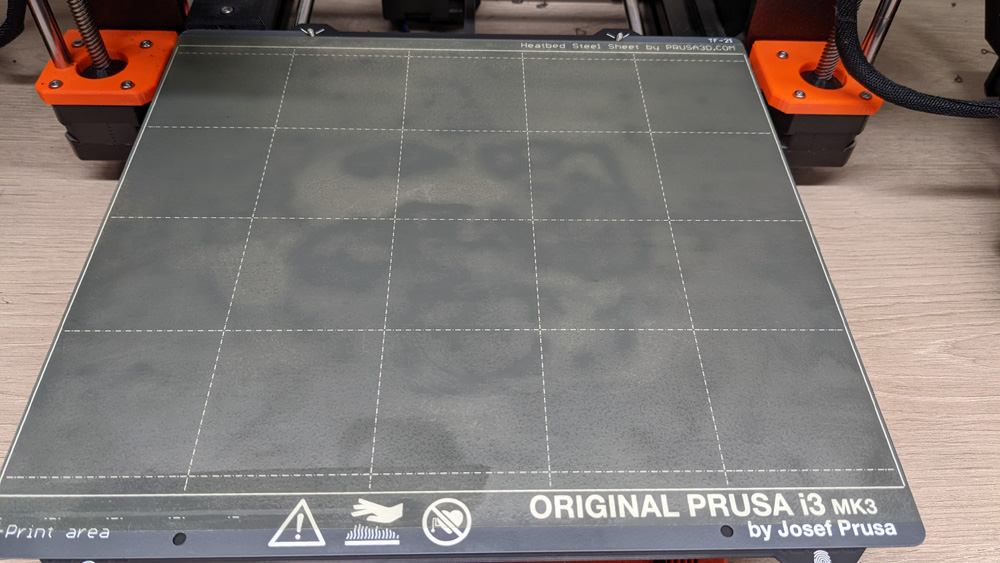

BuildTak
Dec 2, 2022, 10:05:31 AM12/2/22
to BuildTak
Hi Joel,
Sorry for the delayed response.
The bubbling you are seeing is due to high adhesion from the print material on the bed, pulling up the surface, and causing deformation. It is common with aggressive filaments like ABS and PETG that tend to want to fuse to the surface and warp. Also we aren't sure of how well the adhesion of our surface would be on the Prusa plate as it seems to be coated.
So long as the surface is clean and free of bubbles during application that is the best you can do. I will say if you intend to heat up the surface, the max temp for the adhesive is 120 C so I wouldn't try to go past or close to that in an attempt to seal it. You could also give it 24 hours before you start printing to allow the adhesive to fully set, however you still may see the issue if what you're printing is aggressive and prone to warp. The best thing to do is to try and reduce warping of the print and avoid over adhesion on the bed. Enclosures are a good way to keep temperatures consistent around the print and keeping your nozzle distance just far enough to achieve adhesion are good ways to help reduce the bubbling.
Let me know if this helps, and also if your temperature curing attempt works as well.
Regards,
Tin-Wei O'Boyle
Reply all
Reply to author
Forward
0 new messages