Water tanks removal Helppppppp

JMarc ARCANGELI

Donal Botkin
On Sep 2, 2021, at 20:31, JMarc ARCANGELI <jmarc.a...@gmail.com> wrote:
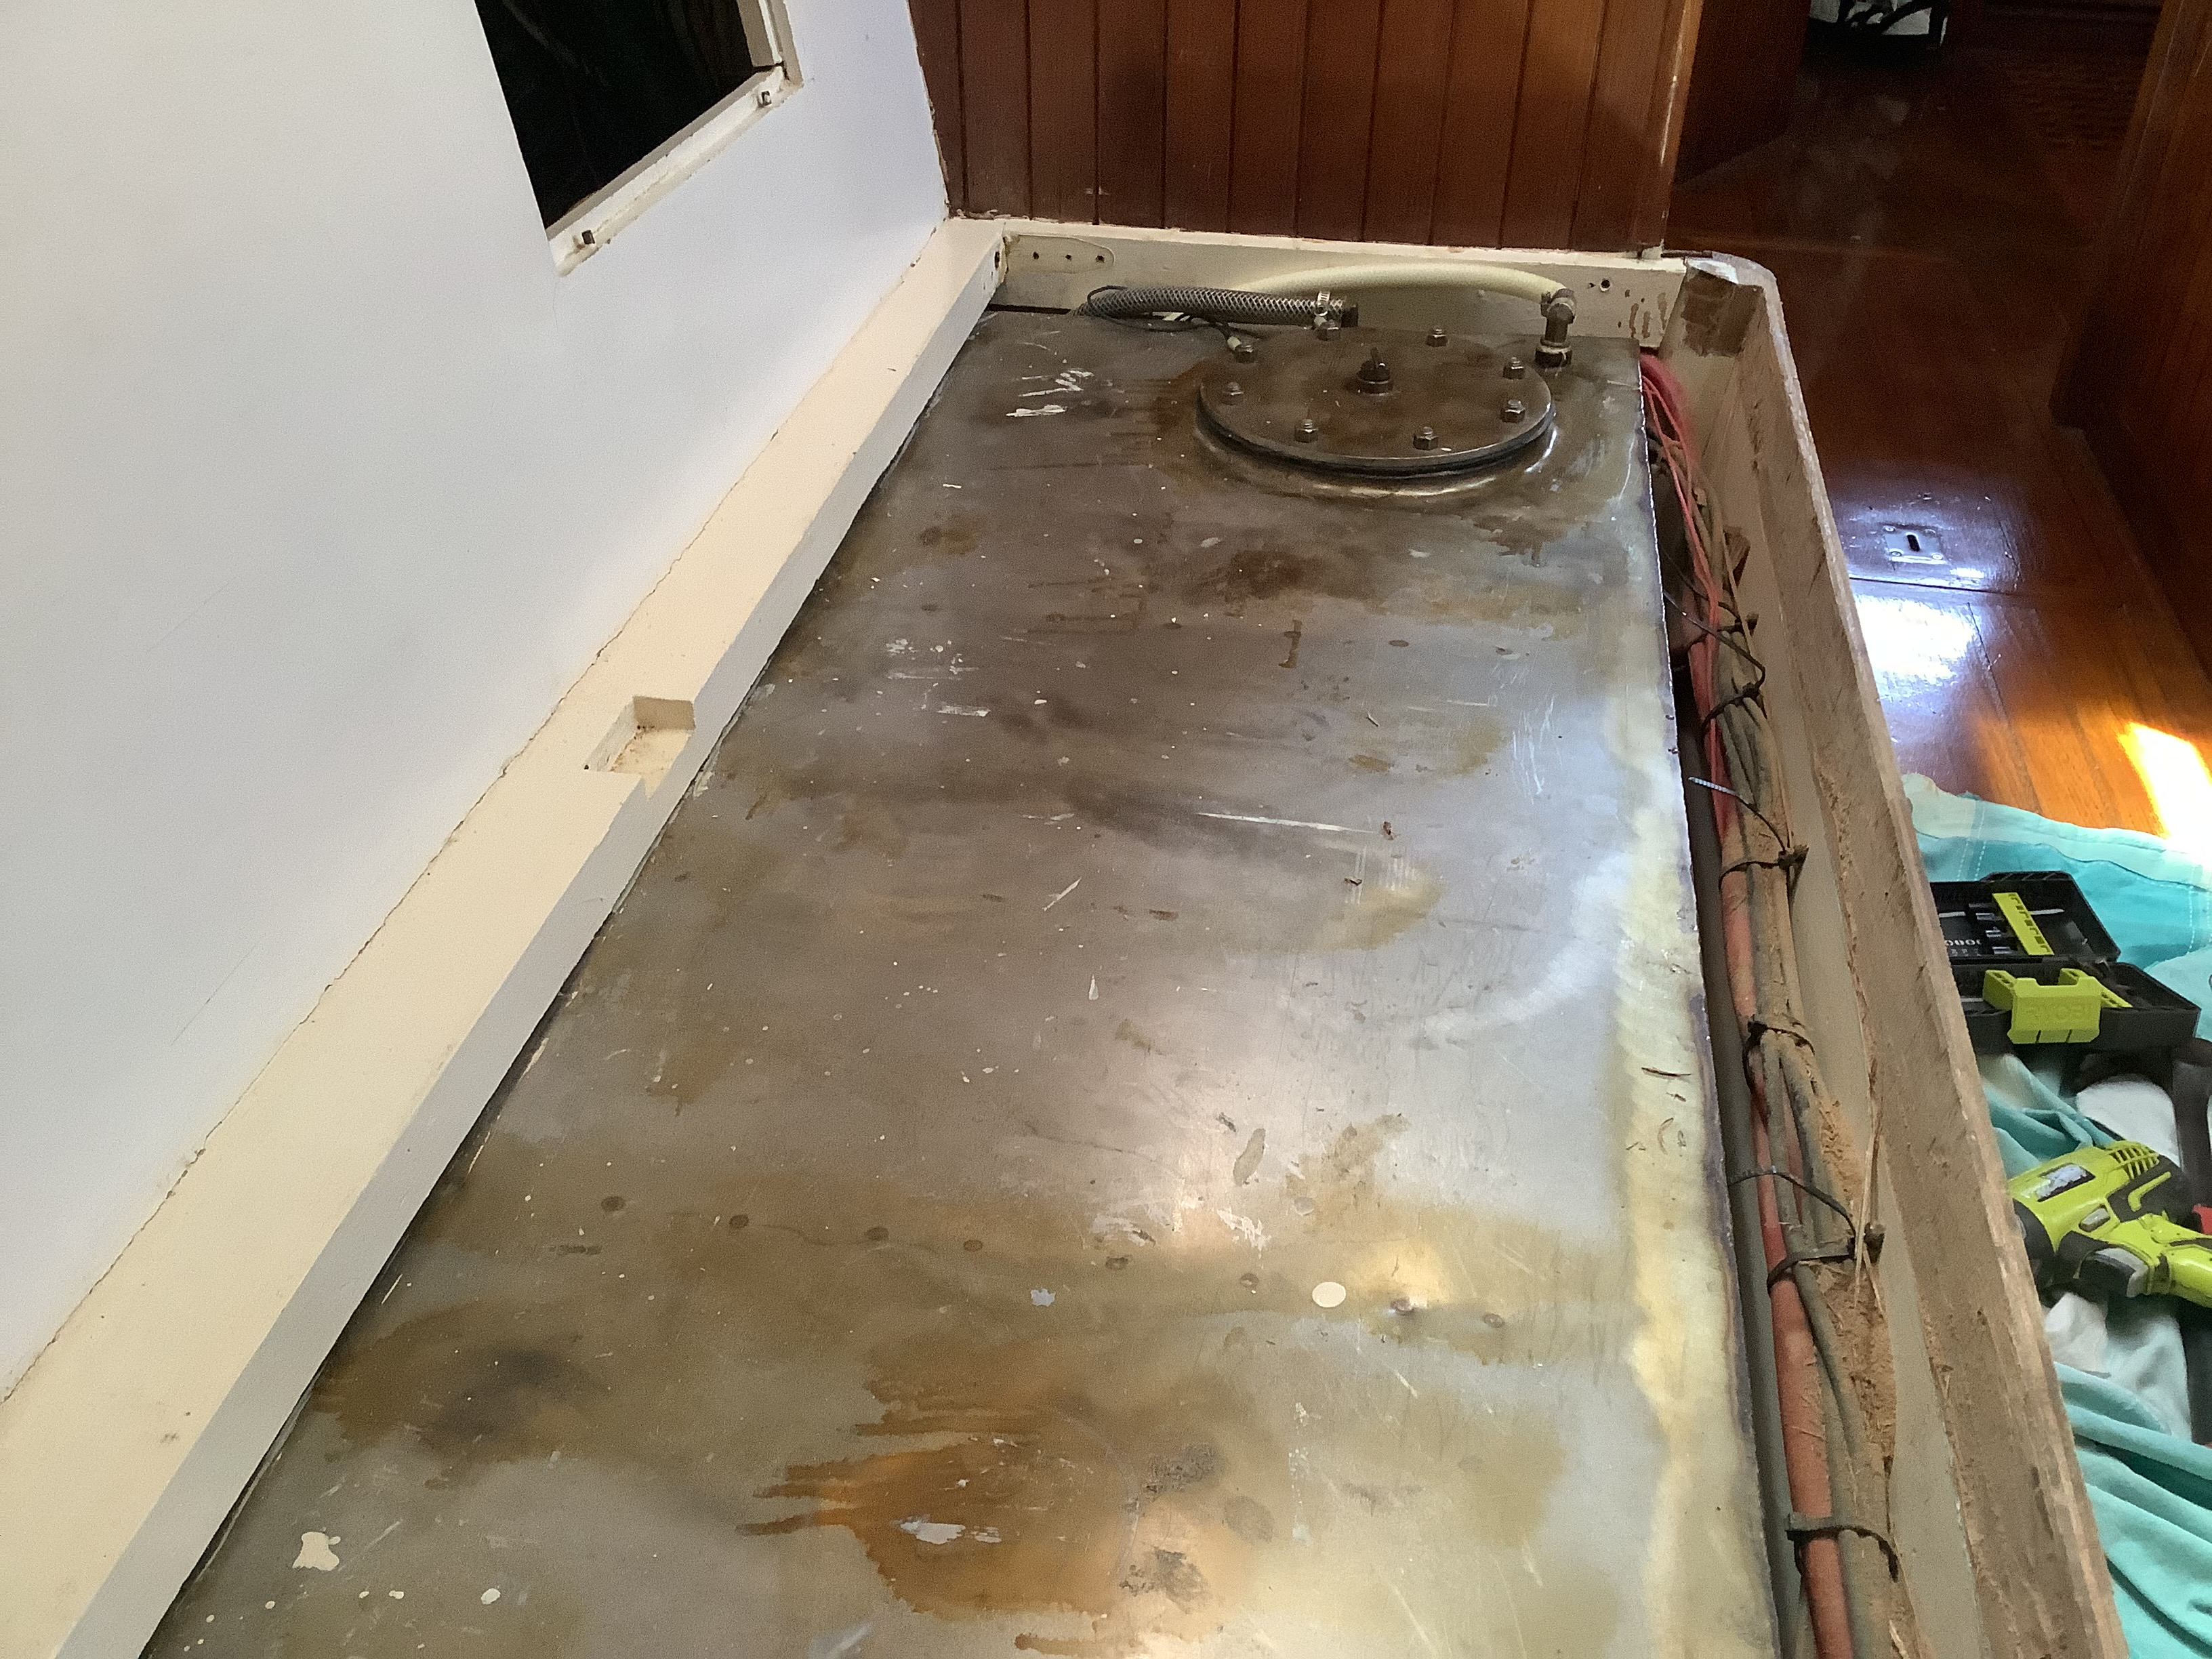
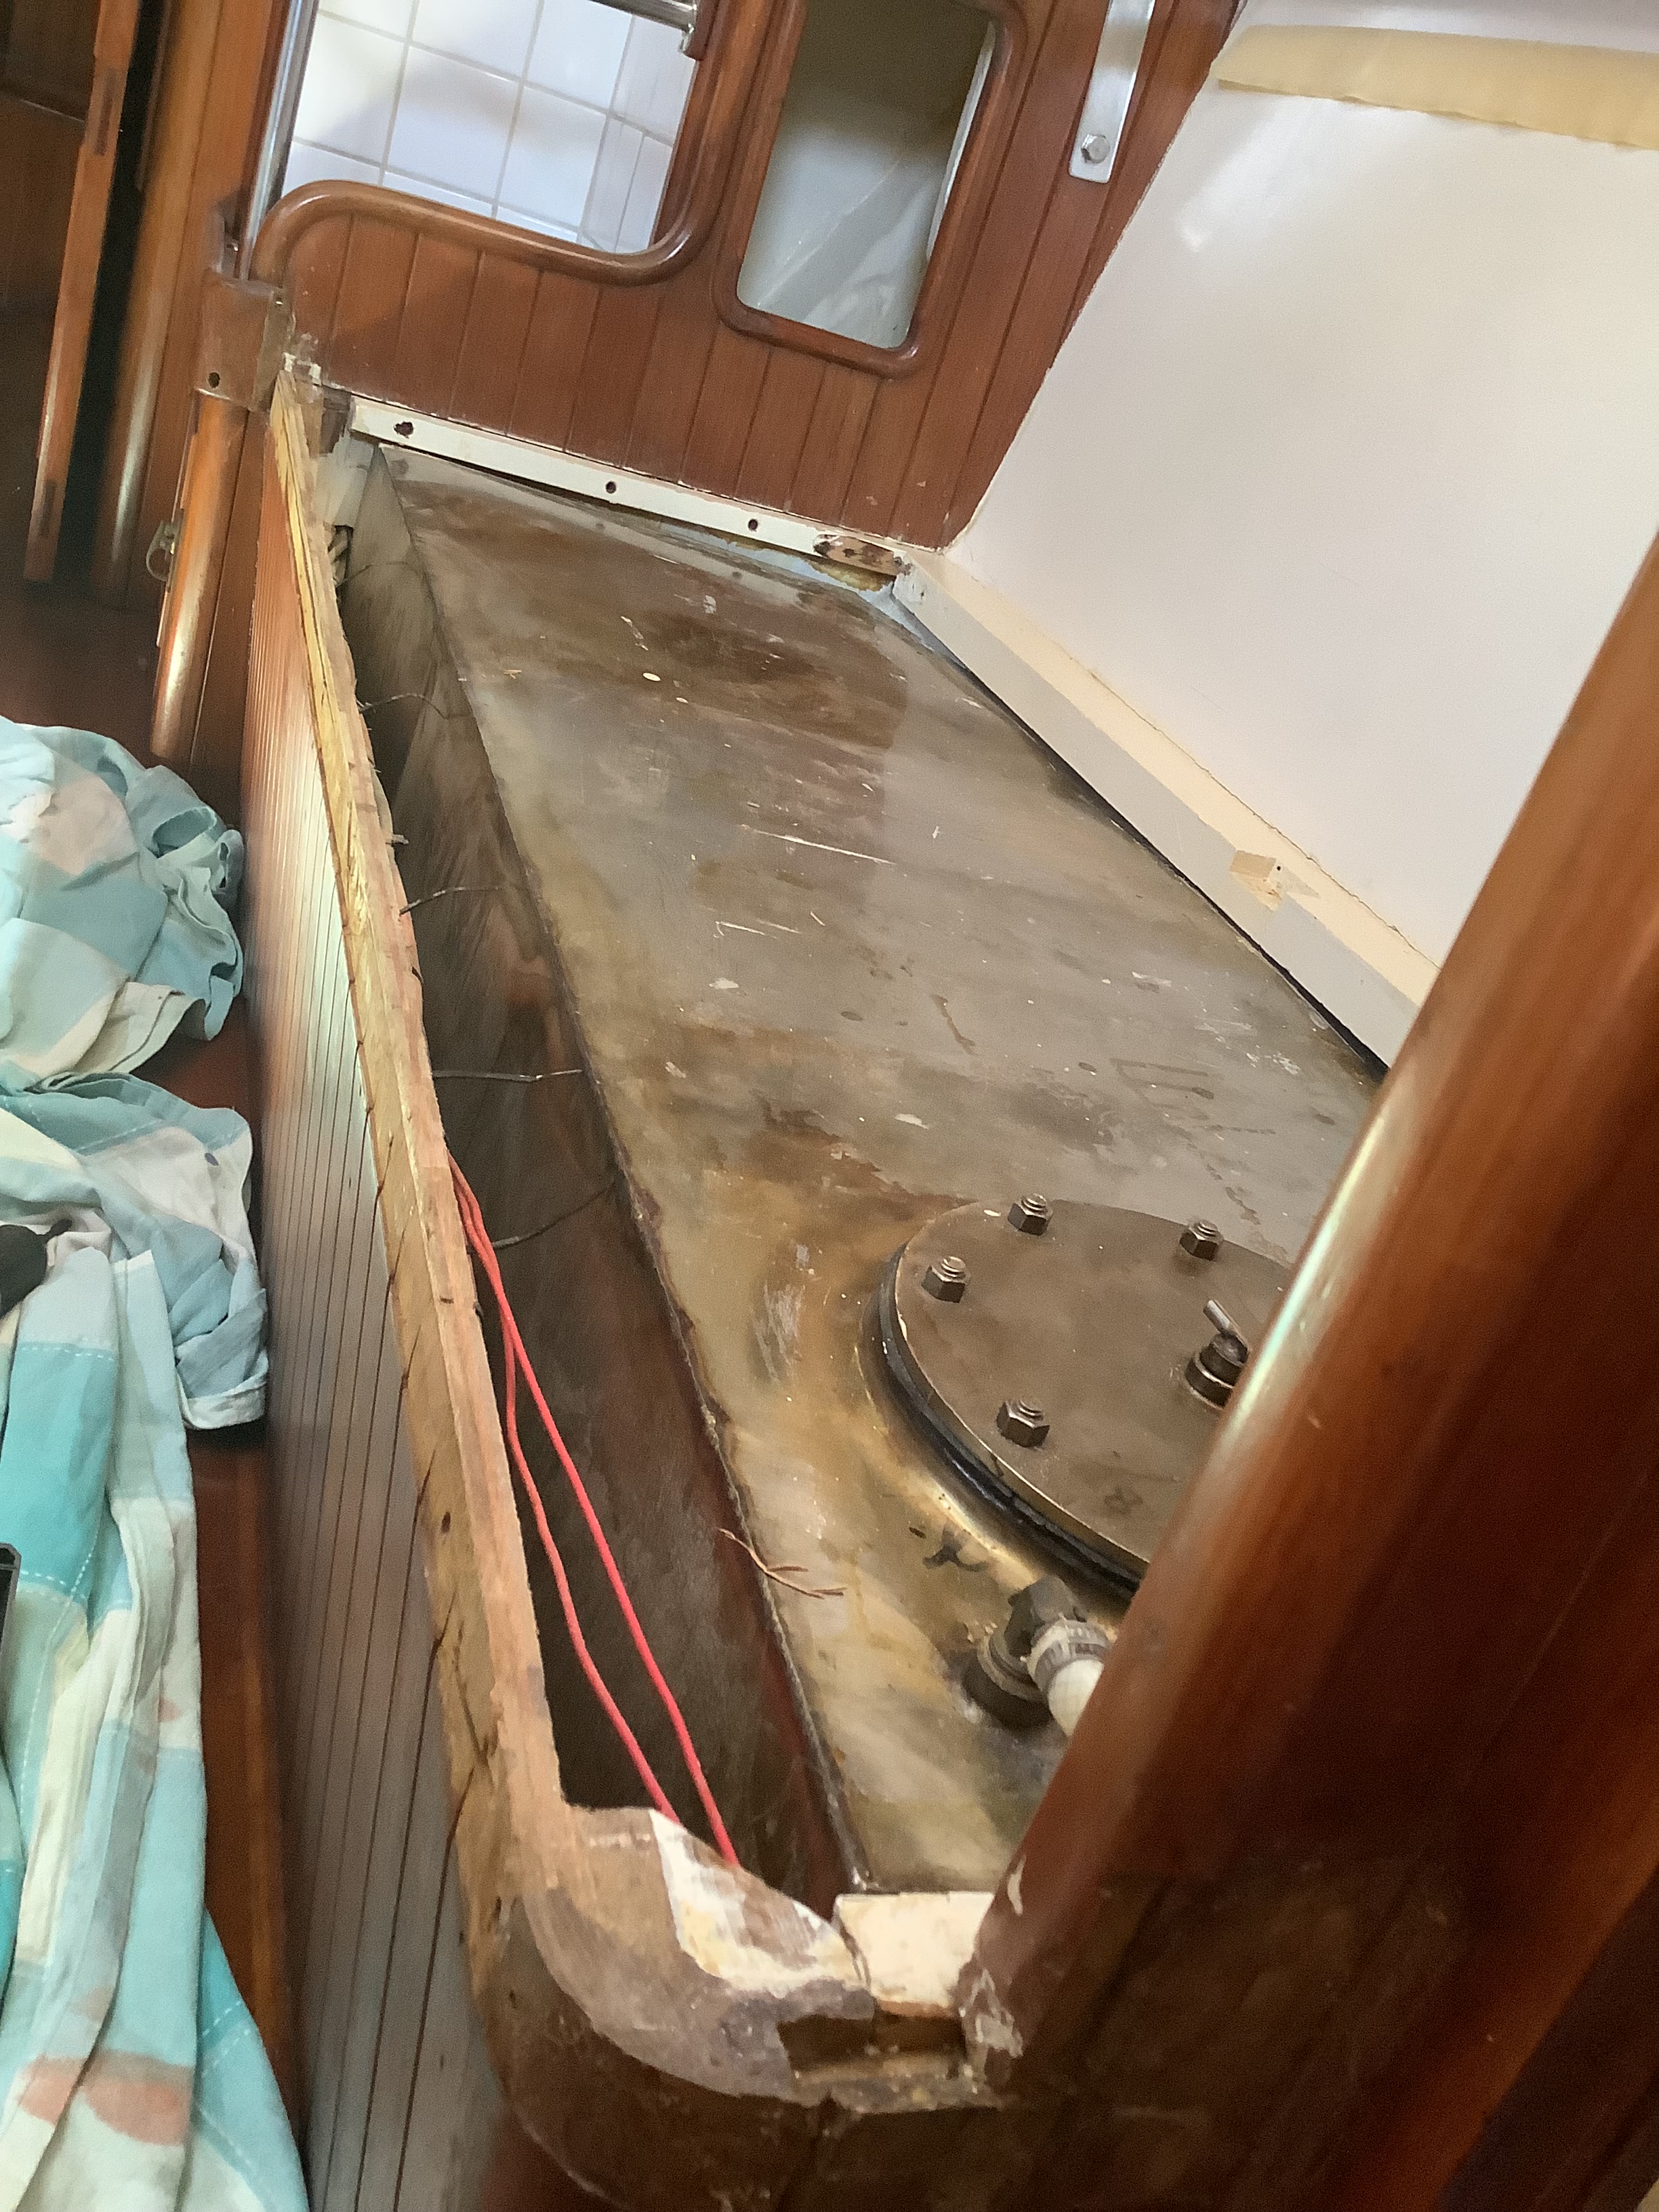
HI guy if by any chance any of you had to remove both water tanks and could share some tips that would be tremendous. I am a bit stuck and I would not mind some helpppppp. If you do have any pic .I have just started to look around and I am not too sure where to start from.Thank you so much for your time.
Cheer from down under. JMarc
<IMG_0060.JPG><IMG_0055.JPG>--
--
Passport Owners Association http://passportyachts.org
To post to the group, use "reply all" or send email to Passpor...@googlegroups.com
To reply to just the author, just use "reply:
For more options, go to
http://groups.google.com/group/PassportOwners?hl=en
---
You received this message because you are subscribed to the Google Groups "Passport Owners" group.
To unsubscribe from this group and stop receiving emails from it, send an email to PassportOwner...@googlegroups.com.
To view this discussion on the web visit https://groups.google.com/d/msgid/PassportOwners/581c1fb4-82bc-47ca-892e-2865855dc55cn%40googlegroups.com.
<IMG_0060.JPG><IMG_0055.JPG>

Marty McOmber
--
JEAN-MARC ARCANGELI
On 4 Sep 2021, at 00:28, Donal Botkin <wcx...@gmail.com> wrote:
The best place to start is to imagine where you want to finish. There is money, time and expertise: first decide what you have and what you can hire. Then consider the big question: how much water do you need? The trade-off here is between carrying water and making water as needed. The latter alternative was not an option when your boat was built, but if your plan is the go cruise the little islands of the South Pacific, a high capacity water-maker will be well worth the money.
Donal Botkin
JMarc ARCANGELI
Hey Marty
First of all, thank you for taking the time and so sorry for my late answer. I just got my head out of the tank situation plus your message did not showed up into my inbox dont know why ?????
Bugger, I did not see your comment earlier. I went Tim’s way and the all process was good too. I think yours is maybe a bit more straightforward and less destructive but I am still very happy.
The tank is out and now is decision making.
I went to see the local with the old tank.
He said he could give me a few more years out of the tank in repairing it in welding a long piece along the seams where the leaks come from, clean it, pressure test etc…. but I am not sure. The baffles seems a bit dodgy. The problem is after cleaning the tank you can see plenty of pin holes mainly where the weld is between the sections. So, I am not sure I will go this way.
Price wise stainless or polyethylene seems similar. I am still waiting for some quotes. It is around the $ 2200 AUD for a 8mm. I am going around today to see what it’s look like.
I will then when this one is finish start thinking of the port side grrrr................. a bit more difficult. I have read on that forum that it will have to be cut out as it does not pass via the companion way.
“The starboard (58 gallon) tank came out of the boat fairly easily once I found all the screw heads to disassemble the frame work for the settee. The factory hid the screw heads with putty so it was a real "Easter Egg Hunt" finding all the screws. I had to cut the port (90 gallon) tank in half to get it out. It was too long to wrestle it out of the boat in one piece.The new tank was made shorter. Instead of the original 90 gallons the new one is 60 gallons. We used the space saved to mount the water maker we installed.” Jeff and Jane WoodwardAdagio, P-40 #109, 1986
I am going to try to make a mock tank if I can out of cardboard to check if I can get it out. If not, it means that the new one will have to be in two sections. I will have to put some though on that. If you have any idea pleaseeeeee.
This is where I am at the moment thanks to you guys a big thank you again. I will let you know for the port side as it will be my next job if that can be of any help.
Have a lovely day
Cheers JMarc
Ps thank for the pic there are perfect

Geoff Seager
JMarc ARCANGELI

Gerard Knight
Hi Jmarc,