Scanning Electron Microscope
42 views
Skip to first unread message

Gav
Nov 15, 2015, 5:15:02 AM11/15/15
to sydney-h...@googlegroups.com
Hi All,
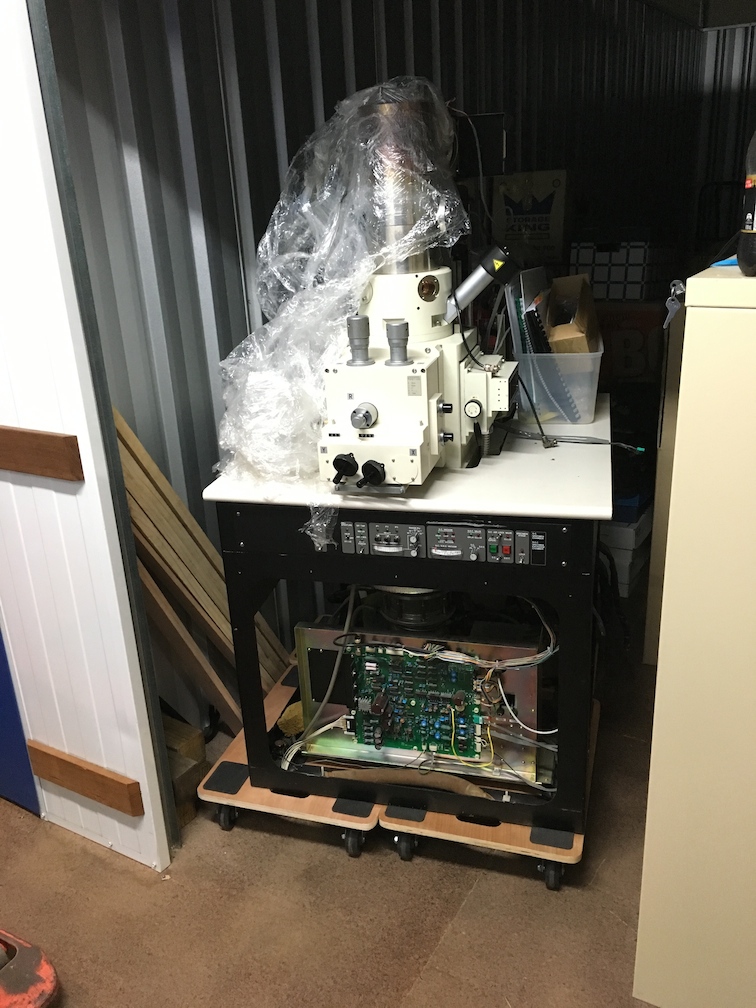
Thank you to everyone who ping'd me about the microscope, it's now succesfully nabbed!
And especial thanks to Scott and Meow for helping move the 'scope at extremely short notice!
We got easily a ton of equipment transferred without any major incidents or damage, which is not to be sneezed at.
I've posted some pics and writeups here:
http://tinkerings.org/2015/11/15/in-which-i-acquire-a-scanning-electron-microscope/and
Cheers,
Gavin

Jason Lewis
Nov 15, 2015, 8:16:59 PM11/15/15
to sydney-h...@googlegroups.com
Gavm that is truly epic.
Once your SEM is fully operational, what is the typical procedure for
examining something using it?
Jason
Gav wrote on 15/11/15 21:14:
>
> --
> You received this message because you are subscribed to the Google
> Groups "Robots & Dinosaurs" group.
> To unsubscribe from this group and stop receiving emails from it, send
> an email to sydney-hackspa...@googlegroups.com
> <mailto:sydney-hackspa...@googlegroups.com>.
> To post to this group, send email to sydney-h...@googlegroups.com
> <mailto:sydney-h...@googlegroups.com>.
> Visit this group at http://groups.google.com/group/sydney-hackspace.
> For more options, visit https://groups.google.com/d/optout.
--
Jason Lewis
http://emacstragic.net
Once your SEM is fully operational, what is the typical procedure for
examining something using it?
Jason
Gav wrote on 15/11/15 21:14:
> Hi All,
>
> Thank you to everyone who ping'd me about the microscope, it's now
> succesfully nabbed!
>
> And especial thanks to Scott and Meow for helping move the 'scope at
> extremely short notice!
> We got easily a /ton/ of equipment transferred without any major
>
> Thank you to everyone who ping'd me about the microscope, it's now
> succesfully nabbed!
>
> And especial thanks to Scott and Meow for helping move the 'scope at
> extremely short notice!
> incidents or damage, which is not to be sneezed at.
>
> I've posted some pics and writeups here:
> http://tinkerings.org/2015/11/15/in-which-i-acquire-a-scanning-electron-microscope/
> and
> http://tinkerings.org/2015/11/15/electron-microscope-pt-2-the-teardown-begins/
>
> Cheers,
> Gavin
>
> Inline images 1
>
> I've posted some pics and writeups here:
> http://tinkerings.org/2015/11/15/in-which-i-acquire-a-scanning-electron-microscope/
> and
> http://tinkerings.org/2015/11/15/electron-microscope-pt-2-the-teardown-begins/
>
> Cheers,
> Gavin
>
>
> --
> You received this message because you are subscribed to the Google
> Groups "Robots & Dinosaurs" group.
> To unsubscribe from this group and stop receiving emails from it, send
> an email to sydney-hackspa...@googlegroups.com
> <mailto:sydney-hackspa...@googlegroups.com>.
> To post to this group, send email to sydney-h...@googlegroups.com
> <mailto:sydney-h...@googlegroups.com>.
> Visit this group at http://groups.google.com/group/sydney-hackspace.
> For more options, visit https://groups.google.com/d/optout.
--
Jason Lewis
http://emacstragic.net

Aleksandr Motsjonov
Nov 15, 2015, 8:30:29 PM11/15/15
to sydney-h...@googlegroups.com
Jason, I assume pretty much similar to what Ben does here:
https://www.youtube.com/playlist?list=PLA9renIgK3NanGpSnphOobF8hRPZAychL?&ab_channel=AppliedScienceMy favorite part is need to cover everything with metal in order to see =)
To unsubscribe from this group and stop receiving emails from it, send an email to sydney-hackspa...@googlegroups.com.
To post to this group, send email to sydney-h...@googlegroups.com.
Jason Lewis
Nov 16, 2015, 3:44:22 AM11/16/15
to sydney-h...@googlegroups.com
That link doesn't work for me Sasha

Clintin Stober
Nov 16, 2015, 4:33:24 AM11/16/15
to Robots & Dinosaurs
me either.
thanks
Isaiah
> <mailto:sydney-hackspace+unsub...@googlegroups.com>.
> To post to this group, send email to sydney-h...@googlegroups.com
> <mailto:sydney-h...@googlegroups.com>.
> Visit this group at http://groups.google.com/group/sydney-hackspace.
> For more options, visit https://groups.google.com/d/optout.
--
Jason Lewis
http://emacstragic.net
--
You received this message because you are subscribed to the Google Groups "Robots & Dinosaurs" group.
To unsubscribe from this group and stop receiving emails from it, send an email to sydney-hackspa...@googlegroups.com.
To post to this group, send email to sydney-h...@googlegroups.com.
Visit this group at http://groups.google.com/group/sydney-hackspace.
For more options, visit https://groups.google.com/d/optout.
Gav
Nov 16, 2015, 5:56:46 AM11/16/15
to sydney-h...@googlegroups.com
@Jason, it's a pretty involved list of stuff that's got to be done before imaging. Let's see...
First off, the sample needs to be conductive, so (if it's not already made of metal) it has to be glued to a metal stub using conductive paint, then put in a vacuum sputter coater where a microscopically thin layer of (typically) gold is applied.
There's whole checklists of things you can't image for various reasons. E.g. anything ferromagnetic that might have powdery residue is forbidden because it'd get sucked up into the magnetic coils in the microscope. Liquids are out too, as well as anything that'll vaporize in the vacuum.
Insulating objects (that aren't gold coated beforehand) aren't forbidden, but they can give extremely weird image artifacts. The typical example is trying to image a polystyrene target, which causes charge to build up on the surface, which repels the beam and effectively turns the polystrene into a mirror. Some cool pics of that happening are here: http://www.optics.rochester.edu/workgroups/cml/opt307/spr11/greg/
There's been more than one occasion where people thought they'd found new structure of things and it turned out they were just taking a picture of the inside of the microscope instead :-)
Anyway, once the coated specimen is ready it needs to be put in the sample chamber. The level of vacuum in the electron gun assembly (8e-10 Torr) is slightly better than the vacuum outside the international space station, but the sample chamber is allowed to be a bit worse (5e-6 Torr). Regardless opening the sample chamber is still something that's not done unless absolutely necessary. To avoid that, there's a dedicated sample airlock and a sample holder (stick) to allow loading the sample while keeping everything under vacuum.
Once the sample is in place and the vacuum is good, then the electron gun can be turned on and the process of alignment and focusing can begin. There's about six different power supplies controlling the behavior of the electron column (panning, zoom, focus, astigmatism, etc), so quite a few variables need to be worked out. But the nice thing is that a huge amount of the performance of the microscope can be controlled in 'software', rather than needing to move mechanical parts like an optical microscope.
Once that's set up you can choose which detector is giving you the best result from the sample. The classic detector is called an 'Everhart-Thornley' detector and it picks up secondary electrons thrown off by collisions the beam makes with the target. There's other types such as Backscatter Electron (BSE) detectors which detect the electrons from the original beam being backscattered by material. Different sensors show up different material properties, and it's also common to blend the various signals to give fake 'color' images too.
Things I didn't mention - compressed air supply, cooling water to the diffusion pump, baking out the electron column to get a good vacuum in the system, safety interlocks and preventing damage.
I can see this taking me a while to get to the stage where we can actually run samples through it, but it should be fun learning all the tricks :-)
Cheers,
Gavin
Oh, and Ben Krasnow's video's are simply awesome. He's what got me interested in SEMs in the first place, and I plan to reuse his Teensy code for making the microscope's acquisition system in the future.
me either.thanks
> <mailto:sydney-hackspa...@googlegroups.com>.

Ada Lim
Nov 18, 2015, 7:31:50 AM11/18/15
to sydney-h...@googlegroups.com
On Mon, Nov 16, 2015 at 9:56 PM, Gav <the.mechat...@gmail.com> wrote:
> chamber. The level of vacuum in the electron gun assembly (8e-10 Torr) is
> slightly better than the vacuum outside the international space station, but
> the sample chamber is allowed to be a bit worse (5e-6 Torr). Regardless
I know I use Torr every day as a unit, but please. SI units or at
> chamber. The level of vacuum in the electron gun assembly (8e-10 Torr) is
> slightly better than the vacuum outside the international space station, but
> the sample chamber is allowed to be a bit worse (5e-6 Torr). Regardless
least a semblance thereof.
(1 Torr is approximately 130 Pa. so 10 nPa and 7 uPa.)

Tristan Steele
Nov 18, 2015, 4:55:34 PM11/18/15
to sydney-h...@googlegroups.com
Aww c'mon, every vacuum system that I've ever worked on has used Torr!
The use of SI units when not the standard is even more confusing...
Ada Lim
Nov 19, 2015, 12:32:14 AM11/19/15
to sydney-h...@googlegroups.com
On Thu, Nov 19, 2015 at 8:55 AM, Tristan Steele
<tristan...@gmail.com> wrote:
> Aww c'mon, every vacuum system that I've ever worked on has used Torr!
>
> The use of SI units when not the standard is even more confusing...
at least it's not milli-psi.
<tristan...@gmail.com> wrote:
> Aww c'mon, every vacuum system that I've ever worked on has used Torr!
>
> The use of SI units when not the standard is even more confusing...
I get confused by the brits using SI units; Australian medical
practice is a mix of SI and non-SI.
Reply all
Reply to author
Forward
0 new messages