Just saying Hello. :)

Paul Knott

Lionschasing .
--
You received this message because you are subscribed to the Google Groups "Potteries Hackspace" group.
To unsubscribe from this group and stop receiving emails from it, send an email to potteries-hacks...@googlegroups.com.
To post to this group, send email to potteries...@googlegroups.com.
Visit this group at https://groups.google.com/group/potteries-hackspace.
For more options, visit https://groups.google.com/d/optout.

Ian Knight
Hello Paul,
I to have a Prusa 3i 3D printer and few things you need to do to get it working right.
One; X axis rails are too long by about 5mm, this causes the Z rails to bow. So you need to print a new (TWO PART) right side for the Y axis. I have STL files if you want.
Two; Z axis rails lift up and times, cure
this by drilling hole in both top horizontal members and put a washer on top of
rails. (Basically anti lift stops)
Three; Re design the hot end 3D printed parts. Again I have STL files.
Four: The Perspex bed for the Y axis has 3 linear bearing in it, this is CRAP
as it needs FOUR.
Five: The Perspex bed for the Y axis WARPS as the heat from the bed heater
reflects down. This cause all sort of print lifting off bed and print splitting
problem.
Replace it with a custom made aluminium bed with FOUR bearing.
Six: The Y axis rail I received where bent! By 0.8mm this does not sound much but this means that the bed goes up and down as the bed traverses back and forth.
This
cause all sort of print lifting off bed and print splitting problems.
Seven: Tram it (bed level) to 0.1mm and check it before EVERY print job, ALSO sometimes
the Z axis motors do an extra STEP UP at startup so the bottom layer is NOT
PROPERLY laid down and the corners lift resulting in BAD prints. So when job
starts look to see if extruder is pushing the filament onto the bed as a thin
layer (GOOD PRINT) Or laying onto the bed like tooth paste on your brush (BAD
PRINT). If the latter, stop the print, re tram and start again.
EIGTH: !!!!! Fix the printer to a SOLID BED!!!!! I have screwed my one down to a sheet of 25mm PLYWOOD. This stop it twisting and makes it stable for moving.
Blue tape is 3M Scotch 3434, after much testing it seems to be the best.. Use until you have lifting problems then replace.
Do these things and you will have a fine little printer….
Enjoy Ian
Paul Knott
Ian Knight
Hello Paul,
As you can see from the photos my one is a Chinese clone, which I must say I am not displeased with as first print out of box was fine.
Problem I had was more I used it the worse it got as the bed warped and other thing went out of kilter like belt stretch etc.
Yours though looks really nice and had I known of it I think I would have bought it instead of one I have.
Maybe ill sell my one and order one like yours J
If you need some help when you are up and running with new controller board let know..
Ian
--
Paul Knott
On Tuesday, 8 March 2016 16:37:01 UTC, Paul Knott wrote:
Ian Knight
Paul extruder having a wee is pretty common, my one does until extruder reservoir is empty.
So when printing I use CURA and add a BRIM of 10mm, this gives time for reservoir to fill again before main print job.
Ian
From:
potteries...@googlegroups.com
[mailto:potteries...@googlegroups.com] On
Behalf Of Paul Knott
Sent: 09 March 2016 14:22
To: Potteries Hackspace
Subject: [Potteries Hackspace] Re:
Just saying Hello. :)
Well................it turns out I was being a complete moron. lol.
--
Paul Knott
On Tuesday, 8 March 2016 16:37:01 UTC, Paul Knott wrote:
Ian Knight
Paul,
Pleased to here you are making some progress. Now as far a bed levelling is concerned some 3D printers have bed levelling built in inasmuch as they have a sensor next to the head and before doing the print run you run the bed levelling programme. This basically maps the bed height and then applies the map to the Z axis of what is being printed, thus compensating for bed not being 100% true. I think you can get these as an add on but I have not used one, I also seem to remember that a member has a delta printer that self levels like this.
In the mean time you could try to print the attached STL that I created to help with my bed levelling.
The other things that makes for funny print problem are slack belts for example. Your printer like my one has quite a large mass bed and print head and when you print sometimes you can hit a point of resonance when the bed move or head moves left/right or forward/back at speed. This can cause the belt to jump a notch, so keep your belt tight and check them regularly when they are new. Or the stepping motor to miss a step as the head/bed is going in the opposite direction that the motor is trying to drive it in the other. So to minimize this, run at low print speeds (say 20mm/sec) at first and then slowly increase it until you have issues and then you will have a speed that your machine is happy with. But remember that printing something with long runs and few changes of direction like the Bed-Level STL is very different to printing a penny sized object that has many changes of direction pre second,
Get the bed level print to work well with the bottom layer looking really flat all over and you well on you way.
Then print the SIM card holder.
Enjoy, and PHS is here to help so just ask as there is lots and lots of skilled people on this forum to help you make a success of your projects.
Ian
From:
potteries...@googlegroups.com
[mailto:potteries...@googlegroups.com]
On Behalf Of Paul Knott
Sent: 09 March 2016 19:28
To: Potteries
Hackspace
Subject: [Potteries
Hackspace] Re: Just saying Hello. :)
Thanks for that :)
--
Ian Knight
Paul,
I use PLA at 220c but remember your 220c maybe different from my 220c so experimenting +- 10c is encouraged, what works best for you.
Also filament of a consistent quality is important, so I think buying from a known good source is important.
I have bought six or so reels or different coloured PLA from https://3dfilaprint.com/ and am not displeased with the results.
I have used Ninjaflex and well it is tricky, also you may have to modify your hot end to get it to push through in a straight line and not fold up into a tangled mess inside the head. Get a 10m sample to test with before buying a reel I think would be prudent.
As for ABS well I have not tried so not qualified to discus the subject but issue seems to be the SMELL (best done on warm day with windows open)
BTW what software are you using to produce your designs with? I used Alibre v11.1 free version but this is old now and I don’t think there’s any support.
However the newer hobby version Cubify Design is really good, also take a look at OnShape web based 3D CAD it is really good and free for hobbyists.
You can also create assemblies in it that work eg fully functional gearboxes
Ian
From:
potteries...@googlegroups.com
[mailto:potteries...@googlegroups.com]
On Behalf Of Paul Knott
Sent: 09 March 2016 19:28
To: Potteries
Hackspace
Subject: [Potteries
Hackspace] Re: Just saying Hello. :)
Thanks for that :)
--
Paul Knott
On Tuesday, 8 March 2016 16:37:01 UTC, Paul Knott wrote:
Ian Knight
Paul,
100c for bed seems really hot, I mostly use 35c.
There are lots of tricks to get pla to stick to bed, ranging from prit stick to PVA glue, my favourite is masking tape and the type I use is scotch 3M 3434.
Join the reprap forum for some excellent advice on all aspects of 3d printing
Ian
From:
potteries...@googlegroups.com
[mailto:potteries...@googlegroups.com]
On Behalf Of Paul Knott
Sent: 10 March 2016 09:56
To: Potteries
Hackspace
Subject: [Potteries
Hackspace] Re: Just saying Hello. :)
Hi Ian,
--
Paul Knott
Ian Knight
Good work Paul,
Awaiting pics.
Ian
--
Paul Knott
Ian Knight
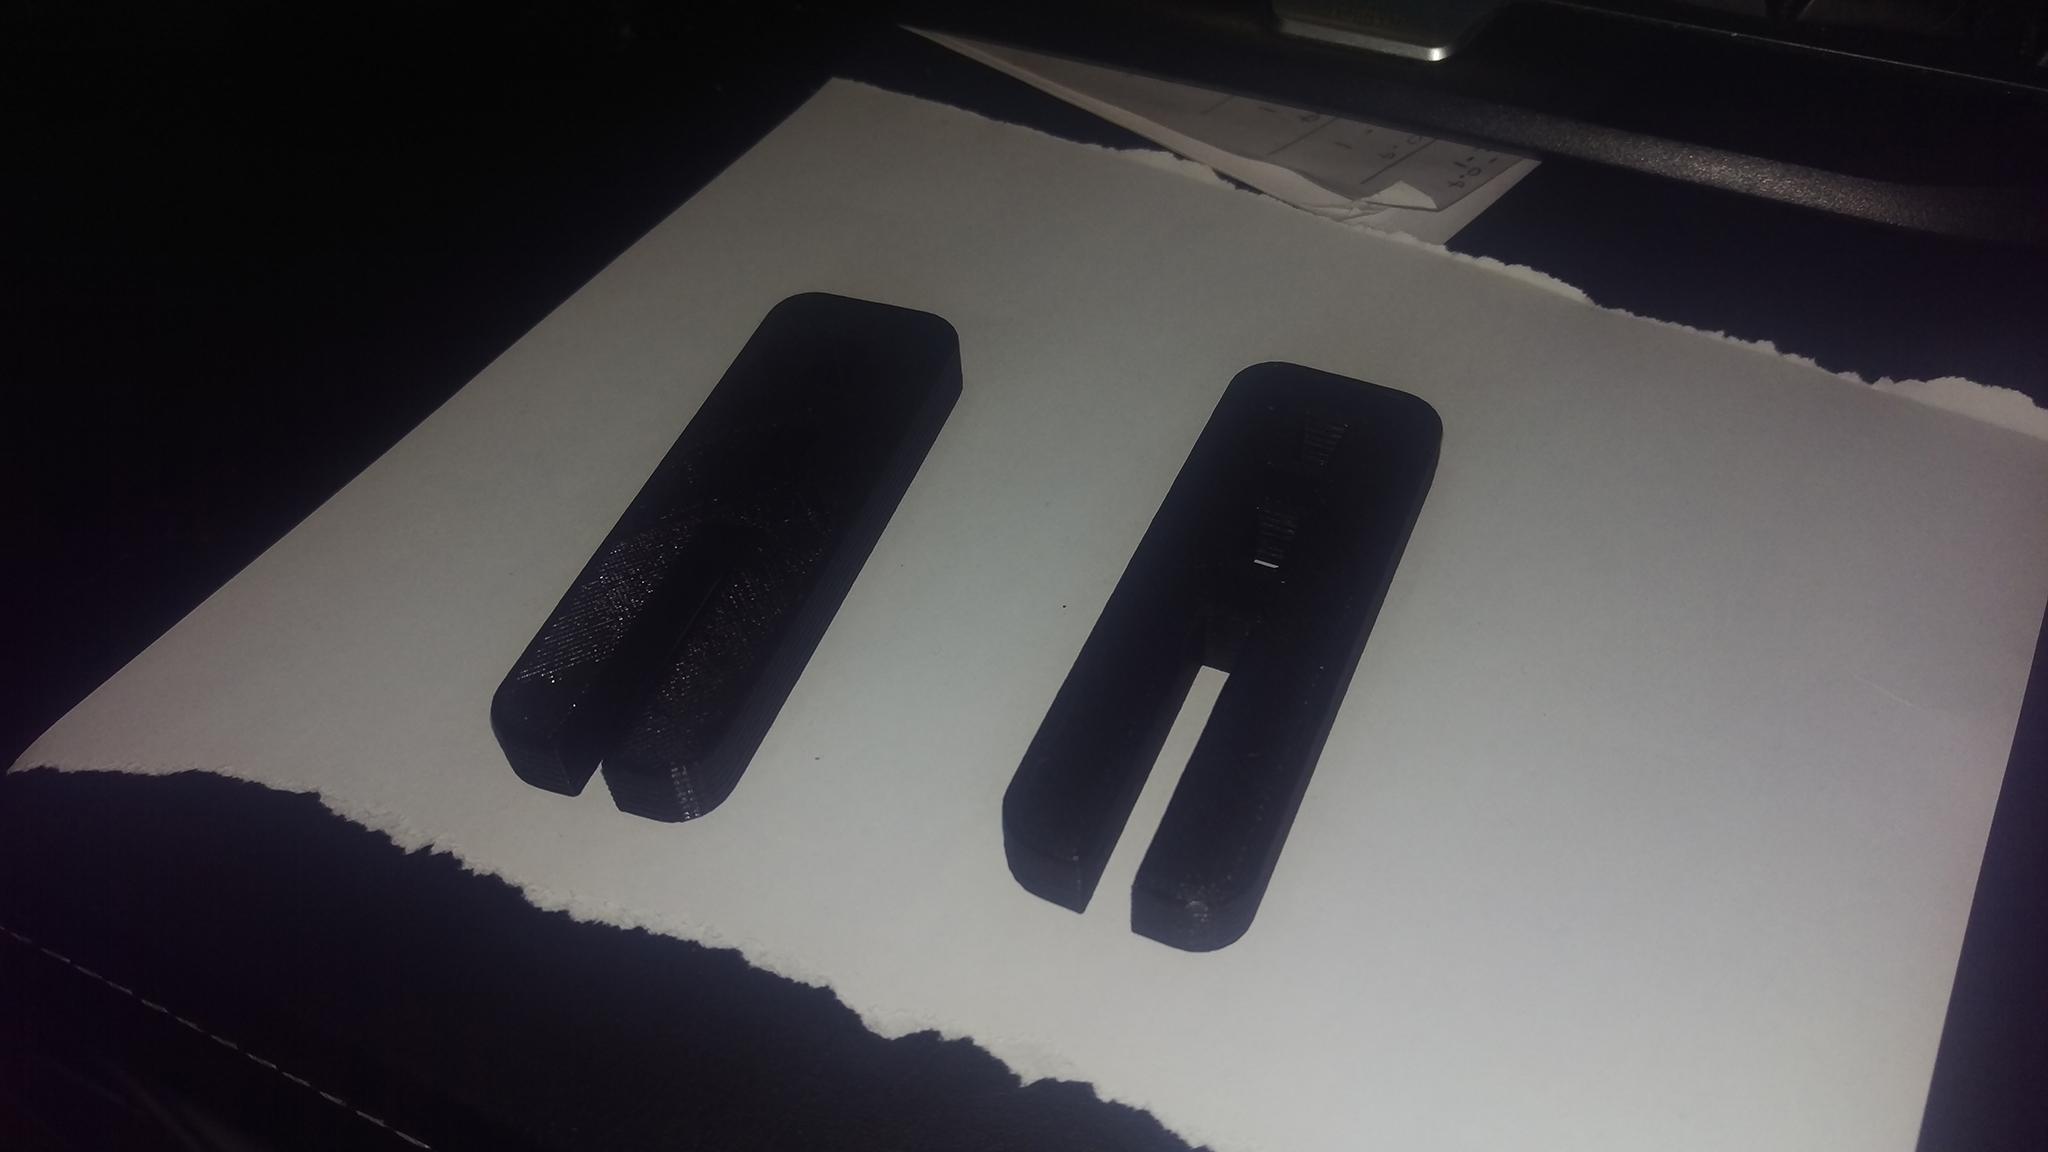
Wow Paul they looks like really good prints.
I got this feeling that a few people that follow this forum will be ordering these printers, as looks like great value.
So more to view tomorrow and looking forward to it.
Ian
From:
potteries...@googlegroups.com
[mailto:potteries...@googlegroups.com]
On Behalf Of Paul Knott
Sent: 10 March 2016 22:33
To: Potteries
Hackspace
Subject: Re: [Potteries Hackspace] Re: Just saying Hello. :)
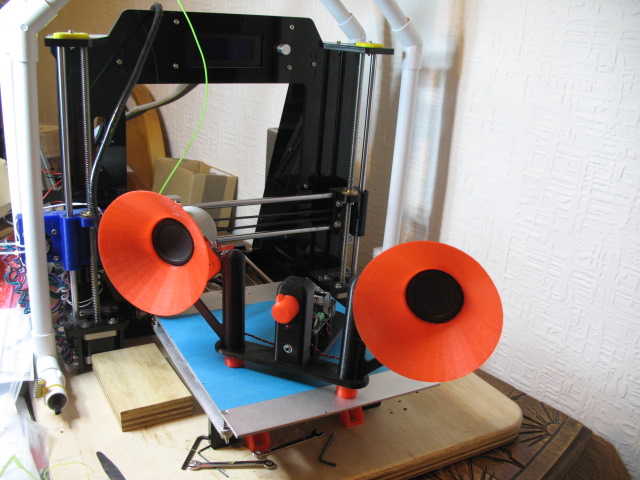
Well after a few more little tweaks I managed to get a fairly decent print of the first part of my filament spool stand :) (first pic).
--
Paul Knott
Here is the Amazon link if anyone who reads this is interested.
On Thursday, 10 March 2016 23:03:53 UTC, Ian Knight wrote:
Wow Paul they looks like really good prints.
I got this feeling that a few people that follow this forum will be ordering these printers, as looks like great value.
So more to view tomorrow and looking forward to it.
Ian
From: potteries...@googlegroups.com [mailto:potteries...@googlegroups.com] On Behalf Of Paul Knott
Sent: 10 March 2016 22:33
To: Potteries Hackspace
Subject: Re: [Potteries Hackspace] Re: Just saying Hello. :)
Well after a few more little tweaks I managed to get a fairly decent print of the first part of my filament spool stand :) (first pic).
Took your advice btw and dropped the bed temp to 35 and it seems to work beautifully, thanks :)
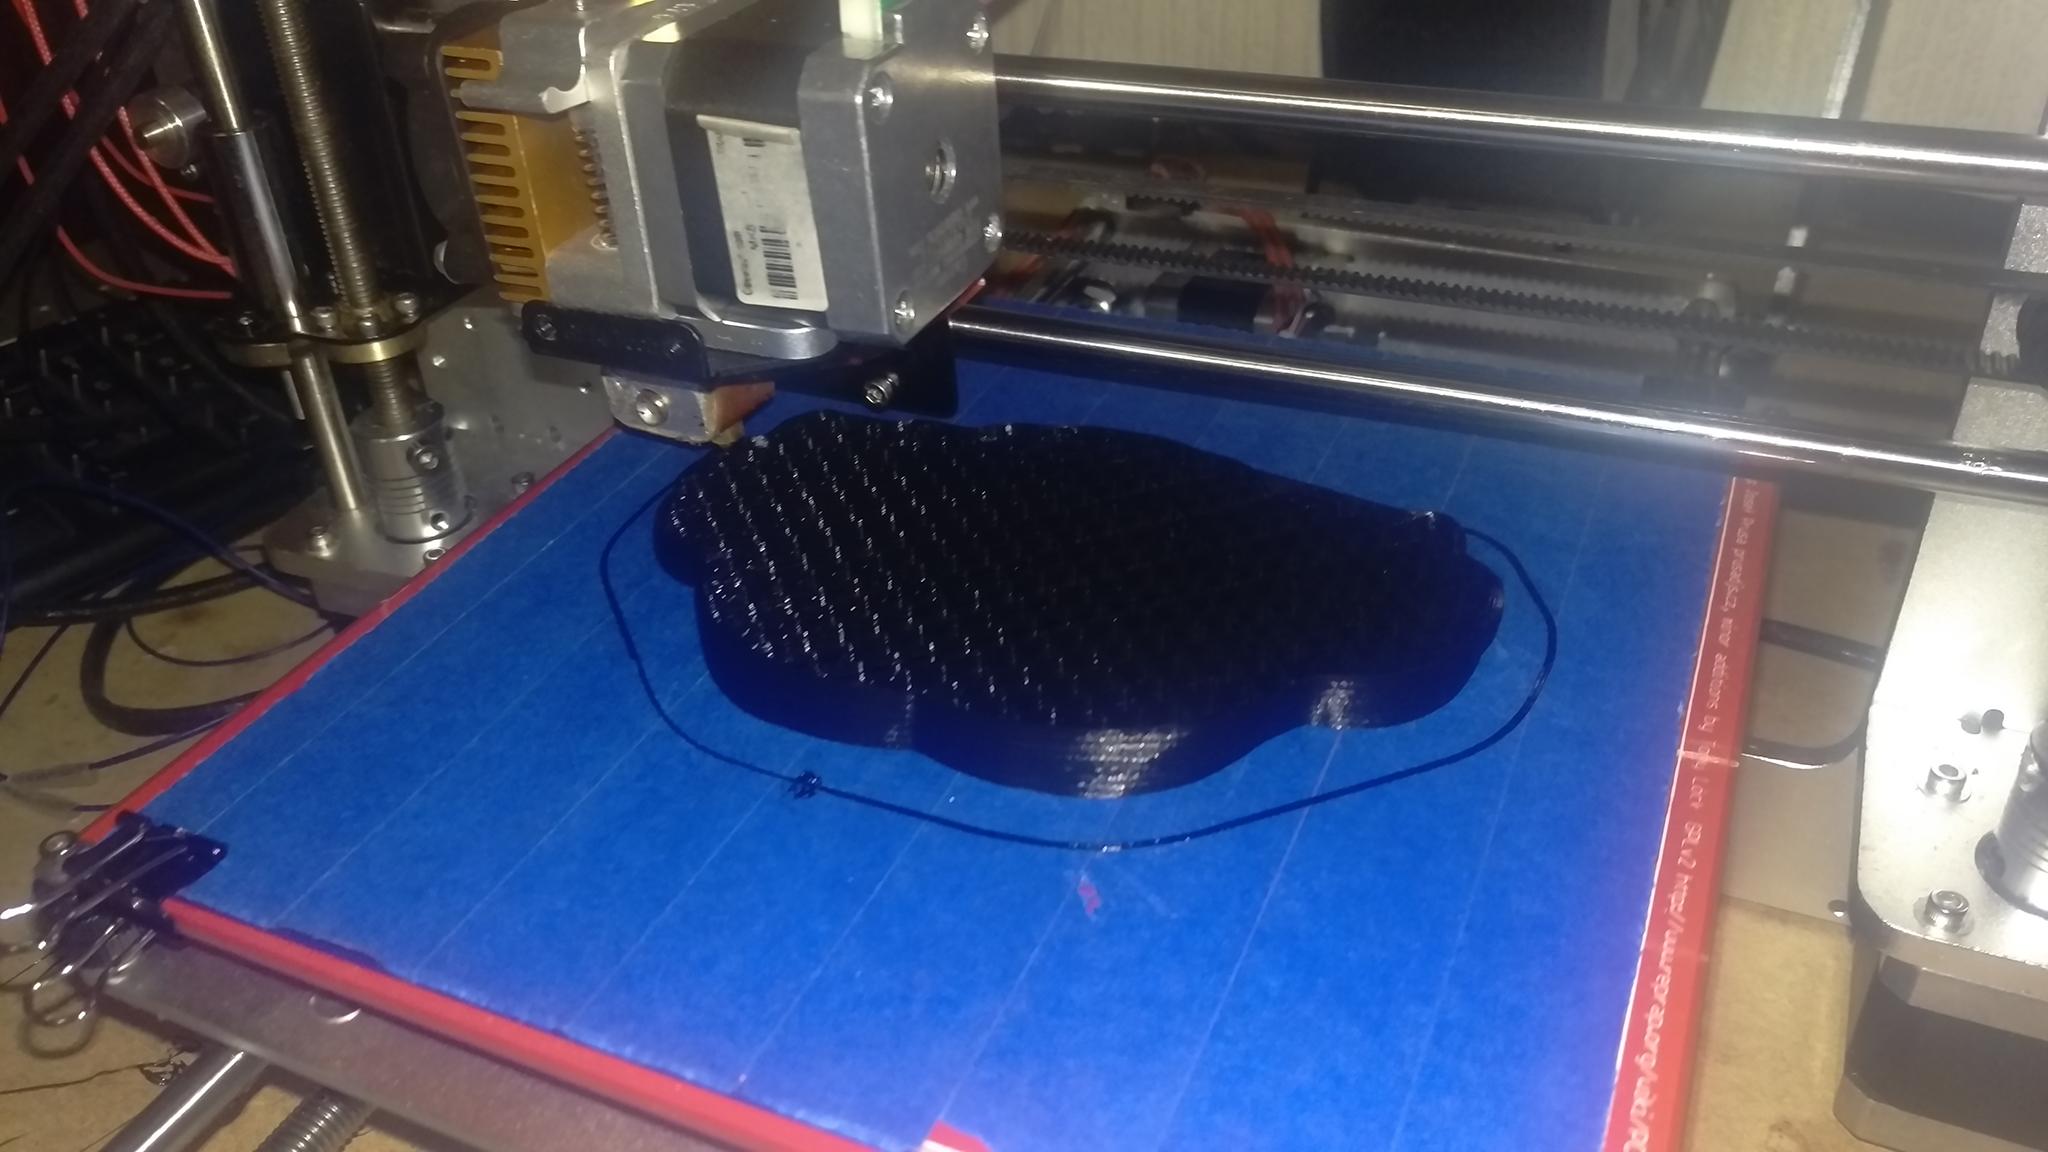
So decided to give it a real test and print something bigger. 2nd pic is about 2 hours into the print and (touch wood) all seems to be going well, although there's 7 hours left on it for things to horribly wrong. lol.
I'll post a completed pic tomorrow (whichever way it goes. lol.)
Paul
--
You received this message because you are subscribed to the Google Groups "Potteries Hackspace" group.
To unsubscribe from this group and stop receiving emails from it, send an email to potteries-hackspace+unsub...@googlegroups.com.
Ian Knight
Cracking job.
From:
potteries...@googlegroups.com
[mailto:potteries...@googlegroups.com]
On Behalf Of Paul Knott
Sent: 11 March 2016 10:41
To: Potteries
Hackspace
Subject: Re: [Potteries Hackspace] Re: Just saying Hello. :)
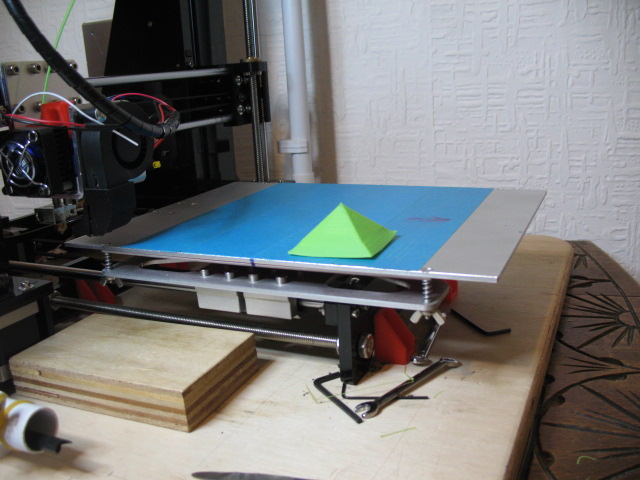
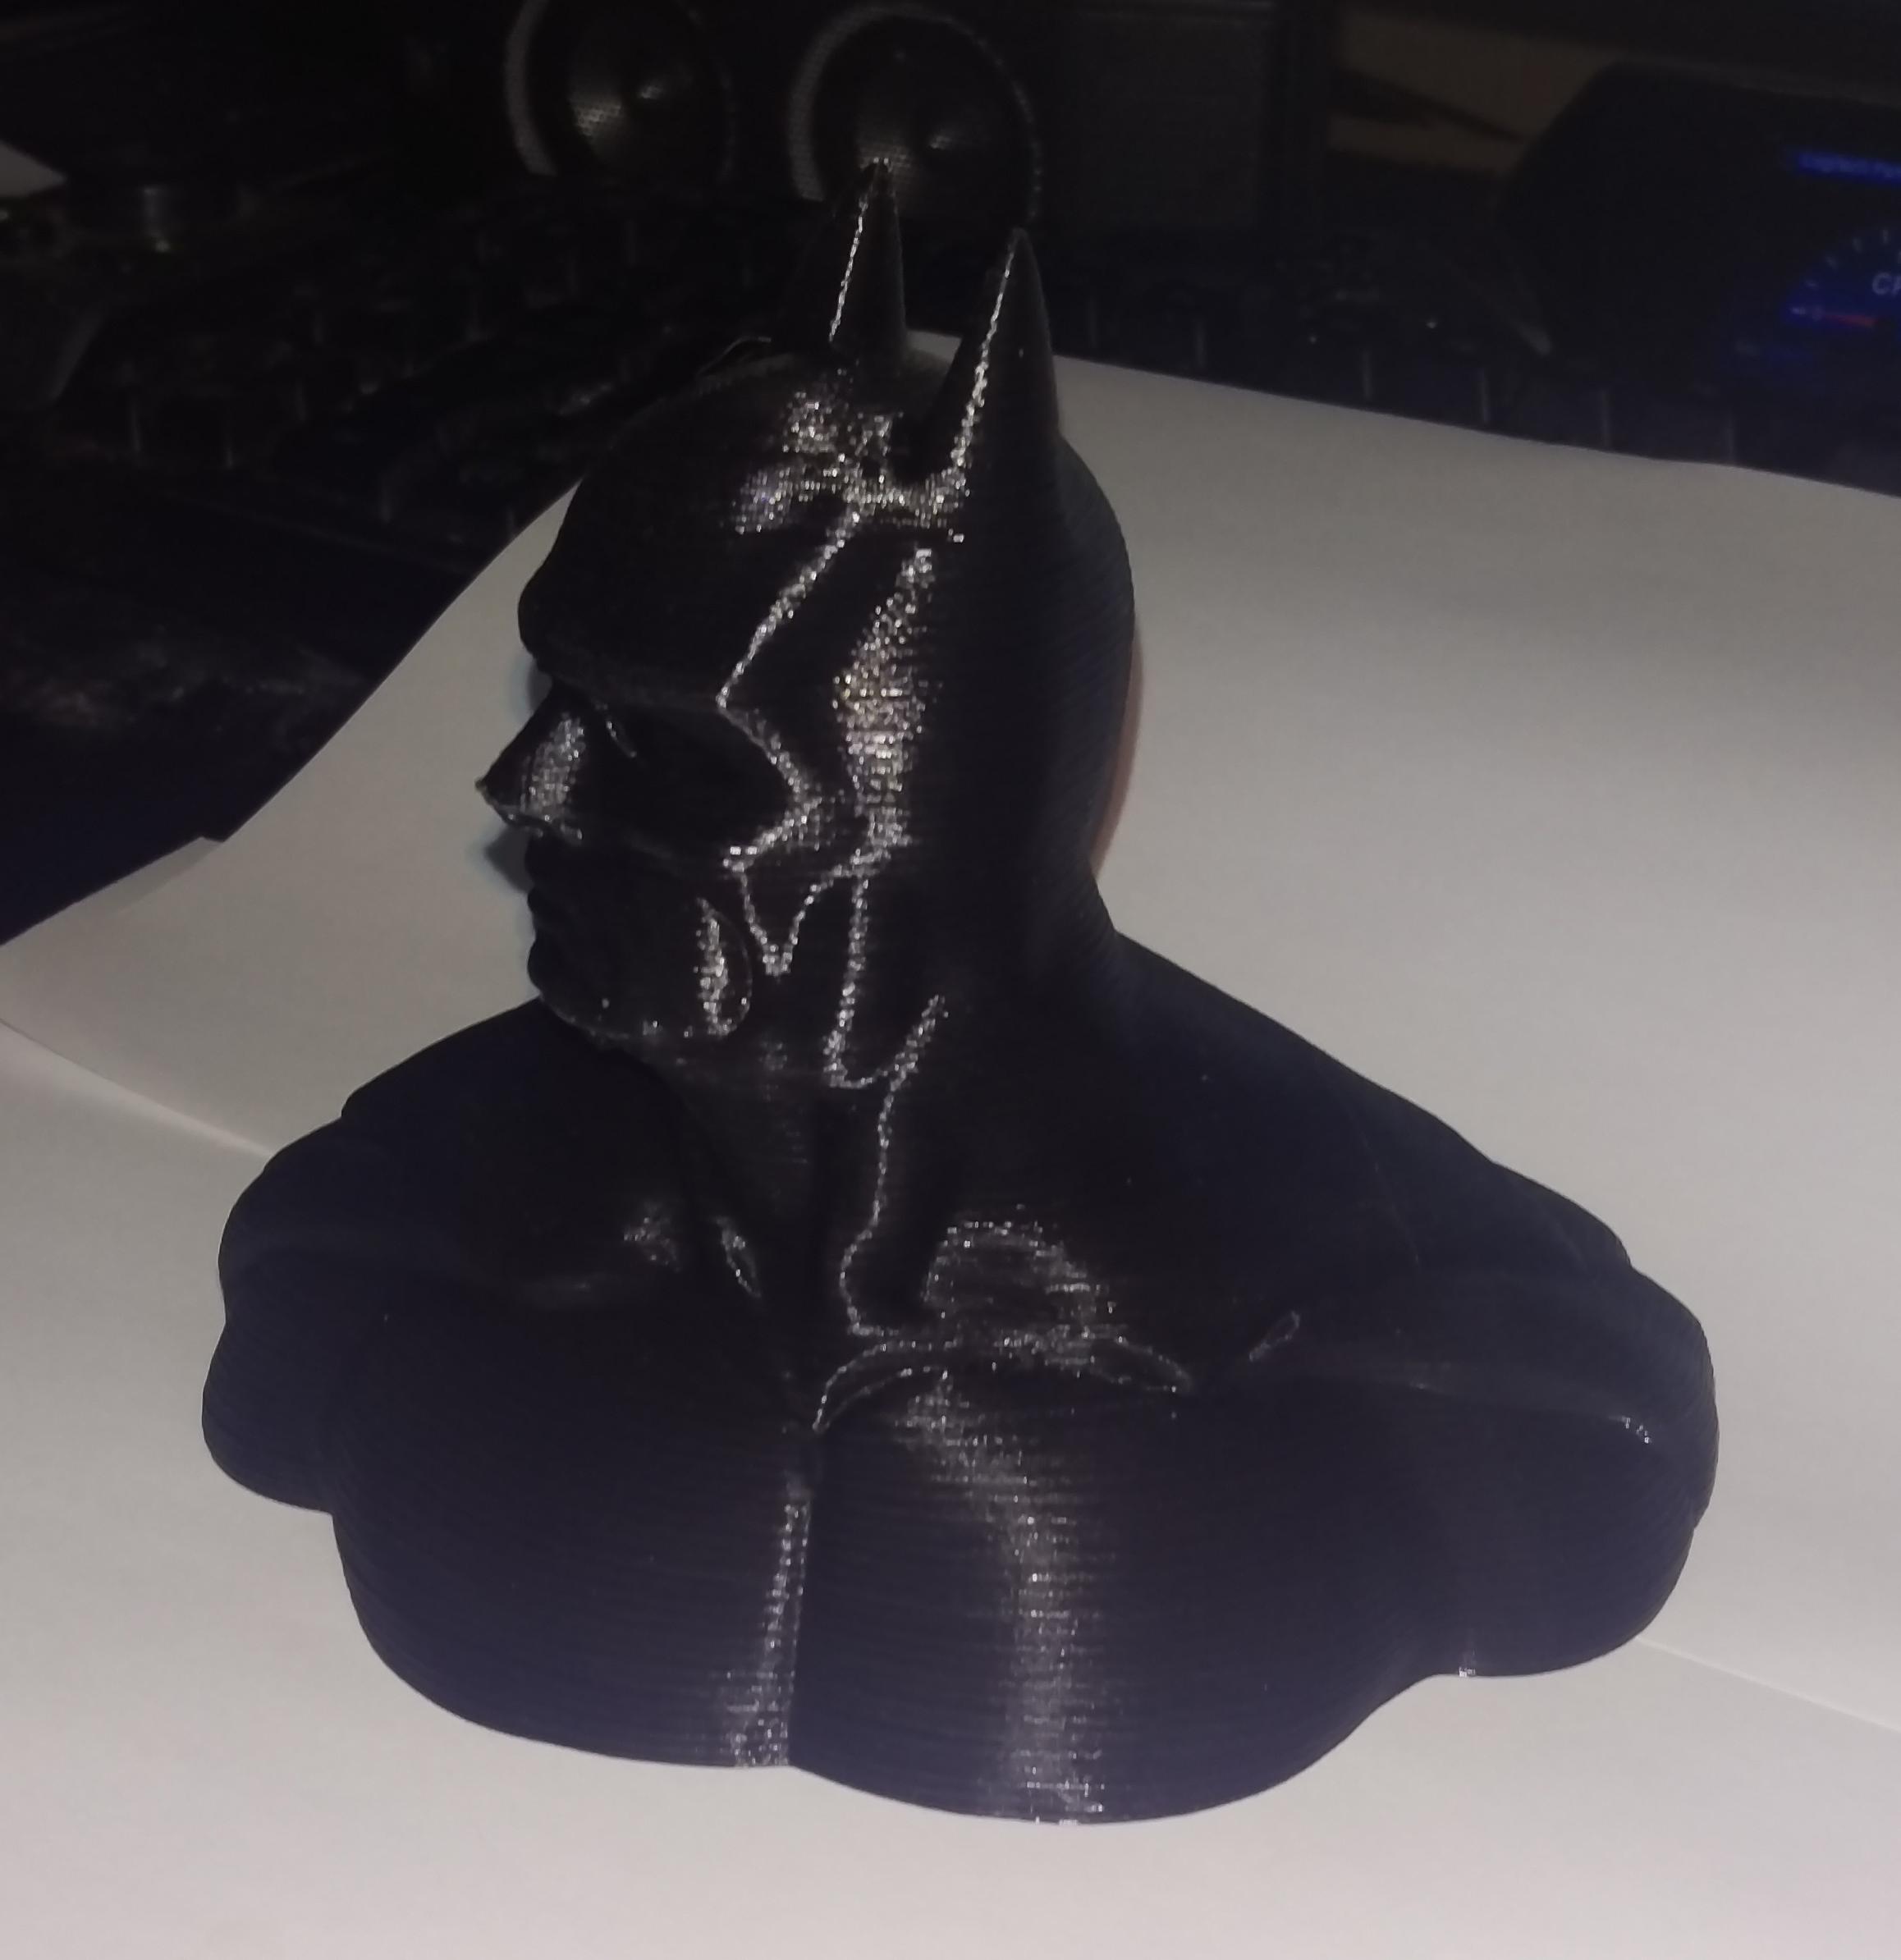
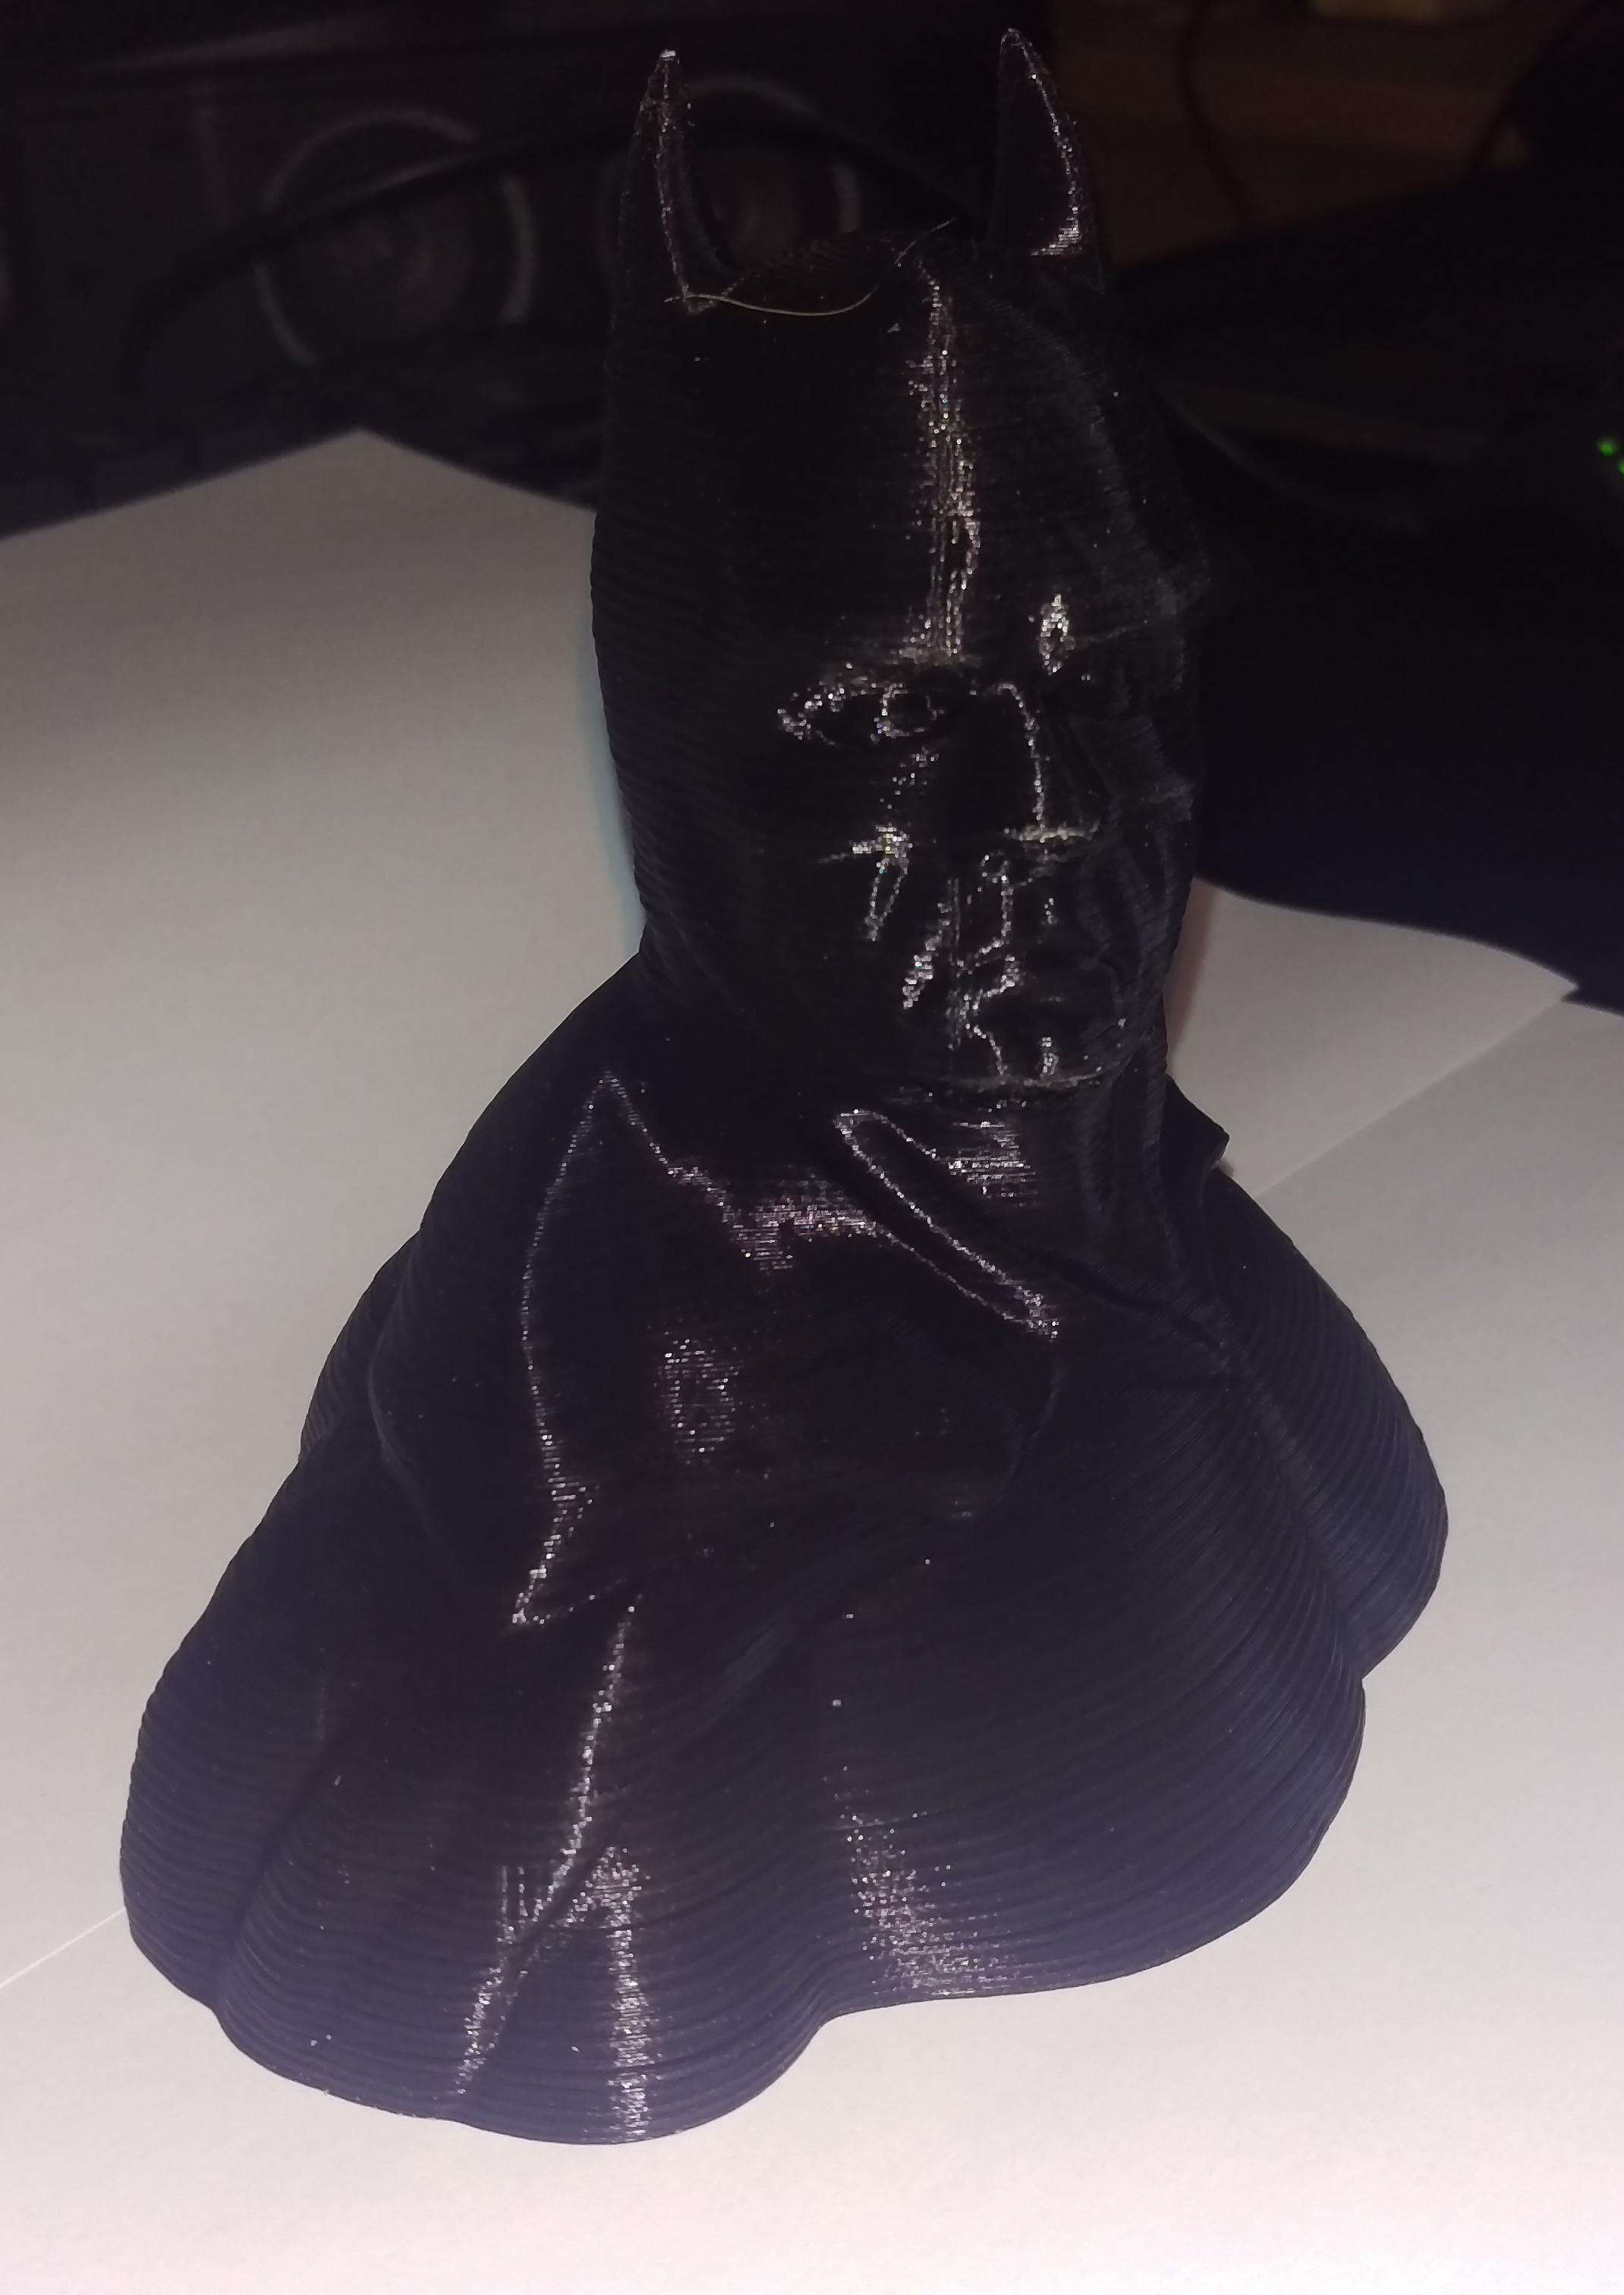
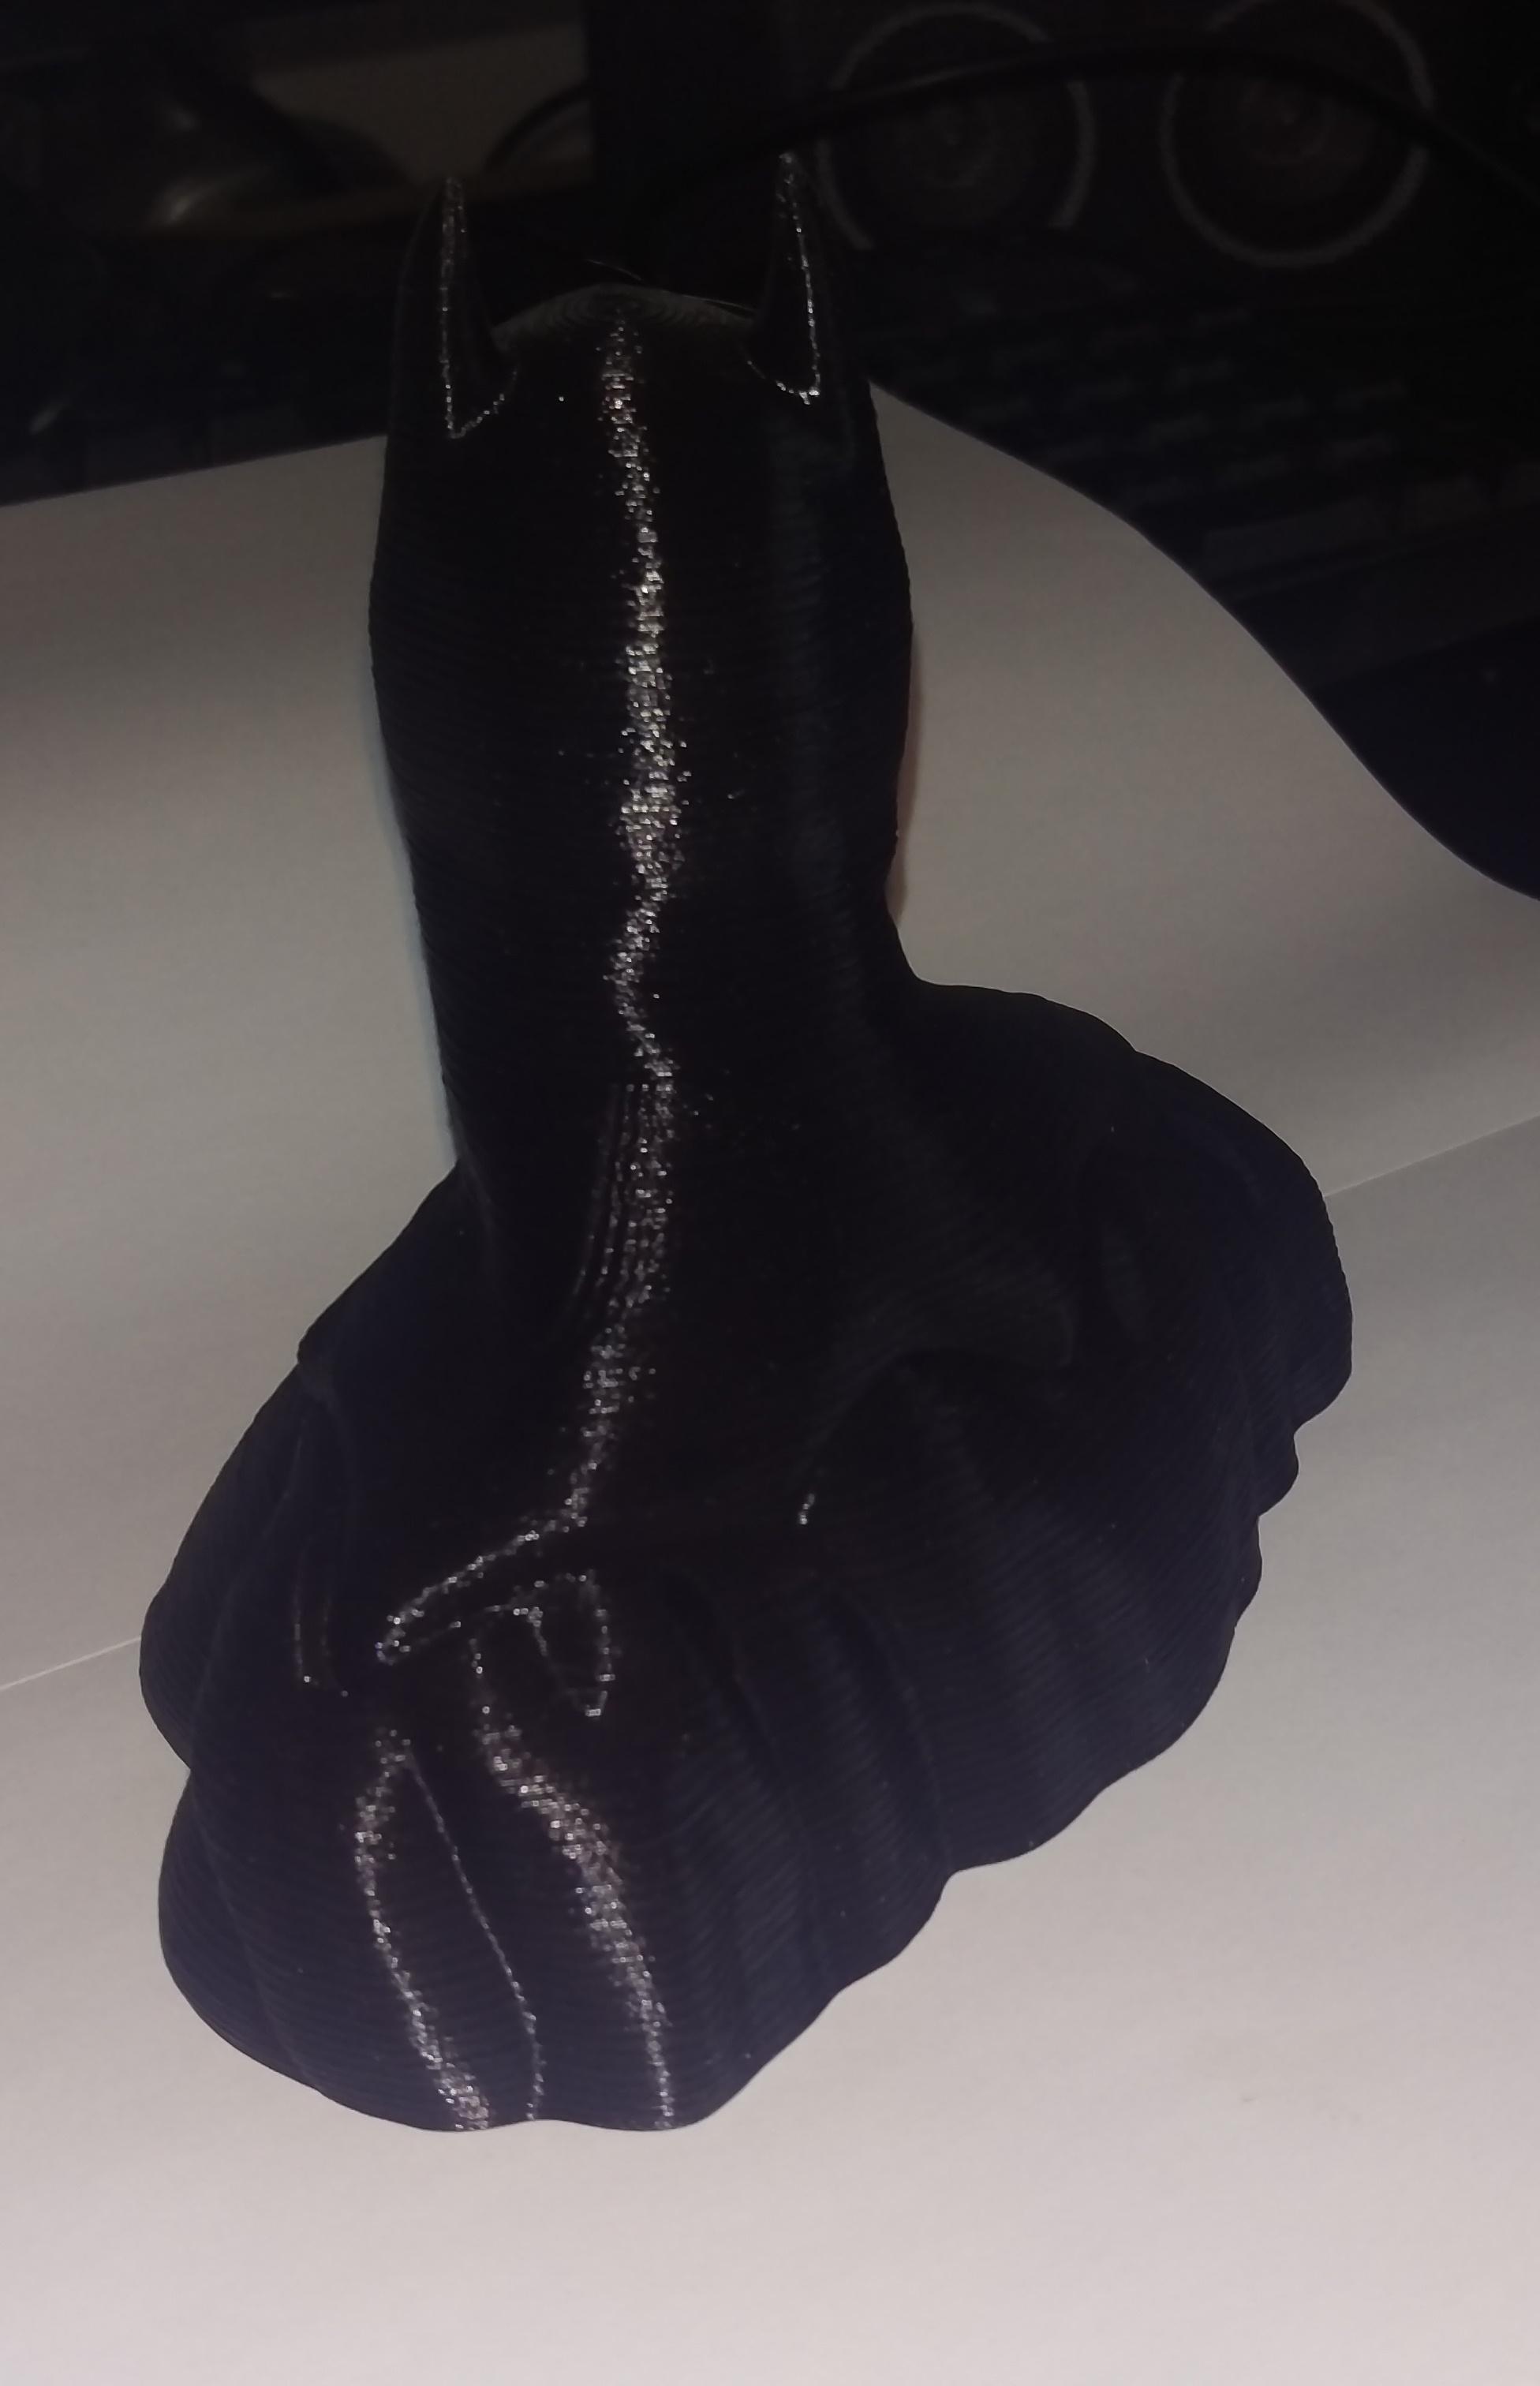
As promised, pics of my first successful proper large-ish scale print. I'm so happy. lol.
Paul
--
You received this message because you are subscribed to the Google Groups
"Potteries Hackspace"
group.
To unsubscribe from this group and stop receiving emails from it, send an email to potteries-hacks...@googlegroups.com.
