Frame bearing specifics?

Curt
assembly details being different on the TVRRUG Prusa frame? Going
through the instructions on the Prusa Mendel Wiki the bearing order
was nut-washer-washer-mudguardwasher--washer-bearing-washer-
mudguardwasher-nut (I think, they aren't sure themselves). My guess
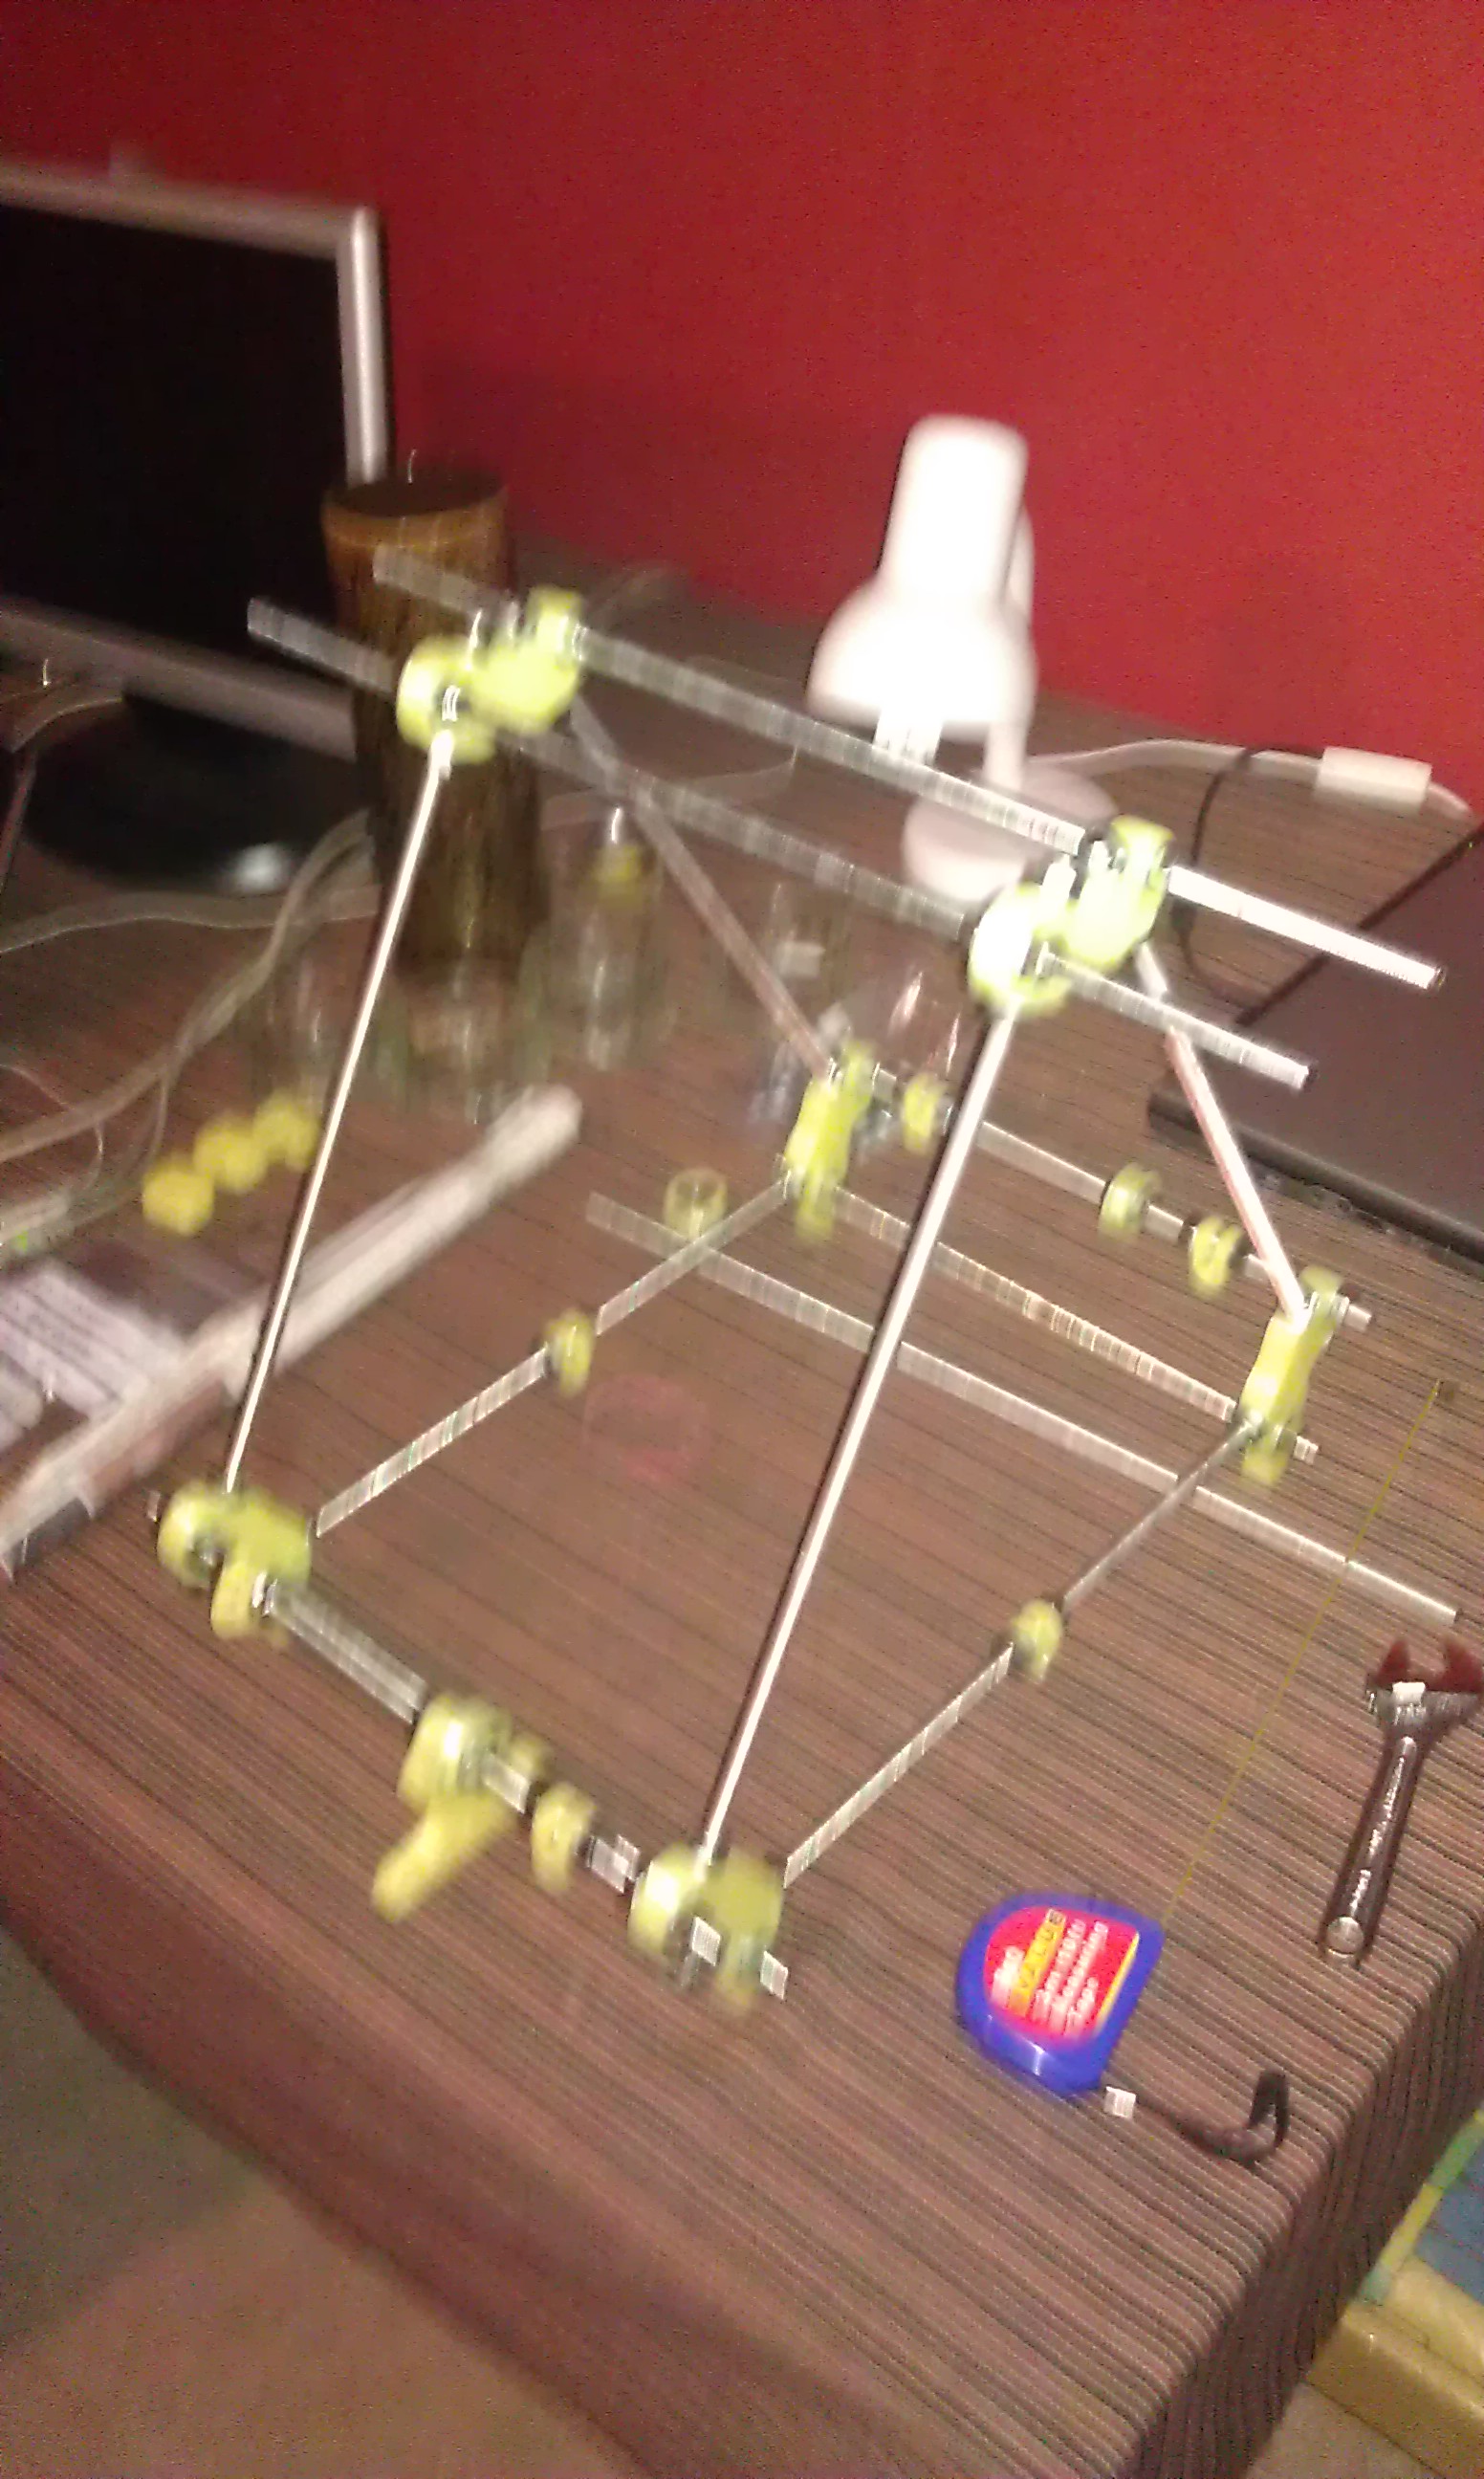
was that we'd be using the bearing marked as "bearing guides" here as
they look like bearing+mudguards. If I'm wrong I'll just switch them
around, but so far it's looking pretty good:
It's all very exciting ;)
-Curtis

Hannah Napier
Wow! That was quick. I took pictures and will put the details up once I've had some sleep :)

Stuart Ward
Curtis
You win the prize for the first frame build. I have even opened the packets yet.
Stuart

mikethebee
clearly, though) the modification that involves removing the nut and
washers that previously sat between the motor mount and the idler cog.
The purpose (as I understood it) is to allow the drive cog to be
places closer to the motor body and reduce lateral pressure on the
shaft.
http://3dpnest.posterous.com/tvrr1-motor-mount-revision
Well done on the swift build and pics.
Mike
On Nov 30, 12:32 am, Curt <curtis.fletc...@gmail.com> wrote:
> I remember Hannah saying something about the bearing-washer-nut-
> assembly details being different on the TVRRUG Prusa frame? Going
> through the instructions on the Prusa Mendel Wiki the bearing order
> was nut-washer-washer-mudguardwasher--washer-bearing-washer-
> mudguardwasher-nut (I think, they aren't sure themselves). My guess
> was that we'd be using the bearing marked as "bearing guides" here as
> they look like bearing+mudguards. If I'm wrong I'll just switch them
> around, but so far it's looking pretty good:
>
> https://lh4.googleusercontent.com/-3rWfYN90BZA/TtV0mjiVG-I/AAAAAAAAAu...
Curtis Fletcher
-Curtis
mikethebee
the motor piece and the cog. Malcolm had some concern that the two
parts might bind against each other, but that didn't seem to be a
problem in practice. ( and it does save one nut as well :) I might
post the video but it is not really that helpful as I didn't get good
before and after shots.
I'm sure Hannah will have some good shots to post later.
Mike.
mikethebee
I don't see any nut between the motor and cog parts, just a small and
large washer pair.
Just adding some confusion me thinks :/
Mike
Hannah Napier
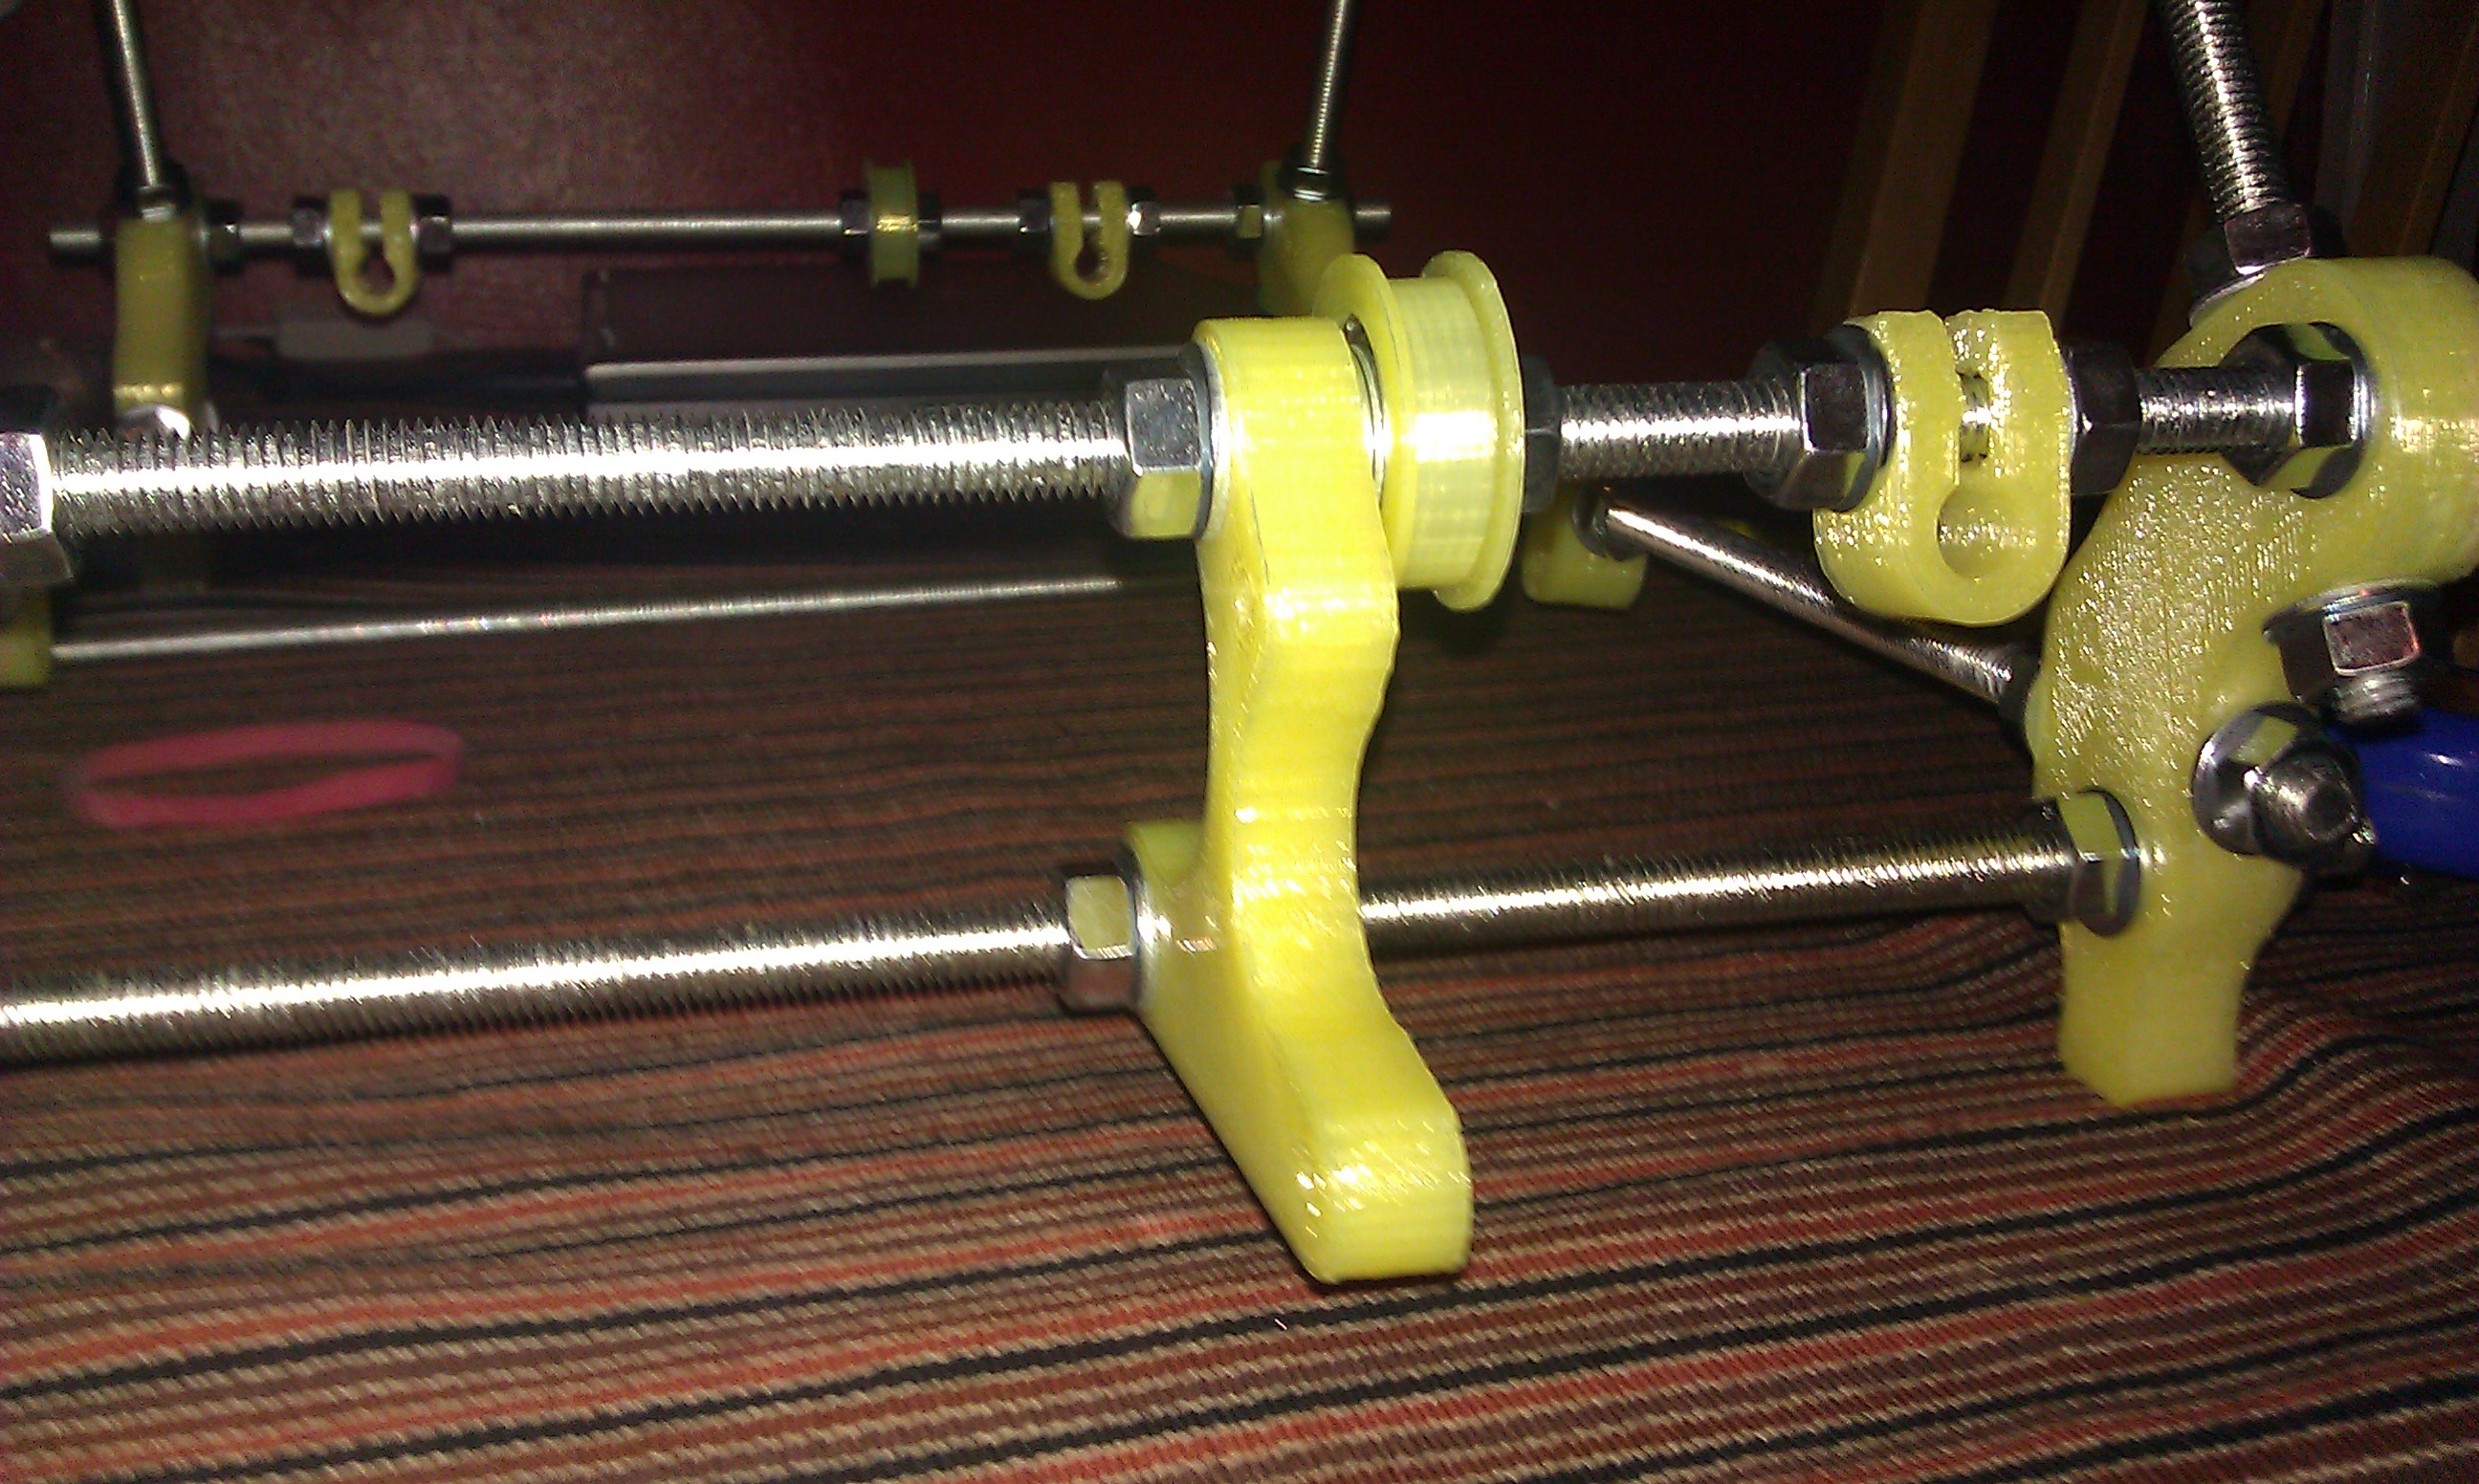
Original Prusa design here http://reprap.org/wiki/Prusa_Mendel_Assembly#Front_Threaded_Rods uses mudguard washers to keep the belt from slipping off the bearing. Unfortunately the belt rubs on these (stationary) mudguard washers and that can introduce a lot of friction (we saw this on our Sells Mendel).
So, we have moved to "bearing guides" instead - printed parts that fit onto the bearing and move with it. There are 3 of these in your kit already assembled with the bearing inside. (The printed part comes in two halves that are only one layer thick where the belt runs over the bearing and quite fragile. I pre-assembled them to make sure you wouldn't get any broken ones).
The original design also has a nut between the y bracket (where the y motor gets mounted) and the mudguard washer/bearing guide, which we have got rid of to get the belt running over the motor shaft closer to the body of the motor, as Mike quite rightly says.
The order is: nut - washer - y bracket - washer - washer - bearing guide - washer - nut. It may be OK to only use one washer between the y bracket and the bearing guide without them touching, but two should definitely avoid this.
Pictures here: http://flic.kr/p/aNf376, http://flic.kr/p/aNf1Mp, http://flic.kr/p/aNeZEM.
I will endeavour to take pictures of each printed part and provide a key to the names, as it isn't always immediately obvious which part is what. In the meanwhile I labelled the bags of parts with what should be in them, and the quantities of the printed parts should give away which part is which.
Happy RepRapping!
mikethebee
deteriorating into babble, mainly because I didn't know as much as I
thought. Must pay more attention next time :)
Mike.
On Nov 30, 1:45 pm, Hannah Napier <hmnap...@gmail.com> wrote:
> Hopefully I can clear this up now.
>
> Original Prusa design herehttp://reprap.org/wiki/Prusa_Mendel_Assembly#Front_Threaded_Rodsuses
> mudguard washers to keep the belt from slipping off the bearing.
> Unfortunately the belt rubs on these (stationary) mudguard washers and that
> can introduce a lot of friction (we saw this on our Sells Mendel).
>
> So, we have moved to "bearing guides" instead - printed parts that fit onto
> the bearing and move with it. There are 3 of these in your kit already
> assembled with the bearing inside. (The printed part comes in two halves
> that are only one layer thick where the belt runs over the bearing and
> quite fragile. I pre-assembled them to make sure you wouldn't get any
> broken ones).
>
> The original design also has a nut between the y bracket (where the y motor
> gets mounted) and the mudguard washer/bearing guide, which we have got rid
> of to get the belt running over the motor shaft closer to the body of the
> motor, as Mike quite rightly says.
>
> The order is: nut - washer - y bracket - washer - washer - bearing guide -
> washer - nut. It may be OK to only use one washer between the y bracket and
> the bearing guide without them touching, but two should definitely avoid
> this.
>
> Pictures here:http://flic.kr/p/aNf376,http://flic.kr/p/aNf1Mp,http://flic.kr/p/aNeZEM.
>
> I will endeavour to take pictures of each printed part and provide a key to
> the names, as it isn't always immediately obvious which part is what. In
> the meanwhile I labelled the bags of parts with what should be in them, and
> the quantities of the printed parts should give away which part is which.
>
> Happy RepRapping!
>
Curtis Fletcher
Thanks Hannah,
Other than adding an extra nut+washer looks like I guessed right. The printed bearing guide is a much better idea than stationary mudguard washers, thanks again for helping us avoid breaking little parts like these, assembly must have been annoying.
-Curtis
Hannah Napier
Hannah
Stuart Ward
Chaps
Basic frame built. Have I got the guide - motor mount right. I put 2 washers there.
Stuart

Ian Stratford

Norro
Stuart Ward
-- Stuart Ward M +44 7782325143
Norro
Stuart Ward
Hannah Napier
Front/Top/Rear: 250mm between the plastic. This should use pretty much the whole length of the threaded rod on the front and rear (or leave maybe a few mm to spare). This is to fit the wider print plate between the triangles, which makes adjusting the level of the heated bed is possible.
Stuart Ward
Hugo Mills
250 mm, apparently.
(Although I say this not having touched my RepRap parts since
Tuesday)
Hugo.
--
=== Hugo Mills: hugo@... carfax.org.uk | darksatanic.net | lug.org.uk ===
PGP key: 515C238D from wwwkeys.eu.pgp.net or http://www.carfax.org.uk
--- The early bird gets the worm, but the second mouse ---
gets the cheese.