Little update - ISO experiments

Alex
thus removing a lot of hacks - thanks to g3gg0 for the big push in
this direction and to Eddie Svard and others for documenting a lot of
them on the wiki!
The surprise comes from a little ISO test, which shows that ML can
improve dynamic range and highlight rolloff in movie mode (see
attached files). How much? Let's find the answer together by running a
little experiment.
Background
-----------------
There are two methods for obtaining in-between ISOs:
1) by asking the camera to set the ISO at 160 (for example);
2) by setting a full-stop ISO (let's say 200) and applying some
digital gain (let's say -0.3 EV) by changing DIGIC registers.
In these two cases, the resulting images will have:
- the same overall brightness in midtones and shadows;
- the same amount of noise;
- different highlight characteristics [!]
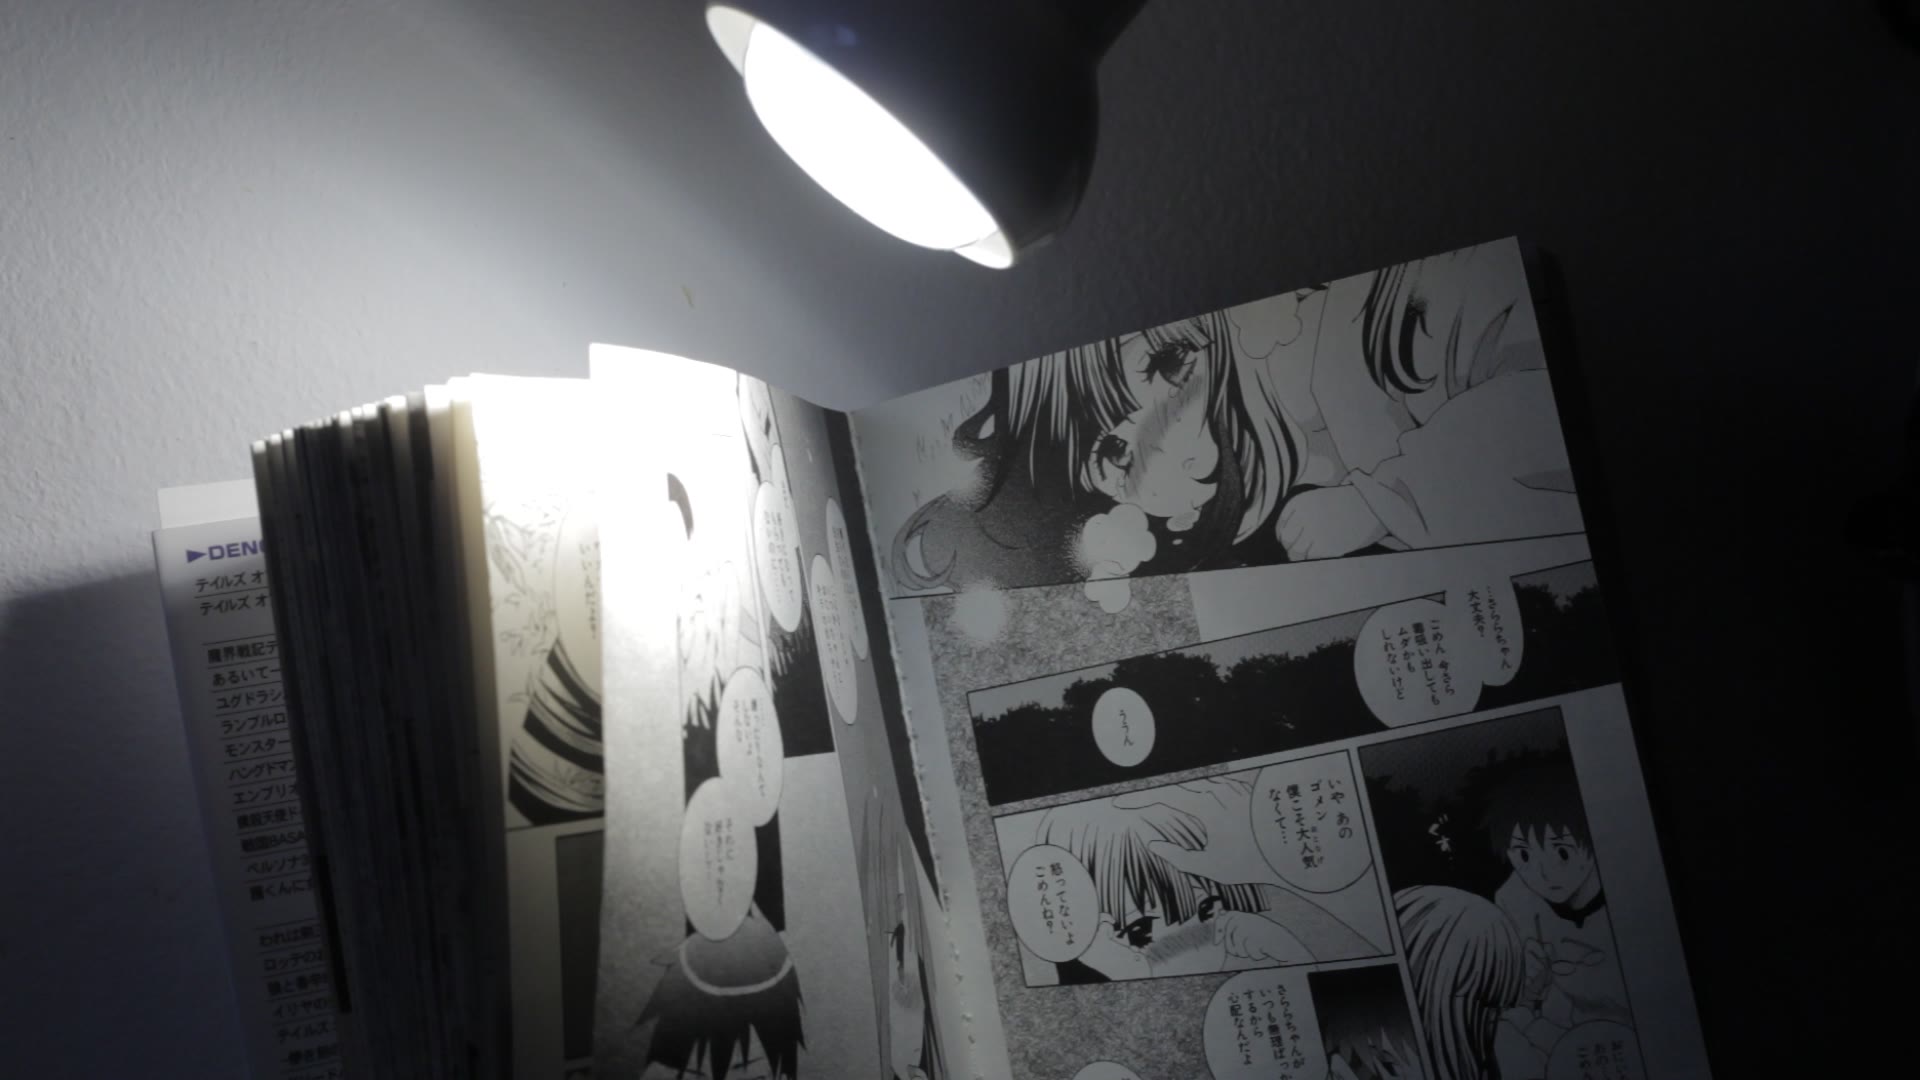
In the attached files, you can see that ML's ISO 640 (5D2, Neutral
0,-4,-4,0) retains more highlight detail and has a smoother transition
to white, compared to Canon's ISO 640.
So, this experiment will let us discover the best ISO settings for
difficult scenes (in particular, high-contrast ones, where you would
normally consider HDR video).
Test overview
--------------------
Under Debug menu you will find "ISO Tests", which can be divided in two:
* Real-world tests, where you record a scene with various settings, at
similar overall brightness; you will get a few test frames and tell me
which one(s) you like best and why.
* Synthetic tests, where ML computes the response curve at some fixed
ISOs; you will send me the results (log files) for analysis.
The result of these tests will depend on picture style and parameters
(especially contrast). Please test with any picture style you like.
I've ran a few tests with Neutral 0,-4,-4,0 and Flaat12p, but the data
is not sufficient to draw a conclusion yet.
How to run the real-world test
--------------------------------------------
This test will alter the settings while recording, to see what's best
for some particular scene. It takes roughly one minute.
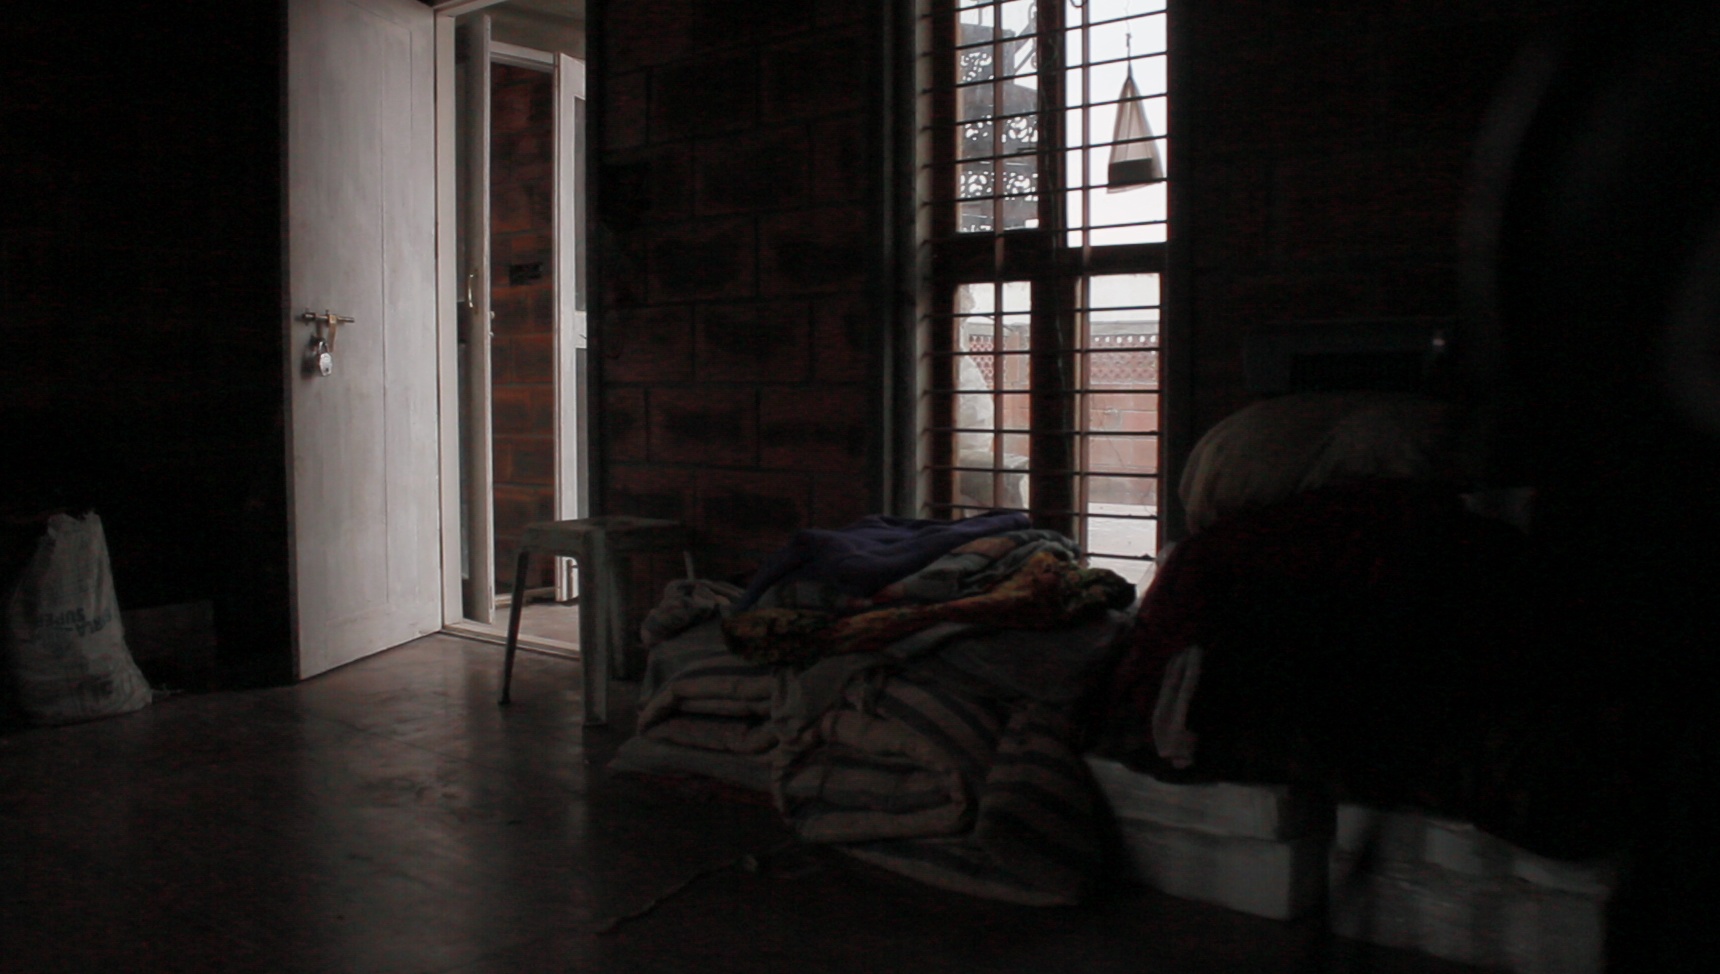
- Find a contrasty test scene (one for which you would normally use
HDR video; that is, with bright highlights and dark shadows);
- Choose your favorite picture style;
- Enable movie logging;
- Expose the scene so you get both clipped highlights and clipped
shadows; use a full-stop ISO (100, 200..) and try not to choose
extreme shutter speeds;
- Reduce the bitrate (CBR 0.8 should be fine) - it's needed because ML
will save a few uncompressed still frames, and recording may stop;
- Choose "Debug -> ISO Tests -> Movie test" from ML menu.
After one minute, you will get two movies (one with HTP off and
another with HTP on); ML will alter ISO and shutter speed every two
seconds, and save a still frame (silent picture - YUV422) for each
setting combination. You will get 20 still frames (*.422 files).
Convert these pictures to JPG (see
http://magiclantern.wikia.com/wiki/Unified/UserGuide#silent-pictures
for a howto), post them here, together with the log file (or send
directly to me) and say which one(s) you like best, and why.
After hearing your thoughts, I'll tell you what settings I've used for
each frame (this should make the results as unbiased as possible).
How to run the synthetic test
--------------------------------------------
This test will compute the response curve at different ISOs. It takes
roughly one hour (maybe a bit more).
You will need:
- A Canon lens (kit lens and 50/1.8 are both fine);
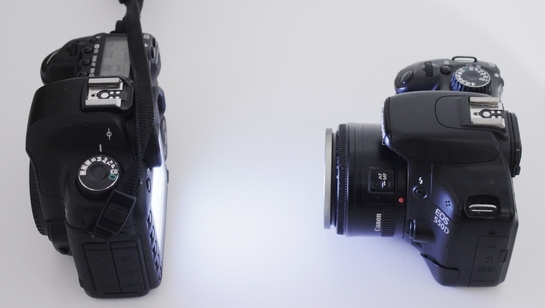
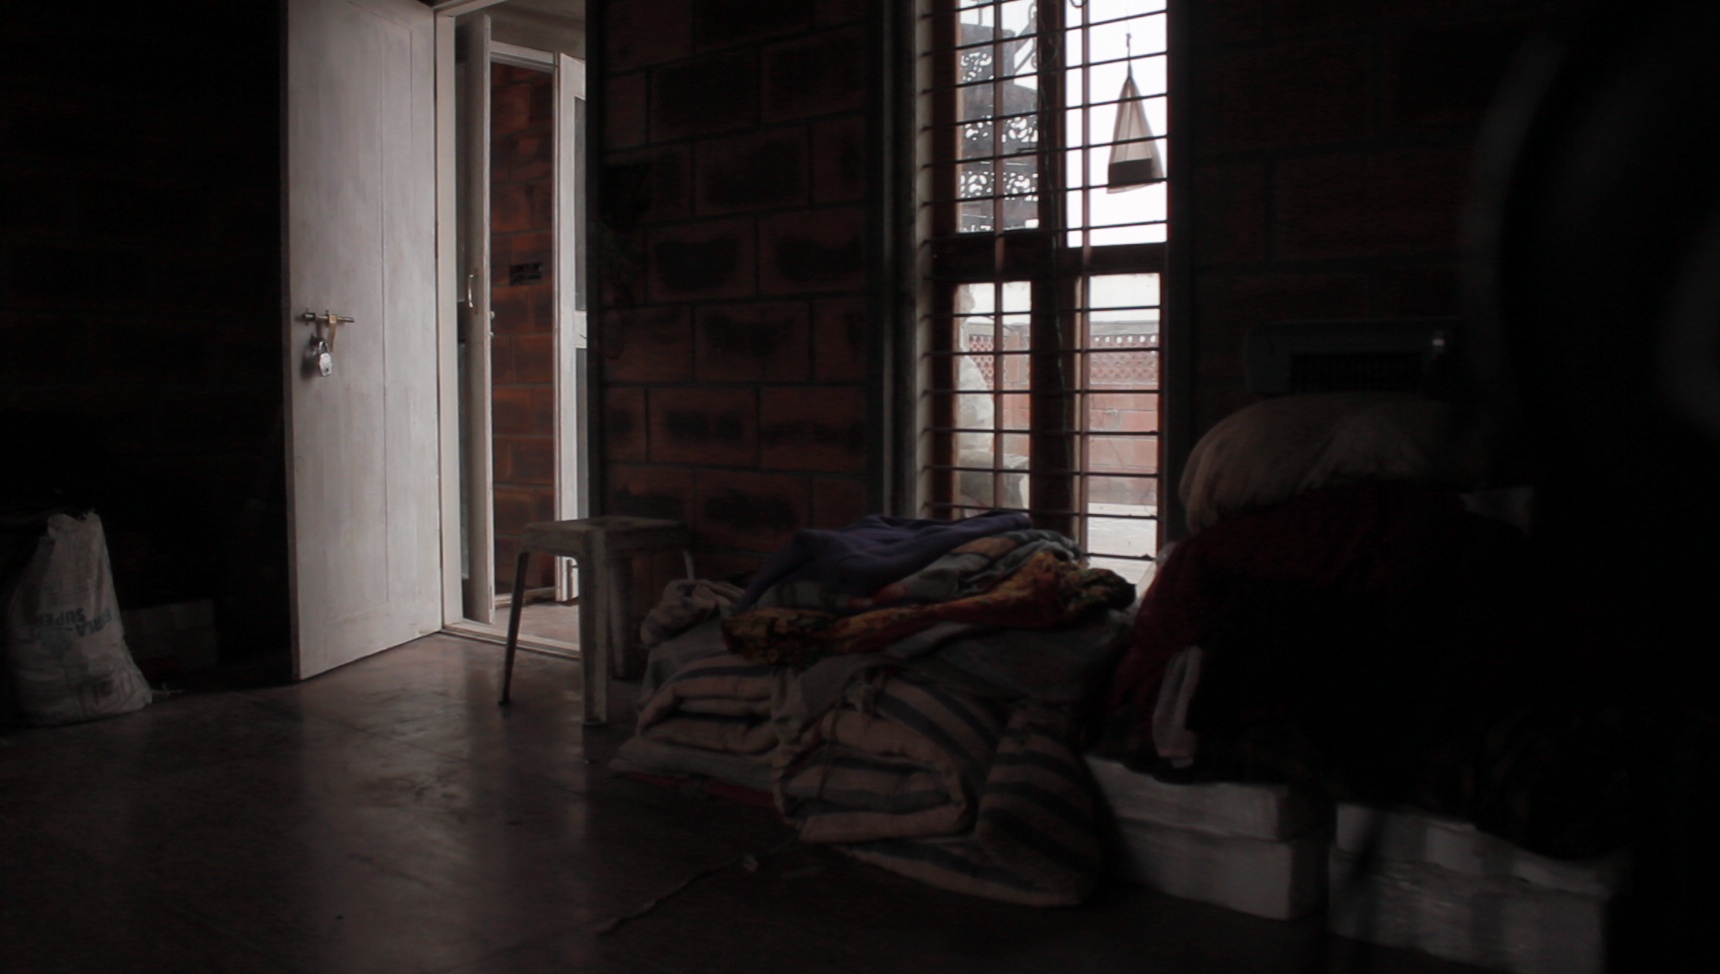
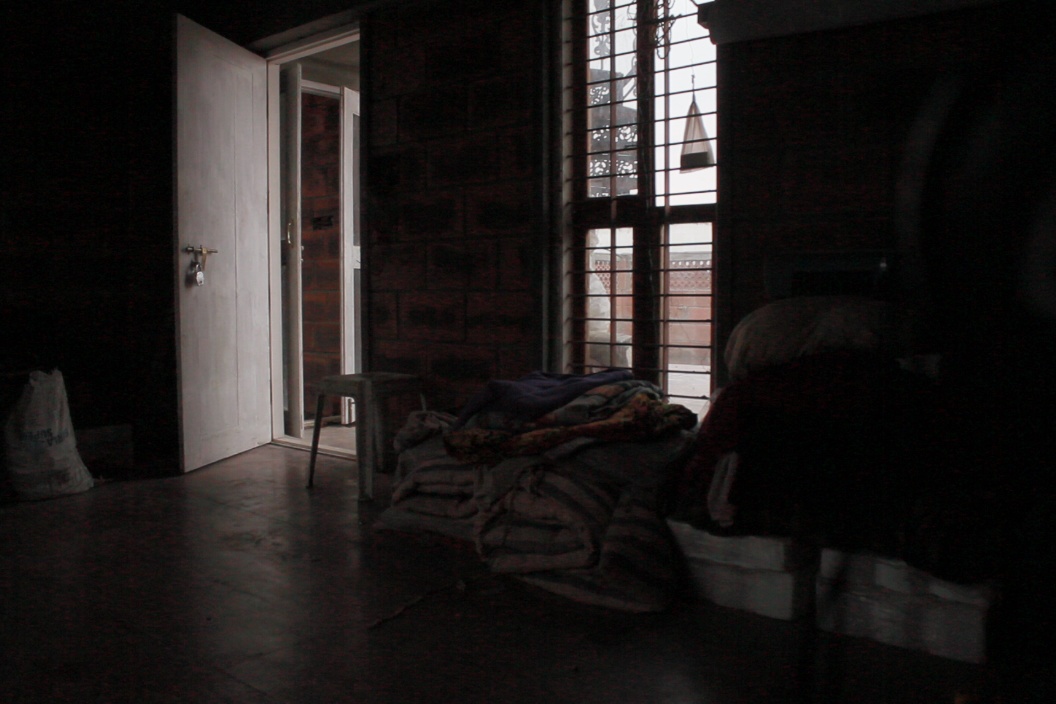
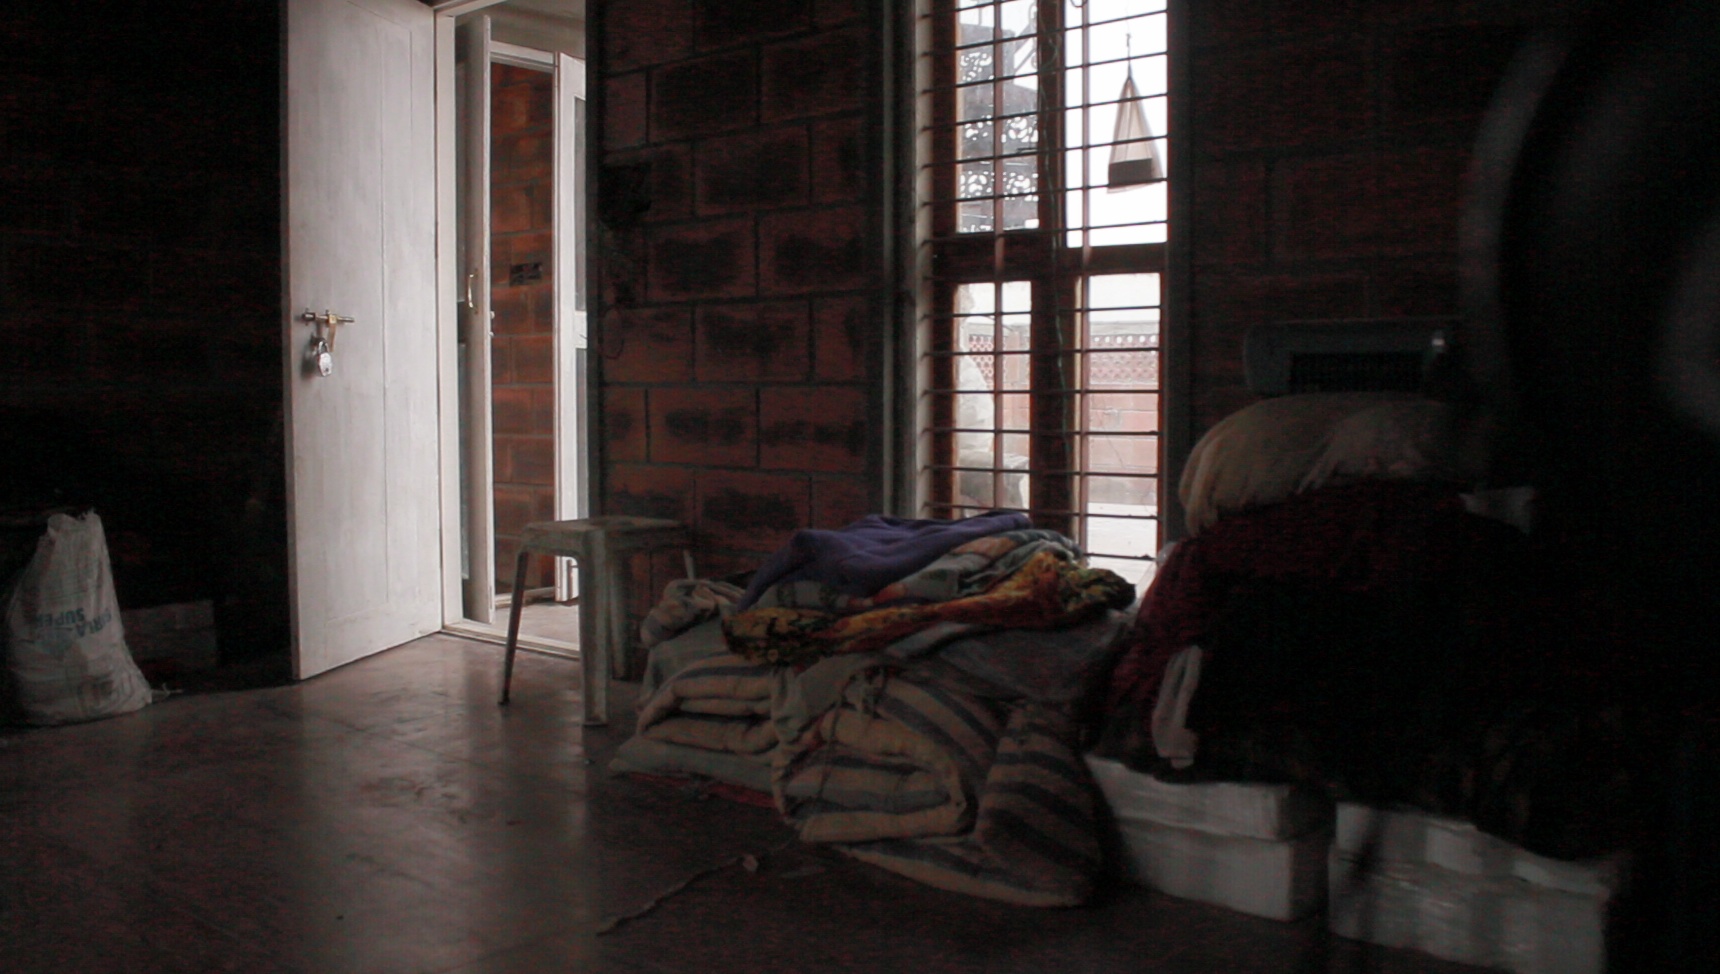
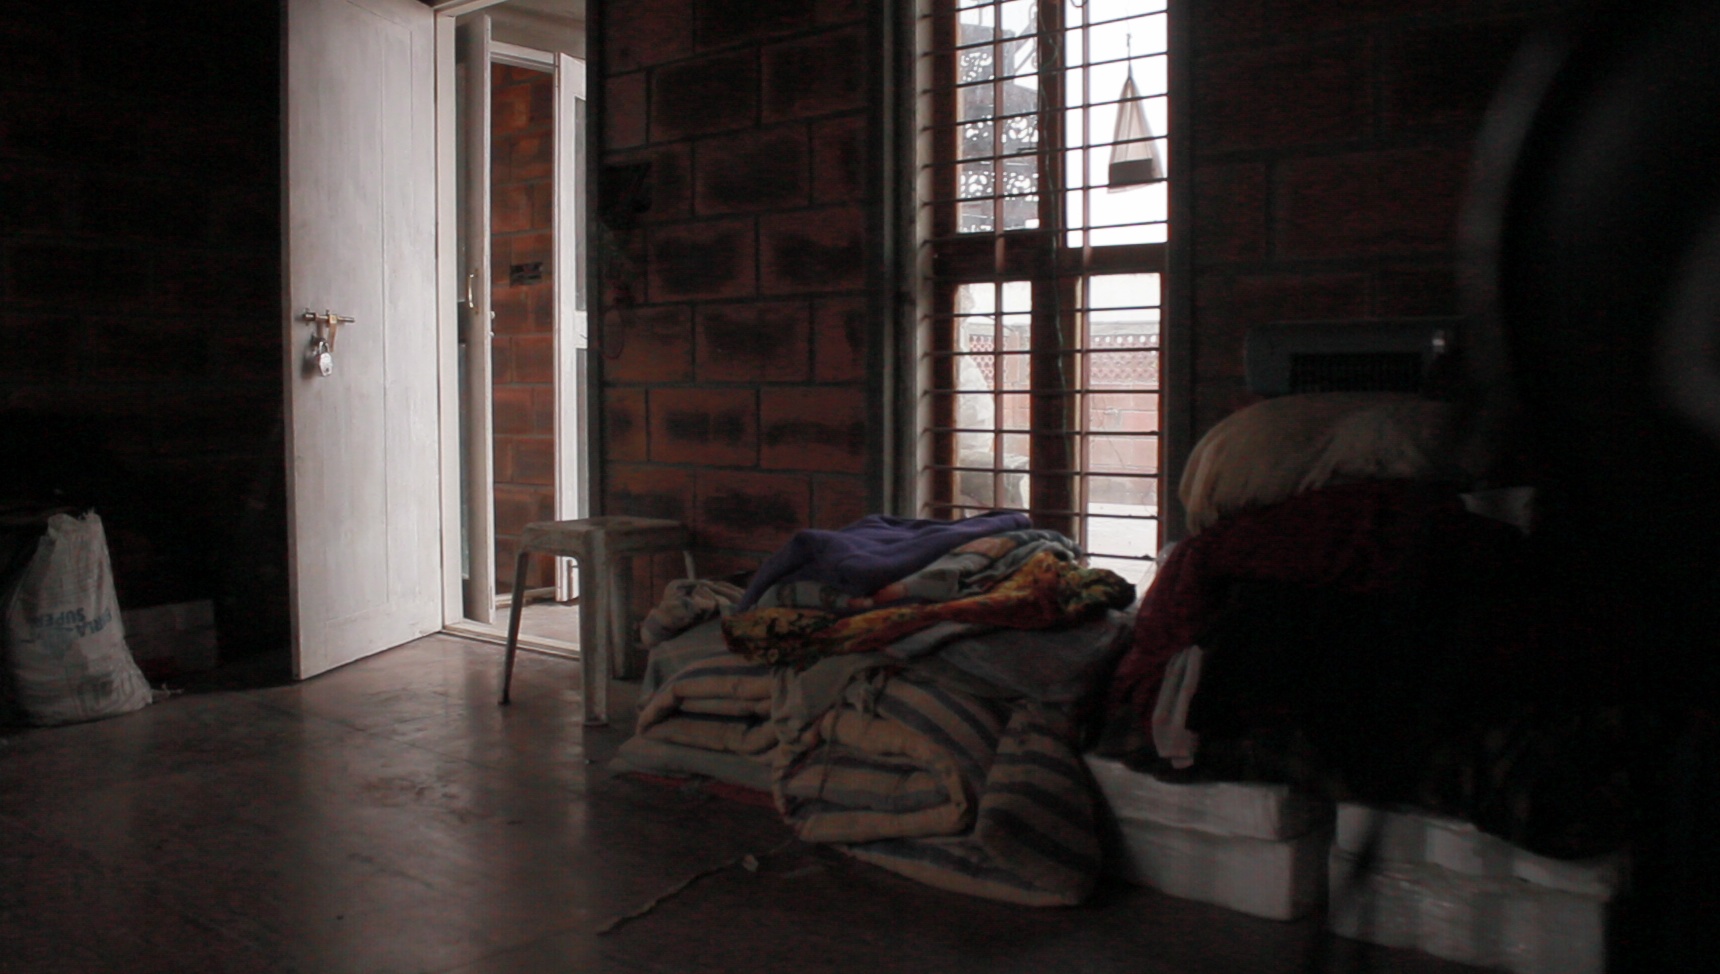
- A controlled light setup with a white wall or screen. I've used a
second camera body to provide a white test screen, with the Flashlight
function (see attached picture). You can use a computer monitor too.
It's a good idea to avoid natural lighting (you can cover the setup
with a cardboard box, for example, or place it in a dark room).
- Strong batteries.
Before running the test, set the correct white balance for your test screen.
Under Debug -> ISO tests, you will run these 3 tests:
- For ISO 100 multiples (ful-stop ISOs), 160x (Canon method) and 80x
(ML method, with DIGIC ISO gain set to -0.3 EV);
- For ISO 70/65/50 multiples (ML method);
- For HTP, with ISO 200x (full-stops), 140x (ML method) and 100x (ML method);
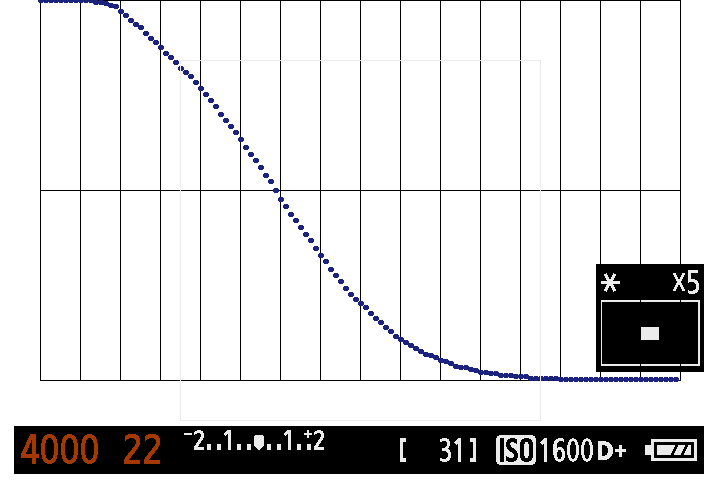
To compute a response curve, ML will start from 1/30 seconds wide open
and will underexpose by changing shutter and aperture, in 1/8-stop
increments, over a total range of 16 stops. It takes roughly 1 minute
to compute one curve. If done correctly, you should get something like
in the attachment, starting with a flat section at the top and ending
with a flat section at the bottom.
Each test takes roughly 20 minutes. The result is a series of TXT
files which contain the data points. Zip all these files and send them
to me, mentioning what camera and picture style you have used.
Be careful if you use a second camera body to provide a white screen.
The camera will turn off after 30 minutes, even if you disable power
saving, so you need to re-activate the flashlight after each test.
----------------------------------------------
Back to so-called release notes. In this update you'll find these
important changes:
DIGIC-based refactoring:
- Silent pictures no longer use powersave tricks to pause LiveView;
- Display gain (night vision) and highlight recovery feature
(previously known as Highlight++) are now available under a single
control in the ISO submenu, called DIGIC ISO gain: positive values are
for night vision, negative values are for highlight recovery and low
ISOs.
- More ISOs with low noise: 60, 65, 70, 80, 85, 90 and their
multiples. Set a negative DIGIC ISO gain to enable them.
And a few handy shortcuts:
- Configurable arrow keys: besides ISO/Kelvin, you can also toggle
audio gain, shutter, aperture and others - check the Tweaks menu, the
shortcut key is camera-specific;
- Rack / follow focus: while recording, press MENU to save current
focus point and PLAY to return to it. No need to configure it from the
menu (just enable follow focus and start recording).
And also the hope that I didn't break anything :)
Happy Easter!

Giovanni Di Cello
Giovanni Di Cello
And there's still 6400 iso possible in auto iso for movie mode (3200 should be the last true iso setting here on the 50D) .
Alex
In movie mode, ISO 6400 is still useful. Even more: if, at 1/fps wide-
open, the image is still dark, boost digital gain as much as you can,
as long as you don't clip the highlights. This is due to the internals
of Canon's image processor.
See http://www.guillermoluijk.com/article/isos5dmkii/index.htm .
On Apr 10, 12:18 am, Giovanni Di Cello <giovannidice...@gmail.com>
wrote:
Giovanni Di Cello
Should the 50D users run the real world test as well? Let us know how we can make it without the log file.
I see the point for 6400 iso, i recorded inside a music club and altough it was really dark i could produce a nice video file anyway.
Alex
picture style and contrast you have used).
> --
> http://magiclantern.wikia.com/
>
> To post to this group, send email to ml-d...@googlegroups.com
> To unsubscribe from this group, send email to
> ml-devel+u...@googlegroups.com
> For more options, visit this group at
> http://groups.google.com/group/ml-devel?hl=en

eggnot
eggnot
advanced iso menu is very good anyway!

Redkite Bart
I like the highlight recovery and it is far too early to draw conclusions. Let's all do the test and discover what works and what not.
And I love the new shortcut keys.

Vincent Olivier
Apologies for not yet doing a test using your advised method, but I wanted to do a quick test to see if I could see much difference. I can see a huge difference when using Digic Poke ISO160. Here is the comparison.


TOM_M
eggnot
it's not a fair comparation, since you have no blacks (your levels starts at 18 out 255).
it's overexposed for this test cause it's all about highlights vs blacks.
you see perservation of highlight but you can't see loss in black because you don't have it at all.
eggnot
TOM_M
1: the test is about improving the highlights, not shadows
2: its a real world test in that its a picturestyle i would use in my work. I have found that picturestyles that allow blacks to dip below a certain value contain lots of compression artefacts. Not everyone wants crushed blacks.
3: in the proper test, i could see a big difference in the shadow noise whilst using this pocture style, so even with the bottom end lifted, it still makes a difference.
4: As alex said, you are free to test with any picture style
5: the two images were shot with the same picture style so the comparison is completely fair.
Please post your own test results to show how me using this setting has in some way made the test unfair.
TOM_M

Huey Lee
Perhaps your monitor is automatically adjusting or something, because I cannot see any difference in the shadows on the manga image. The text looks just as legible (even in the lower left) and the lower levels look exactly the same. When I drop the two images into a waveform monitor, they register the same in the shadow areas, not flatter or anything.The contrast looks exactly the same except that the highlights drop off slightly later on the ML one, which is exactly what we need - better highlights without making the image flatter.
--

Arne Johnson
having this problem, or is there some new setting here I haven't kept
up on? It's locked in an extremely low shutter speed (1/2), and when I
try to change it just changes back immediately...
Thanks,
Arne
> 147KViewDownload
>
> ISO 640 (ML).jpg
> 145KViewDownload
>
> Test setup for ISO analysis.jpg
> 86KViewDownload
>
> Sample response curve.png
> 7KViewDownload
>
> autoexec.bin
> 2188KViewDownload

Francis Danforth

PZY
I had the same problem. Got it fixed by selecting LV ViewType: Movie (in the Expo menu).
Hope that helps.
By the way, thanks to all ML developers. It's a great tool.
Paul

Malcolm Debono

Artūras Bagdonas
I'm just wondering whether LCD sensor shortcuts are broken only for
me. They worked great with my 550D with ~mid-march 2012 build, but
after updating to this, easter-edition, sensor shortcuts don't seem to
respond anymore.
Though sensor still functions greatly (turns off the screen, when it
should).
Any suggestions?
Artūras Bagdonas
Today I updated to this newest build and lcd sensor shortcuts seem to
have stopped working (I own 550D). Last build was around mid-march,
lcd sensor shortcuts worked just fine. Sensor is really working as it
turn off the screen when sensor is covered.
Any suggestions?
TOM_M
How are the results stacking up Alex? Do we all have a similar preference?

KahL
I was on a music video set in Brooklyn alongside a DP using the Alexa with my lil' T2i and a Zeiss contax 50mm 1.7. While I didn't have the opportunity to be 1st AC, I was instead brought on as the set photographer by the AD (a good friend of mine with recent work).
Getting to pick the DP's brain about the Alexa, not only is the camera easy to use, but every word of its language I easily understood on the UI from my experience with ML. This is the SECOND time I've experienced a higher end camera that I did/could have effortlessly transitioned to via this advanced DSLR software upgrade.
Additionally, I filmed in Technicolor Log-C at CBR 1.3 (audio on) and CBR 2.0 (audio disabled). So the director was mightily happy that I could obtain additional B-cam shots to work alongside the Alexa's Log-C profile on set. I even made sure to match white balance instantly with the DP just in case (and to give a similar flavor of the video's raw).
With ML I completely feel empowered to work on ANY camera out there without any trouble other than knowing where buttons placements are on the hardware. At this point it just makes ZERO sense to use these DSLRs without this firmware.

robschii
when we get a new release

Sicron

3pointedit
HDR the whites would pulse a little bit. That is they would not be
consistent from one group of frames to the next (I know that it is
supposed to flicker dark to light).

ats1995
Sicron

bradleyg5
my 5dII. To my eye so far, ISO 70 with flaat 12p looks noticeably
better than ISO 160 with Highttone priority with flaat 12p. I haven't
tried ISO 65 or ISO 50 yet, but I can say that ISO 70 gives the
cleanest flaat 12p I've seen so far, noticeably better in the shadows
than ISO 160. Highlight tone priority on the otherhand I'm having a
very difficult time seeing increased range, it seems to brighten the
image slightly, but I'm not seeing added range.
I'd like to send my test frames in but I can't get these 422 images
converted, anybody else having trouble? I run the real world test, it
produces the images(7 first video, 13 second) but when I try and
convert them they all fail except for the last image. I've tried all
the converters and ran the test 3 times, always the same trouble.
Alex
Confirmed the issue in 720p. I think I'll just disable DIGIC
operations in these modes. It's a timing issue, but looks difficult to
solve.
Alex
These things take way more time than implementing something new - just
imagine fighting a bug that is only visible after half an hour of
automated stress testing.
FYI: just had a major breakthrough in understanding the shutdown
process: https://bitbucket.org/hudson/magic-lantern/changeset/5f3ec8079874
On Mon, May 7, 2012 at 8:28 AM, manijee <groundl...@gmail.com> wrote:
> This topic seems to be dead i think..?

"Sztupák Sz. Zsolt"
Calibration-Free Rolling Shutter Removal:
http://googleresearch.blogspot.in/2012/05/video-stabilization-on-youtube.html
http://research.google.com/pubs/pub37744.html
http://www.youtube.com/watch?v=_Pr_fpbAok8
I hope for an offline implementation too.
SztupY
Francis Danforth
"Sztupák Sz. Zsolt"
SztupY
--

Moira O'Brien LIPF
Moira O'Brien LIPF
"Sztupák Sz. Zsolt"
I have a lot of footage for a documentary I had to throw out because of this, and I'll definitely try the youtube stabilizer on them when I'll have the time to see how it behaves.
Another (more on-topic) usage would be to test how it can correct rolling shutter with footage made with Canon/ML.
SztupY

mohan manu
From: mohan manu <moha...@gmail.com>
Date: Fri, May 11, 2012 at 6:12 PM
Subject: Re: [ML] Re: Little update - ISO experiments
To: ml-d...@googlegroups.com
I did some test.
I like 16860007.jpg and 16870012.jpg for producing clean image. I hope i didn't mess up. Tested on 550d with Kit lens, Flaat10p picture style.