Camera Query: How to perform preliminary test?

Pankaj Kumar
Checking the camera.
1. This includes checking that camera pack was not tampered and then
the camera body as well as all the accessories.
2. All accessories inside the package.
3. Put the battery inside and start to check if it switches on and off
properly and there is no extra noise. Dont mind repeating it 4-5
times.
Checking the image quality.
You can just do preliminary checking of the quality of the images at
the shop, before buying,...IF THEY ALLOW YOU TO DO SO!!
1. Try to focus on anything to hear the extra noise of the lens and
camera body. Noise may indicate some problem in the camera.
2. Focus something at a distance, it should be angular, preferably 90
degrees at the lowermost zoom, for example, use the edges of some
nearby building which is straight. Take a picture and view it over
the screen. If the sides of the buildings are straight then its good,
if it looks distorted and curved, then its not good. Through some
wideangle lens it may look curved which is natural, so dont get
disheartened. But it shouldnt be very much distorted!!
3. Focus at the sky and take the picture. View the image on the
screen. If your sensor has any dust or scratches over it in extreme
case then those dust particles or scratches will appear prominently on
this image. Also look for the brightness of the image on the screen,
it should be as good as it looks originally in sky. There should be no
variation in the brightness towards the edges.
4.Focus at some distant object at minimum zoom. Take a picture and
view the central part of the image in full zoom on the screen to check
the sharpness and the colour. Then zoom in the corner side of the
image and check. For this you need to experiment between various
camera models. Choose from the one that looks best.
5. Take a picture of some person with and without flash and match the
skin colour. Camera offering best match will always be better. Some
camera do show good image of the person but actually they dont look
original so dont get lured by that. It should give the actual colour
of the skin or the closest.
6. Testing the macro mode. Take some picture at minimum closeup
distance, and compare the corner block and central block. Corner block
may give some distortion, but minimum distortion in the central block
is always better. Some camera do make a lot of noise and take lot of
time while taking macro shots. Then they keep slipping out of focus.
Though they may give good results but its up to you if you wish to
choose such camera.
7. If you can carry a graph paper with you, then take a picture of
graph paper. View the image and check for the sharpness of the lines
as well as the distortion. Minimum distortion in the centre is always
better. Or you can just find any checkered subject and take a picture
to compare.
8. If you can carry a pouch of crayons then, take a picture of the
pile of crayons with and without flash and check the colours. More it
matches, better is the sensor. Or you can just find any multi coloured
subject and take a picture to compare.
9. I personally prefer a more multi point focusing over a lesser one.
More points gives more options of creativity.
Regards
Pankaj
PS: These informations in current and previous mails may help or guide
you in getting a new camera. These doesnt mean that I claim to be a
good photographer. I am just a techno freak and a much lower level
amateur who learns photography every day he holds his camera in his
hand. We really have some good photographers in the group, who usually
dont come up to share their photography experiences and skills.
Photography is an art and that is within you and not in the camera.
You can do miracles with the lower end camera too, because it all
depends on your own ability and not of the camera.
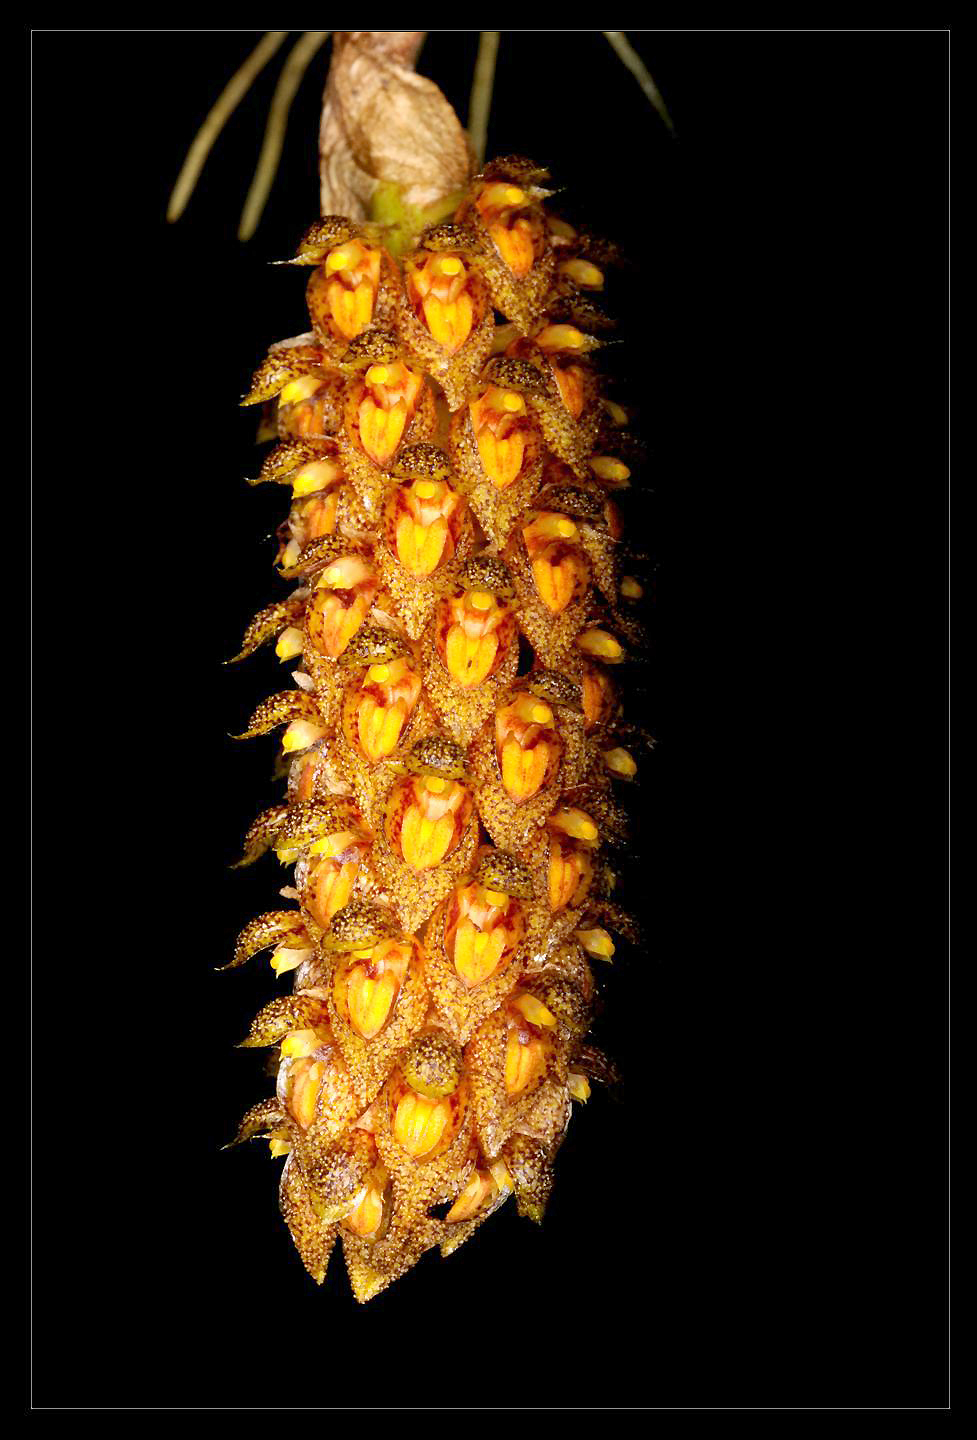
Sharing four pics, two of which are taken from a simple digital
camera, COOLPIX S1 and other two are taken with a DSLR, D300 using
60mm Macro lens + vivitar Ring Flash.
--
***********************************************
"TAXONOMISTS GETTING EXTINCT AND SPECIES DATA DEFICIENT !!"
Pankaj Kumar Ph.D. (Orchidaceae)
Research Associate
Greater Kailash Sacred Landscape Project
Department of Habitat Ecology
Wildlife Institute of India
Post Box # 18
Dehradun - 248001, India

Gurcharan Singh
--
Dr. Gurcharan Singh
Retired Associate Professor
SGTB Khalsa College, University of Delhi, Delhi-110007
Res: 932 Anand Kunj, Vikas Puri, New Delhi-110018.
Phone: 011-25518297 Mob: 9810359089
http://people.du.ac.in/~singhg45/